 $400 Arai Xd-3, left; $160 MX453, right
(Editor's note: Carla King recently conducted one of her typically thorough tests of a new and very affordable helmet from LS2, on a trip to Baja with Jonathan Ely. Thanks to Carla for the fine review.)
By Carla King
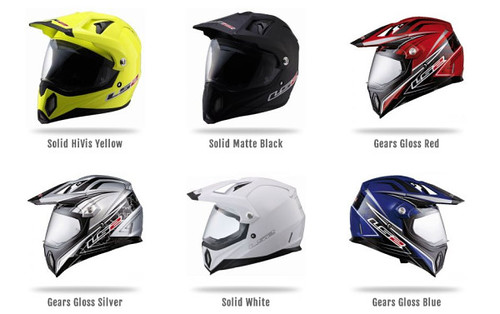
When my friend Reg Kittrelle asked me if I’d like to try an LS2 MX453 Dual-Sport Adventure Motorcycle Helmet I said, "I've never heard of it, but dual-sport adventure? I'm in!" I guess I have been living under a rock because LS2 sponsored 76 riders in the 2013 Dakar rally, including the winner Cyril Despres, and almost 100 riders in the 2014 rally. But the company has operated in stealth mode for quite some time, making helmets for well-known brands (as MHR helmets) before deciding to strike out on their own. They hired a Spanish marketing firm who set to work on design and style, then started selling factory direct to keep prices low. The MX453 Adventure costs only $169.95, undercutting name brands in the dual-sport adventure helmet market by hundreds while vastly surpassing the quality of other helmets in its price range.
The category "dual-sport adventure helmet" is defined by its hybrid components: a dual-sport or motocross style helmet with a large eye port covered by a flip-down shield where you’d normally wear goggles. These helmets also sport a visor to shield your eyes from the sun and an extended chin bar for breathing room and ventilation. All this so you can exercise your right to wrestle your bike through the dirt heading west at sunset. Here's Reg on YouTube explaining the "adventure helmet" concept.
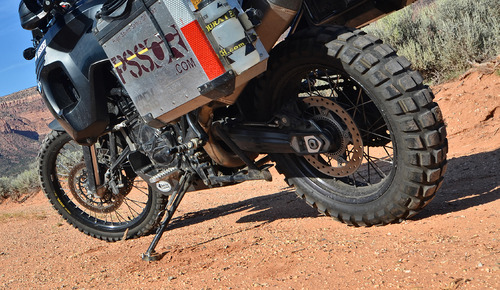
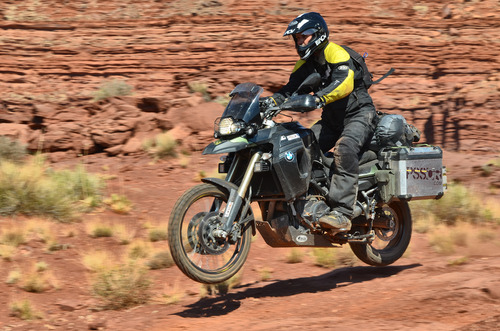
The target market for this variation on helmets is riders like me with our single-cylinder dual-sport enduros like the KLR 650 and KTM 690, and the big-bore adventure motorcyclists with BMW and KTM Adventures and the skills for off-tarmac fun. I see another great market in riders of the smaller dual-sport bikes who set off across the Sahara all the way to Cape Town, never exceeding 40 mph.
Touring helmets, like my Schuberth C3 modular (review HERE), by contrast, are targeted to long-distance tarmac riders attracted to speed and aerodynamics. In short, a visor, despite the sunshade, would only slow us down. But if you do both touring and dual-sport touring, your need for more than one purpose-built helmet is justified—along with a stable of motorcycles to match, of course.
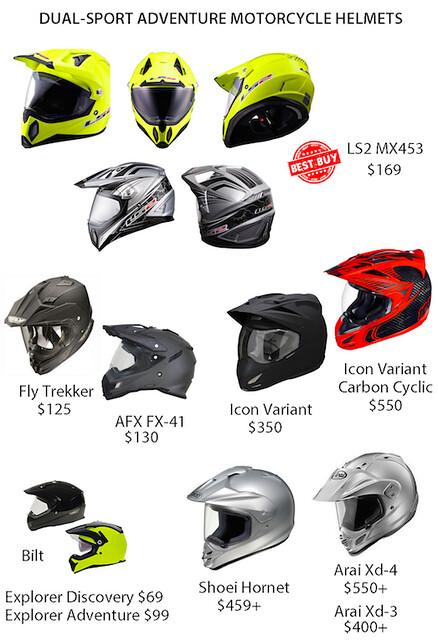
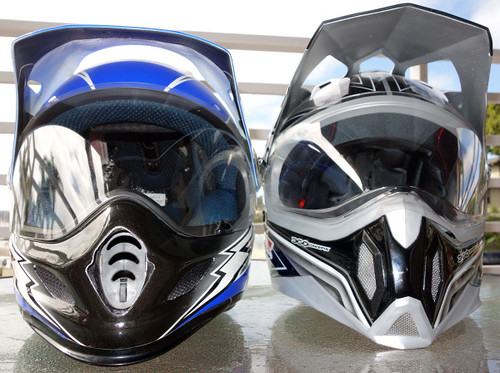
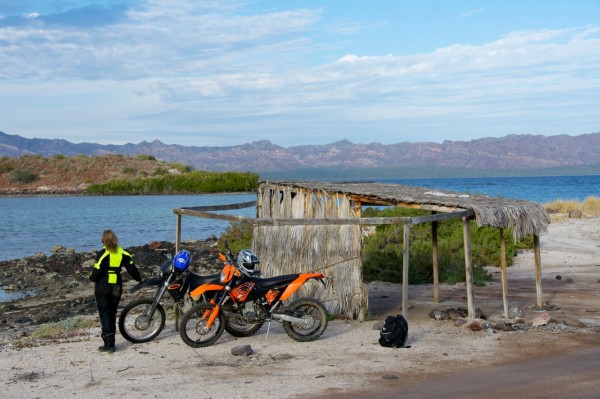
The LS2 MX453 arrived just in time for Jonathan Ely and me to take it along on a trip to Baja, trailering our KTM 350 and 450 EXCs. Jonathan, by the way, owns the pricy Arai XD-3 ($500) which made it easy to compare the Adventure feature-by-feature. (The new Arai XD-4 is available now.) For this review I also researched many other helmets in the dual-sport adventure category, doing some price and feature comparisons on the most popular. The two closest competitors are the Fly Trekker and AFX FX-41 in the $125 range. There really is no “mid-range” product in this category - though it could be argued that the LS2 would sit here if sold at a higher price via an intermediary. I did find the Icon Variant, which looks similar but is more a “hybrid” street helmet than a dual-sport helmet. One Variant is priced at $350 and the lighter carbon fiber model is $550. Then there’s the rock-bottom Bilt brand starting at an unbelievable $69. Finally you’ve got the brands on the highest ends, the Shoei Hornet and Arai Xd-4, both at over $550. There are many more but I just had to stop geeking out on this topic and finish this review.
In Baja, Jonathan and I unloaded the KTM dual-sports to explore backcountry and beaches, taking them for short rides down the tarmac at about 50 mph. We rode long stretches of remote sandy beaches and some scrabbly trails that usually dead-ended in impassible cactus-infested rock faces. Since the KTMs are unfaired I had expected the visor on the Adventure to catch the wind and throw my head back at tarmac speeds, but two very large diamond-shaped cutouts let the air through and prevented liftoff. Though Jonathan loyally defends his Arai, he had to admit that this was a thoughtful feature. Check out the photo comparing the two designs and you’ll see why I have less lift-off when riding at high speeds.
The MX453 Adventure’s fiberglass tricomposite shell also makes the helmet impressively light - not noticeably heavier than Jonathan’s size medium XD-3. My size small fit me perfectly and I found it very comfortable riding all afternoon. I haven’t used it for all-day touring yet but I think four or five hours at a time proves its wearability. The cheek pads are cut from one solid block of foam and other inner padding is smooth and substantial enough to keep my head from rattling around or making contact with any hard parts. There is also not any noticeable noise from the helmet itself, an irritation I’ve found with many lower-priced helmets.
When I took it for the first ride down Baja Highway One I was immediately struck by the view afforded by the ultra-large eye port they branded with the term “360 Concepts.” It actually gave me the startling feeling I wasn’t wearing a helmet at all. It was truly weird to feel as if there was nothing between my face and the road and I kept tapping the shield just to make sure. Soon there were a couple of bugs on it which eased my mind. This would also attest to the quality of the shield, which doesn’t distort the view. I wore my polarized Maui Jim sunglasses under the helmet with no discomfort. (My shield is clear but you can buy tinted shields.) Of course I also appreciated the visor to shade my eyes from the glaring Baja sun.
In the photo of the Arai and the LS2 side-by-side you can also see the large curved area at the bottom of the shield, which makes it easy to flip up no matter where you put your thumb. (But it also distorts your view when looking straight down, which didn’t really bother me.) The shield actuation is incredibly smooth and it stays where you put it. Many other helmets have one small visor-lift tab placed on the left side. The shield actuation on the Arai is on the firm side, and it’s sealed with a substantial gasket. The only irritation I’ve had with the MX453 so far is that the flimsy gray gasket has already started to pull away on the left side where my thumb rubbed when I pushed up the shield. (You can also see that in the photo.) Since I ride in San Diego and Mexico I wonder if that’s a result of the glue drying out in our consistently dry weather conditions. It’s nothing that a new application of glue won’t fix, and I’m not trying to compare it directly to the Arai, which of course is three times the price. That said, you’ll notice that Jonathan’s front vent went missing in Baja, again, possibly due to hot dry conditions drying out the glue. Oh, the sacrifices we make for living in Southern California!
The venting on the Adventure was adequate with a more airy feel than any other motocross helmet or conventional helmet I’ve ever worn. This might be more indicative of this style of helmet than the LS2 specifically, since they’ve all got the motocross helmet style breathing room and a shield instead of goggles pushing against your face. Speaking of goggles, other reviewers have noted that it’s much easier to fit goggles under the shield on the Adventure than other brands. (The shield is also easy to remove if you want to wear googles only.) There’s a lot of room in the chin bar for heavy breathing which is so much appreciated when working hard to get the bike through rocks and sand. A switch inside the chin bar controls the front vents, and two vents on top are also switchable. I could feel airflow through the chin and top of the head all the way to the exhaust vents at the back.
You can buy the LS2 MX453 Adventure helmet at online dealers and even at Amazon, along with replacement padding, shields, and visors. The sizes seem "true" and it was an easy fit with no pressure points - which is the impression other reviewers have had as well.
Jonathan bought his $500 Arai because it’s the quietest dual-sport adventure helmet available and it’s also got very high safety ratings. Comparatively, the $160 Adventure seems quiet enough and in fact one respected reviewer found it quieter than the Shoei Hornet. Nevertheless, I still wear earplugs (which I don’t always wear with my Schuberth C3) because the KTM is louder and buzzier than my other bikes and of course I ride off-pavement at higher RPMs.
The MX453 Adventure is DOT and ECE approved but not Schnell approved, but if it’s good enough for Europe it’s good enough for me. The chinstrap is nicely padded and has a standard D-ring closure system. (But I do wish everyone would go to the European ratchet system that I’ve grown so fond of on my Schuberth C3.)
When you compare the Adventure feature-by-feature with other helmets in this price range it quickly becomes apparent that this is the best buy by far in the low to mid-priced group. This may be a result of the factory-direct distribution which cuts out the intermediary sales channel. The new Arai Xd-4 at over $500 is generally considered as the best in this category, and it is proven the quietest. But of course if you have a Shoei head (and $500), you’d spend your money with them. If you’re super price conscious you might be tempted by the Bilt helmet at an amazingly low $69, or the popular ACX or Fly models at $30 less. But after a few casual try-ons at motorcycle stores, and after researching expert opinions around the web, I’ve come to the conclusion that spending the $160 on the LS2 MX453 Adventure would be the wisest investment.
I’m really glad Reg at LS2 approached me to test out this helmet. It is perfect for my style of riding, which is mainly adventure touring on the KLR and the R100GS, and dual-sporting on the smaller KTM 350 EXC. Heck, I might even try it when riding my big Moto Guzzi cruiser, so that on my rides from Borrego Springs back home to San Diego the visor shelters me from the glare of the setting sun.
LS2 is HERE.

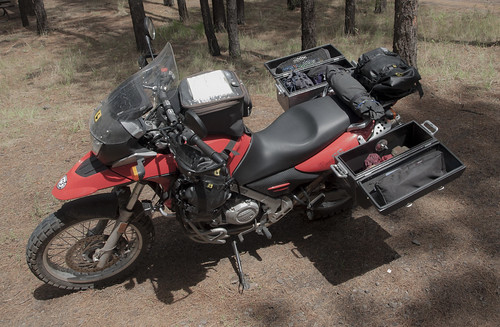

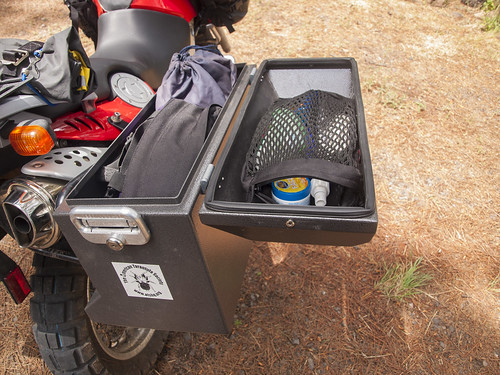

 Pockets galore! (on the Altiplano in Peru)
 Latitude 0 (at the Equator in Ecuador)