The last of the last VDEGs—edit: Out of stock!

Edit: We sold out of these last copies in two days. Sorry!

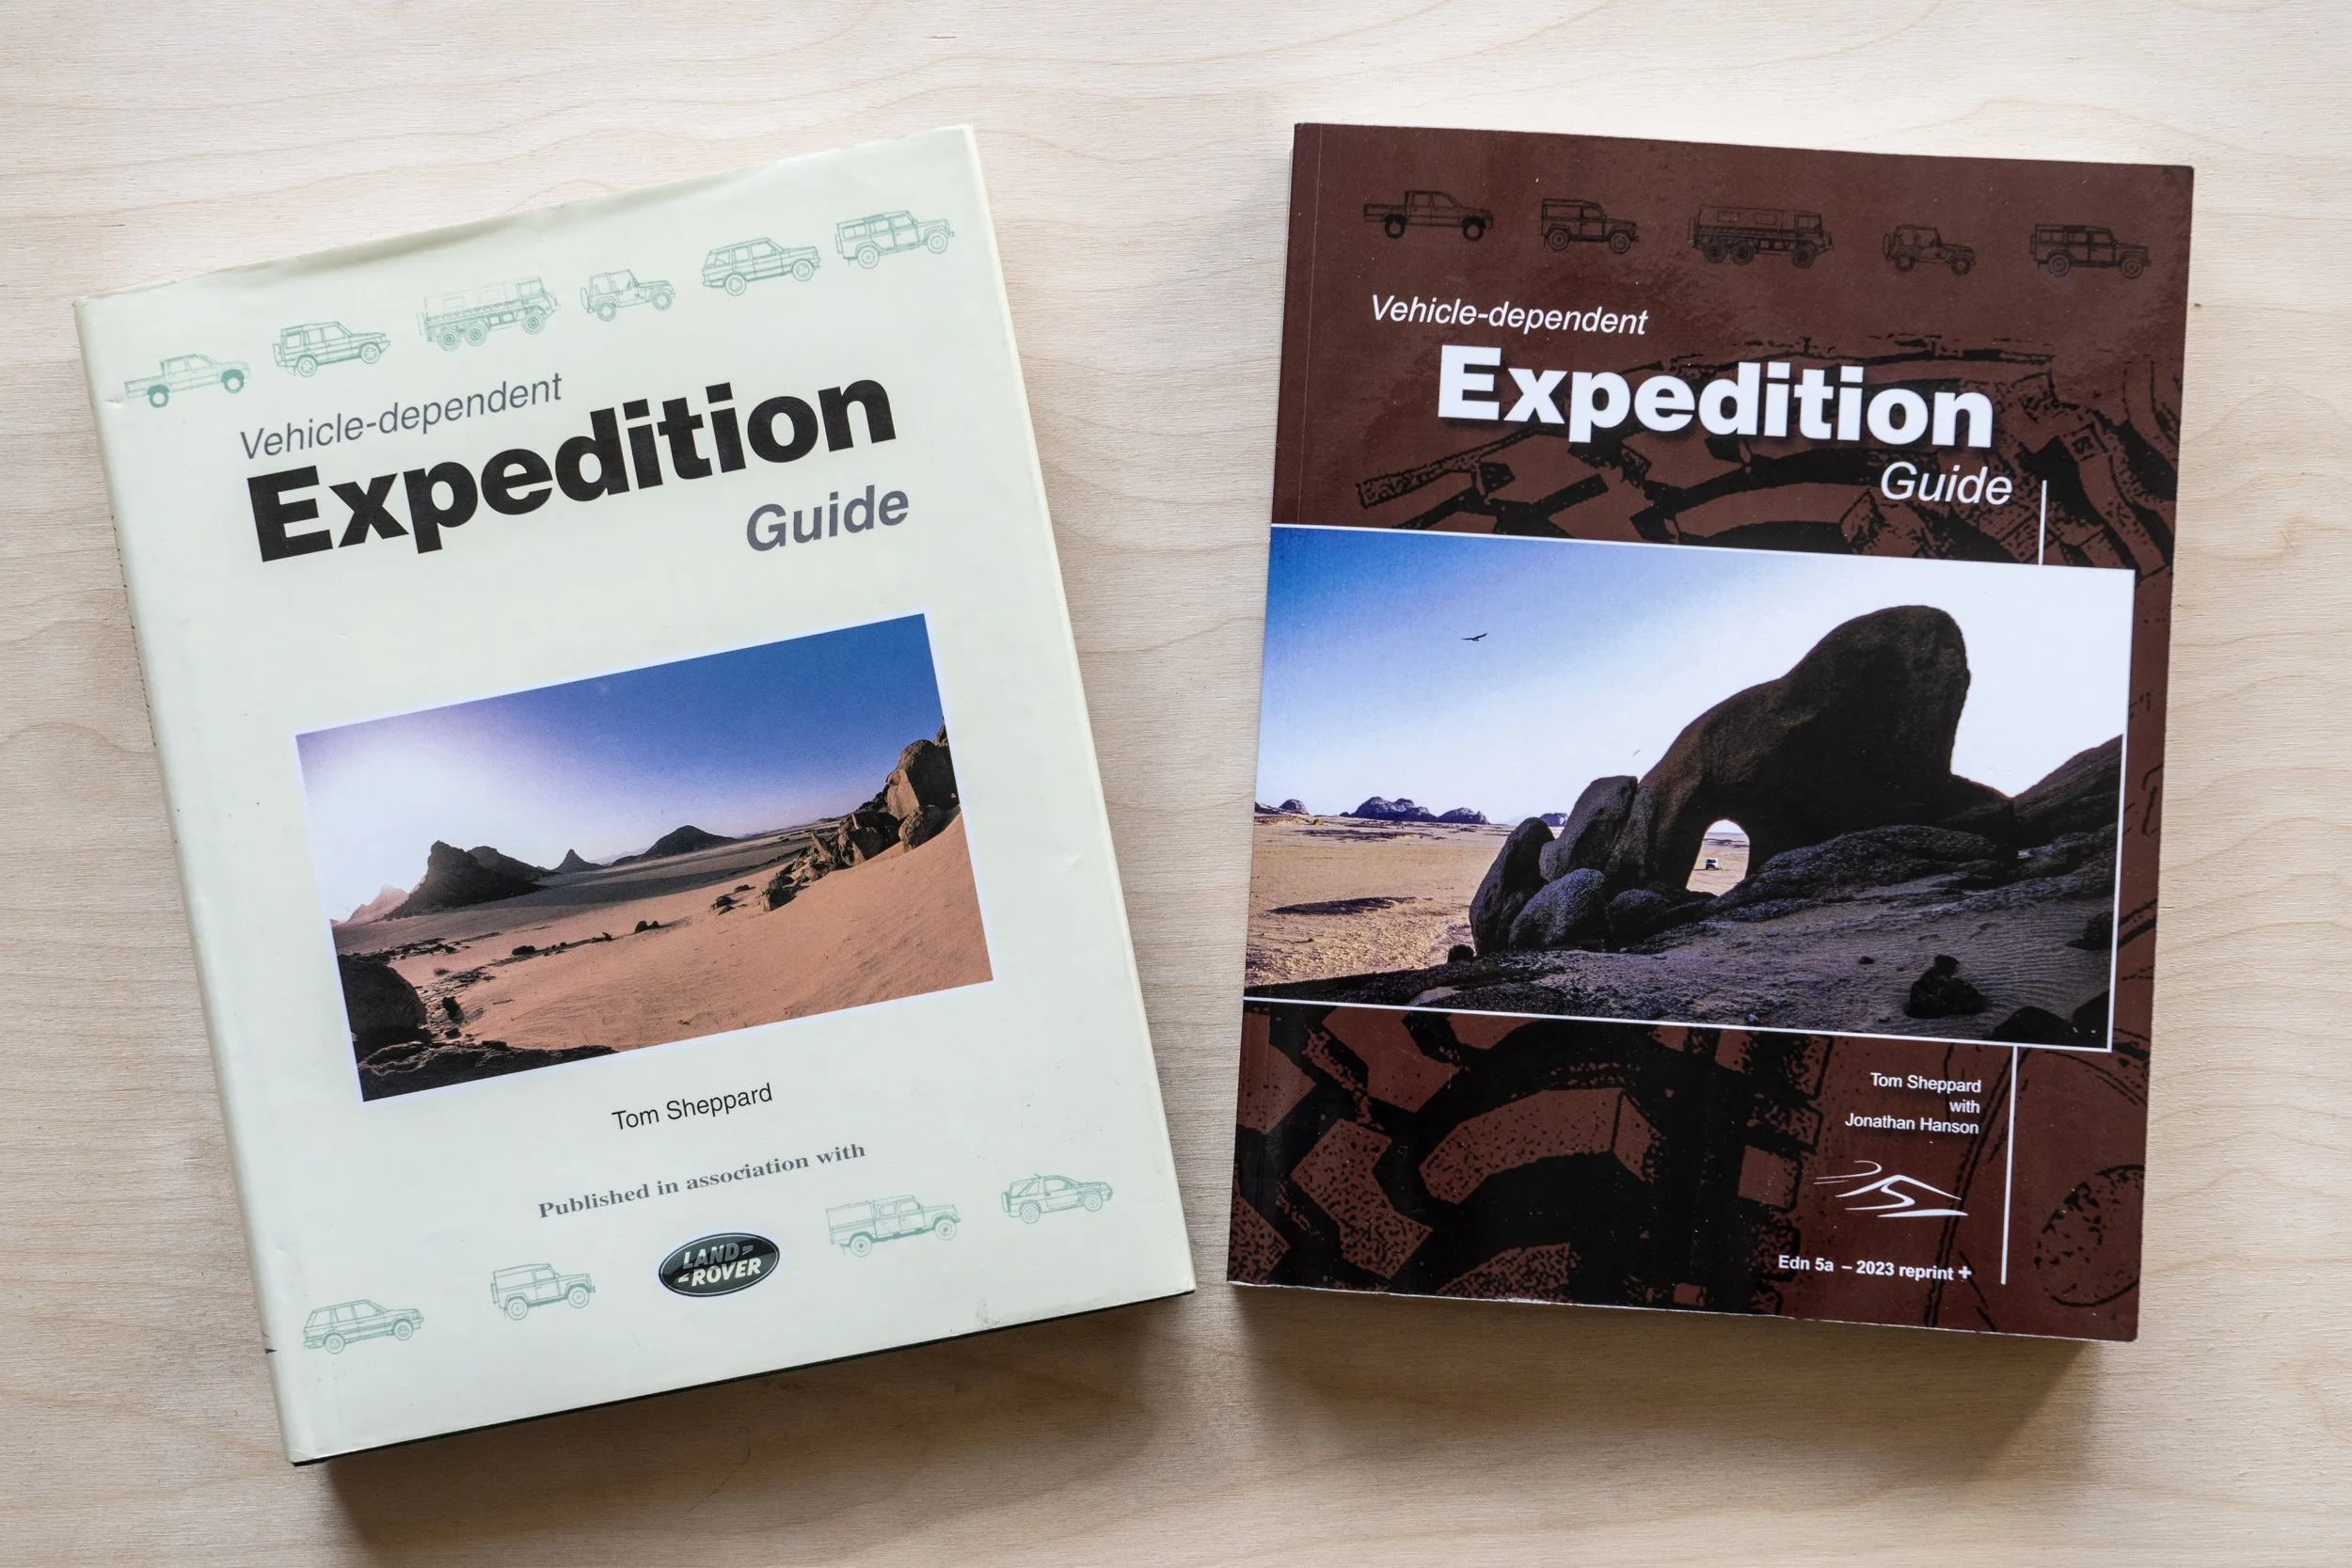
Nearly 30 years ago, Tom Sheppard published the first edition of the Vehicle-dependent Expedition Guide under the auspices of Land Rover. The book quickly gained a reputation as the definitive guide for anyone planning remote vehicle-based travel, whether a weekend jaunt in Montana or a month-long research expedition in Mauritania.

I bought my first copy in 1999, and instantly fell under its spell: a fanatically detailed, practical guide that also inspired dreams of far horizons. The author’s background as an RAF test pilot showed in his meticulous dives not only into vehicles, driving, provisioning, and shipping, but clothing, communications, group leadership—even an investigation into the chemistry of automotive oils that could have come from a BP engineer. “Definitive” was not merely ad-speak for this book. And those images of Land Rovers crossing Sahara dunes kept me up at night forging far-fetched plans—many of which were subsequently realized.

Sheppard soon assumed full responsibility for the VDEG (as its author and fans refer to it), giving him much greater editorial freedom, and he kept abreast of new vehicles and technologies with frequent revisions and new editions.

In 2015 I was honored when Tom, by then a good friend, asked me to come on board. Together we significantly enlarged the VDEG to over 600 pages; four solid pounds covering the massive increase in overland-oriented products introduced in the previous decade, as well as new driveline, navigation, and communication innovations. That edition itself has been updated several times, most recently with an increase in physical size and larger print and photographs.

As Tom closed in on his 90th birthday, he mentioned the possibility of slowing down a bit (although he still rides his BMW from Great Offley into Hitchin for grocery shopping). And finally he let me know that the current print run would be the last. The Vehicle-dependent Expedition Guide is now out of stock on both sides of the Atlantic.

However, a well-known 4x4 trainer in the UK, who specializes in teaching special forces units and who uses both VDEG and Tom’s equally authoritative 4x4 Driving, offered to pay up front for one last run of 100 copies to keep providing to his students, at least for a while. Tom decided to increase the run to 140 copies and offer the extras for sale.

Thus I’m happy—if a bit conflicted as well—to announce a very limited opportunity to purchase one of the last 40 copies of the bible of overland travel. I have a list of those already signed up; if you’re willing to commit to a copy as well please contact me via email. This will on be a first-come, first-served basis, of course. We’re limiting the offer to one copy per customer please. The orders and payment will go directly to Tom in the UK once the books are printed; given the current favorable exchange rate, the final price will be little, if at all, higher than the last $80 cover price and U.S. shipping.

Pelican Air 1535: The best carry-on for adventurers?

Left and right: same weight.

Does anyone else reading this think there should be a law that commercial airliners be built with overhead storage space actually equivalent to the number of seats?

Until there is such a rule—and, to be fair, until airlines start cracking down on passengers who heave on board bulging suitcases laughably larger than the little trial box next to the gate desk—the struggle to snag overhead space during boarding will continue to resemble trench warfare. And if, like me, your carry-on holds such critical equipment as cameras (plus associated lithium batteries), lenses, and binoculars, you do not want to be forced at the last minute to have it stuffed (“Free of charge!” as they always say, gee thanks) in the cargo hold. That’s why you have a carry-on.

If you are lucky or quick or vicious enough to successfully place your bag in the overhead bin, you know you cannot expect that any care will be given to it by subsequent aspirants to the space. It needs to be as crush-resistant as a bathyscaphe (ooh . . . too soon?).

Twenty five years ago I bought my first Pelican case, a 1500 with a padded camera-organizer interior made by Lowe Alpine systems, and used it on my first assignment to Africa. On one game drive in Zambia it was on the back seat of an open Land Rover, and while I was in the front seat and the vehicle was moving at a good pace down a track, another passenger tried to move it and wound up tipping it over the back just as I turned and watched in helpless horror. The (fortunately closed and latched) case cartwheeled end over end for about 20 feet before coming to rest in a pile of elephant dung. It, and the cameras inside, emerged unscathed, and I’ve been a Pelican disciple ever since.

Thus, several years ago I settled on a 1510 Protector as my carry-on—actual, legal, carry-on size. It was, like all Pelican cases in the line, completely water- and dust-proof, and laughed off the efforts of fellow passengers to abuse it. It rolled on two wheels with an extendable handle (I hate the “walk-the-dog”-style four-wheeled cases, which render their owners nearly two humans wide on a crowded concourse), it was lockable, and, set upright, served nicely as a perch at airport gates equipped with fewer seats than the aircraft parked outside (don’t get me started on that one). It served me flawlessly on many flights to several continents.

The only problem with the 1510, at least for flying, was weight. It scaled at exactly 12 pounds empty, thus contributing significantly to its total load. Given the recent habit of some carriers—looking at you, New Zealand Air—to limit (and check) carry-on weights, this was an additional drawback.

A few years ago Roseann bought one of the then-new Pelican Air cases, a 1535, virtually identical in dimensions to the 1510 but a full three and a quarter pounds lighter. Pelican says it’s made from “HPX” polymer, which is up to 40 percent lighter than their regular material. I admit to being skeptical that the Air could hold up, but Roseann’s proved—at least for the purposes of air travel—every bit the equal of the 1510. Crush-proof, sit-on-able (although I wouldn’t stand on the lid as I do with the 1510). It still incorporates stainless-steel padlock protectors and a pressure-equalization valve, and is IP-67 and MIL-SPEC certified. The wheels roll on stainless-steel bearings, as in the heavier case.

I wondered what that three-pound, four-ounce weight reduction represented in terms of contents, and discovered that my Sony A9, mounted with a 24-105 zoom, weighs three pounds two ounces. So call it the camera, lens, and an extra battery. That’s an impressive savings. We’re now a two-1535 family.

One of the things I like most about Pelican is that they constantly look for ways to improve. The newer 1535, for example, has the effortless push-pull latch system, which Roseann’s does not, and also a center handle on the vertical top of the case, for more versatile handling. Finally, there’s a nifty business-card holder/ID case only accessible with the lid open.

Perhaps my sole, niggling reservation is the plastic issue. However—remember my original 1500? It’s still perfectly functional and used regularly, and is likely to last at least another quarter century. At least that sets it apart from single-use plastic bags and water bottles. Here’s hoping Pelican eventually develops a completely recyclable polymer.

That aside, the Pelican Air 1535 comes highly recommended.

Reinforced padlock eyes, effortless push-pull latches, pressure-compensation valve, and sturdy business/ID card holder.

Pelican is here.

The ARB Bushranger exhaust jack . . . yea or nay?

ARB's Bushranger exhaust jack (along with its many copies) is like no other lifting device. It uses exhaust pressure from the engine (or, via a Schrader valve, an air compressor) to lift up to 2,000 kg (4,400 pounds) up to 30 inches. When deflated the envelope is barely three inches tall, and will fit and subsequently lift where no other jack can operate.

The bottom of the jack is peppered with grippy rubberized teeth; in addition its flexible nature enables it to wrap around a cobbled or even bouldery substrate where any standard jack base would slip. The top is surprisingly tough, and also comes with a separate protective mat to place between the jack and any sharp protuberances. It should of course be kept away from direct contact with the exhaust system. (The jack includes a repair kit.)

The Bushranger's 25-inch diameter gives it a huge footprint that supports it on top of nearly any substrate that doesn't have a current. There is no sand soft enough to defeat it. However, the 30-inch maximum lift height can be defeated depending on circumstances, the height of your vehicle's chassis, and the suspension on the vehicle. You can alleviate this by placing boards between the top of the jack and the chassis, or even simply piling up more sand (or rocks) underneath it.

Deploying the Bushranger takes less effort than virtually any other jack, except perhaps for a 12V electric model. As long as your exhaust outlet is round, not rectangular or elongated, just cram the jack's rubber cone over the tip after positioning the bag. It will rise quickly, and you can pause the process to reposition if necessary (the bag won't deflate). I found it helps to have a second person in the vehicle to raise the idle to prevent the engine bogging.

Keep in mind that, no matter how sturdy the bag is, it's still a giant balloon. The vehicle will not sit firmly atop it but can wiggle considerably back and forth. You obviously will not do any work under a vehicle supported only by an exhaust (or any other) jack. You could change a tire using it, but even this is better accomplished with a standard bottle or scissor jack under an axle.

The Bushranger is not particularly light at 20 pounds, and despite fitting into a nearly flat storage bag the diameter can make it bulky to store. It takes up considerable volume in my FJ40, which is one reason I've never carried it on solo trips. In a large truck, or for a group trip, it would serve as a useful alternative to a Hi-Lift jack in many recovery situations, and its operation is considerably less fraught.

ARB is here. However, finding the Bushranger jack is absurdly difficult. A simple Google search is easier.

Essential overland kit? The Suri sustainable sonic toothbrush.

Okay, okay. I know oral hygiene is on the “lite” side of subjects for an overlanding column, but bear with me.

For years and years I resisted electric toothbrushes. My only experience with them was an early model that did nothing but wiggle back and forth, which I felt perfectly capable of doing on my own. But a few years back, a friend gave me a modern unit (he had got two on a deal), and I realized that the newer technology really did seem to clean better than a manual brush (several independent studies bear this out). I was more or less sold.

Why more or less? I still didn’t like all the extra plastic and electrics, and to my horror, when the battery died on that first one I discovered it wasn’t replaceable. A kit on Amazon promised a fix, but after disassembling the unit and trying some extremely precise de- and re-soldering, I gave up. The hygiene angle kept me a customer, but reluctantly.

The other issue involved taking the thing camping. The electric brush was bulky, and of course was yet another item that needed recharging off an inverter. And I was reluctant to use the thing when we were camped too near others, expecting snickering.

That’s changed with, of all things, a link on Instagram, a pitch for a “sustainable sonic toothbrush” called Suri. The website showed an extremely compact brush with an aluminum body, and, more importantly, a factory-replaceable battery. How about those disposable brush heads, of which, the company says, over four billion are discarded worldwide each year? The Suri’s plant-based plastic heads are not only recyclable, the company includes a postage-paid envelope to send them back (suggesting that you save up three or four at a time to save them shipping costs). Finally, the Suri’s recharger is tiny, and uses a USB connector, making recharging much, much easier on the road.

Done. Ordered.

I wondered if the Suri’s compact design would mean its smaller motor wouldn’t clean as well as our regular brush, but to my (our) surprise found it at least as good if not better. I’d originally thought it might be just a traveling brush (it claims a 40-day battery life; if it’s half that I’d still be impressed), but it’s taken over as our main unit. I’m planning to buy another for our place in Fairbanks. (The unit comes with a clever stick-on magnetic holder that adheres to the inside of your medicine cabinet.)

So there you have it: my slavish endorsement of  . . . a toothbrush. I’m happy to support a company that seems genuinely to be trying to reduce its impact on the planet.

Suri is here.


Parabolic springs: What exactly are they?

ARB/Old Man Emu recently announced, with great fanfare, a rear suspension kit for the 70-Series Land Cruisers that includes a two-leaf parabolic spring for each side, plus adjustable air bags to compensate for overload conditions. It can replace a standard semi-eliptic spring pack that might require 12 or more leaves to support an equivalent load.

Other manufacturers, such as Terrain Tamer, have also introduced parabolic springs kits for 70-Series Land Cruisers, as well as Series II and III Land Rovers.

But what exactly is a parabolic spring? And is it really better than a standard leaf spring?

The individual leaves of a standard, semi-eliptic, multi-leaf spring pack are stamped and then bent from strips of heat-treated, medium- to high-carbon steel, more or less rectangular in cross section, and of consistent thickness and width the length of the leaf (except for, in some cases, when the ends are rounded or have the corners relieved). When attached to a simple pivot at one end, with the other free to rotate a movable shackle, a single leaf resists bending in a fairly uniform fashion throughout its travel. To increase strength—that is, load-carrying ability—and add progressive resistance, progressively shorter leaves are added beneath the top leaf, held loosely in place with floating brackets that do not restrict movement. As the spring pack is compressed, each leaf slides against the adjacent leaves. This inter-leaf friction results in a self-dampening effect—unlike, for example, a coil spring, which has little internal resistance and relies almost entirely on a shock absorber (damper) to control oscillations.

However, that inter-leaf friction also degrades the ride quality of a leaf spring as well as its compliance—the ability to compress or extend fully. And this effect worsens as the spring gets dirty and/or rusty. Some manufacturers (such as OME) install replaceable anti-friction pads at the leaf tips, which help noticeably but do not eliminate the problem.

Years ago a few manufacturers—among them Nissan—attempted to create a progressive-rate leaf spring by making the leaves thicker in the middle, tapering in a linear fashion to the tips, as in the (very) simple schematic below. This involved a relatively easy manufacturing process. However, these “taper-leaf” springs proved less than ideal as bending stresses were not evenly distributed through the length of the leaf, resulting in weak points and failures.

Enter the parabolic spring.

While it’s difficult to discern looking at it from the side, the thickness taper of a parabolic spring follows a complex mathematical formula. Rather than simply tapering straight from the center of the leaf to the end, a parabolic spring looks like an extremely stretched-out version of the illustration below. As you might imagine, it’s significantly more difficult—i.e. expensive—to design and manufacture than simply stamping out flat lengths of steel and piling up enough of them to support a load.

The results, however, are worth it. Not only is a parabolic leaf progressive in its operation, it is also nearly as compliant as a coil spring due to the lack of internal friction and stress. Theoretically a single parabolic leaf would be sufficient to function as a spring; however, due to the ramifications if the leaf did break, most parabolic spring kits for vehicles comprise at least two leaves, and the lower leaf will have a full military wrap on each eye, to contain the upper spring should it break. These leaves touch only at the spring seat in the middle, and at the ends, so there is virtually no interleaf friction. Most kits also include a free-floating overload leaf that only engages under high load or compression. The illustrations below are from a (densely technical) Researchgate-published paper on leaf spring design, available to read or download here.

There’s more: A parabolic spring equivalent in load-carrying capacity to a standard multi-leaf spring weighs at least 30 percent less, drastically reducing unsprung weight and further improving ride and handling. Convert an all-leaf-sprung vehicle to parabolics and you could take 80 pounds off its total mass.

The conversion job is straightforward, no more complex than changing out standard springs, although the vehicle will almost certainly require new, firmer shocks to compensate for the loss of inter-leaf friction. Series Land Rover owners I know who’ve converted describe it as “transformative.” This diagram shows the magnitude of travel possible with a parabolic spring system, as well as the longitudinal “S” deformation any leaf spring undergoes during severe braking.

While it’s easy to find parabolic spring kits for Series Land Rovers and the 70-Series Land Cruisers, diligent searching revealed no such kits for my FJ40, although I heard that one company did offer them for a while years ago. Damn.

Incidentally, there is no relation between the terms “semi-elliptic” and “parabolic” in leaf spring terms. Semi-elliptic refers to the shape the entire spring pack assumes from the side; if one were to draw this shape out into a connected oval, it would be roughly elliptical. A parabolic vehicle spring pack assumes this same profile and is thus also semi-elliptical.

ARB is here. Terrain Tamer is here.

OME MT64: OME's answer to Bilstein?

My FJ40 has sat atop ARB’s Old Man Emu suspension for over 20 years, and our HZJ75 Troop Carrier is equipped with it as well. OME leaf springs—selectable for varying permanent loads from stock to heavy-duty—improve on the ride offered by factory springs while offering more load-carrying ability. And OME’s twin-tube, low-pressure nitrogen-charged Nitrocharger shock absorbers—or dampers to use the technically correct term (not “dampener”)—have never failed us or shown signs of fade, even on day-after-day-long stretches of Australian corrugations.

So I am understandably an OME fan, and I pay attention to new developments. I wasn’t surprised when the company introduced their ultra-premium, internal-bypass, BP51 shock—it made sense to go head to head with such brands as Fox and Icon, with a shock that incorporated high-performance technology to better the Nitrocharger’s ride at low to moderate speeds while also bettering its high-amplitude damping. If the BP51 were available for our Troopy I would seriously consider spending the cash to upgrade.

I was surprised, however, to learn about OME’s new shock, the MT64 (MT64 referes to monotube construction and the shock’s stout 64mm diameter piston). I’ve watched in the past as companies diluted their product lines with so many choices that consumers simply gave up trying to understand the differences and switched to another brand. ARB descibes the MT64 as sitting between the Nitrocharger and BP51 in performance and price.

Hmm. I looked at the specs. Indeed the MT64 splits the difference in price. But is there really a need for a shock that is “halfway” between the two in performance? I looked at the construction, which is neither the twin-tube, low-pressure design of the Nitrocharger nor the internal-bypass (or any bypass at all) of the BP51, but a monotube, high-pressure gas-charged format. In its front strut configuration it offers adjustable ride height.

Then it hit me: The MT64 is OME’s alternative to Bilstein.

Bilstein shocks have long been a popular upgrade to factory shocks—they’re reasonably priced, offer definite performance gains, and carry a storied name to boot. The Bilstein 5100 is a common swap; more recently, the beefier 6112 front strut assembly has become the go-to shock for those with typically overloaded overland rigs.

Consider the MT64 front strut assembly alongside the 6112: Both are monotube, high-pressure gas-charged units with enlarged oil/gas capacity, a floating piston to contain the nitrogen gas, and adjustable ride height. For fans of high-pressure gas-charged shocks, the MT64 offers an obvious alternative to Bilstein. So how do they compare in terms of specifications?

The MT64’s piston is 64mm in diameter (it’s actually 63.5 but that’s not very catchy); the shaft is 22.2mm in diameter. The (monotube, remember) aluminum body is 71mm across.

The Bilstein 6112 has a 60mm piston and an 18mm shaft, in a steel body 67.3mm in diameter.

I see what you did there, OME. The MT64 is just a bit beefier in every dimension, a contrast that will play well in comparison tests—and likely on the trail as well. Visually, the MT64’s forged aluminum body caps also appear sturdier than those on the 6112. I liked the plastic guard over the shaft, which should help protect it from grit blasting (although not as well as the full cover on the Nitrocharger), and the natural rubber bushings rather than wear-prone heim joints.

There’s one other important difference: The MT64 is fully rebuildable; the Bilstein 6112 is not.

The MT64 is offered in both strut and standard configurations, so you can run the same basic shock on strut or conventional front suspensions, and the rear as well. The Bilstein 6112 is only offered as a strut assembly for front suspensions; for rear shocks most will choose either Bilstein’s B8 5100, a significantly smaller unit with a 14mm shaft and a 46mm piston, or the B8 5160, essentially the 5100 with the advantage of a remote reservoir.

Perhaps what is more important than the differences between these two shocks is what they share in common: their target audience.

High-pressure gas-charged shocks such as these and similar models are marketed toward those who want more of a sporting—i.e. firmer—initial response in ride and handling, compared to a typical twin-tube, low-pressure design. Advertising descriptions usually include references to “spirited” driving, and promo videos rarely fail to show at least a few scenes with two if not all four wheels in the air. It is, sadly, a typical approach: Manufacturers make lots of noise about “treading lightly” while overtly encouraging just the opposite.

Not too long ago I watched a (very well-filmed) video about a group of guys playing Ivan Stewart with several overland-kitted vehicles on a (public) dirt road in Baja—a route I know well. Lots of whooping and flying gravel, and inset frames boasting their current speed. One of them finally managed to stuff his friend’s Jeep Gladiator into the desert and fold the chassis into a notable inverted V. Incredibly, rather than slinking home and considering a different approach to traveling in a foreign country, they went right on partying as if this were an unfortunate but completely normal contingency for a bro excursion. Sadly, this video—and the attitude—is far from unique.

Sorry, where was I? Right: If you travel like I do, with mechanical sympathy for your vehicle uppermost in your mind, enjoyment of your surroundings second, and preservation of the environment and the trail a close third, you don’t need shocks that can shrug off repeated jumps. If you prefer the slightly sharper on-road handling high-pressure gas shocks provide, that’s great. But for comfortable, reliable, long-distance travel, a well-built twin-tube shock such as the OME Nitrocharger, properly specced to your constant load, will serve you well. If you want a more sophisticated ride, as well as the ability to adjust both compression and rebound damping—and you have the funds—then by all means spring for the superb BP51.

ARB is here. Retailer Vivid Racing is here.

Artificial rain gutters from Lkonwee

I needed to mount our Yakima rack to the fiberglass A.R.E. shell on our Alaska Tundra, and since our Yakima towers have standard rain-gutter clamps, I needed artificial rain gutters. After some searching, I decided on a set from the oddly named Lkonwee on Amazon. They weren't cheap at $52, but after installing them, I'm convinced I actually got an excellent buy.

The brackets can be mounted vertically on the side of the shell, or horizontally on the roof. I chose side mounting to keep the overall height of truck and boats as low as possible.

The brackets came with full-size backing plates for strength, and were nicely powder-coated, with matching black-anodized hardware. The square-shouldered carriage bolts fit through square holes in the brackets, meaning installation is a one-person job since you don't need anyone on the the outside holding a wrench on the head of the bolt. It also makes for a much cleaner appearance.

The gaskets, too, were excellent, with a double ring around the bolt holes and a nice raised perimeter.

The gutter itself is deep and secure, and two small raised bits on the bottom would help prevent the rack sliding if you got hit by a big gust of wind or had to panic brake. Well-recommended.

One installation note: Our shell is lined with an ozite-type material, which wasn't completely glued down where I drilled the first hole, with the result that it bunched up and twisted around the drill bit, leaving a fat wrinkle no matter what I did to push it back into shape. For the remainder of the holes I was careful to barely drill through the fiberglass, then poke a hole in the carpet with an awl.

Lkonwee brackets are on Amazon here.

Get one while you can: The REI Trailgate

Last year Roseann drove our inherited RAV4 up through Idaho and into Montana and Wyoming to speak at the Northern Rockies Nature Journaling Conference and then run one of her field arts classes at the historic Spear-O-Wigwam guest ranch in the Bighorn Mountains. To provide shelter from sun and rain while camping she bought a “Trailgate” vehicle shelter from REI. Not only did it serve her well, it survived a direct hit from a very large section of a tree during a windstorm, winding up only slightly cock-eyed. She came back completely sold on the product, and we brought a second one to Alaska to use with our Tundra. After two trips with it up here, I’m sold as well—and I just read it is being discontinued and is on sale at REI for a pittance: $104.

The Trailgate uses a single tensioned aluminum pole of substantial 12.8mm diameter. It can be anchored in calm donditions with just two takes at the back, in addition to the straps that connect it to the vehicle via the wheels—either wrapped around the rear tires or threaded through the wheels. (You could also simply stake the ends to the ground alongside the vehicle.) The fabric is UV-resistant polyester, and the total covered area is about 100 square feet. With a tailgate kitchen and chairs placed under the arch of the canopy, we had plenty of room to cook, eat, and relax while staying out of a drizzle camped next to the Klutina River. The canopy drained perfectly. If you don’t need full coverage, the back panel can be unzipped and rolled up.

We found that the Trailgate fit the full-size Tundra better than it did the RAV4, although it was perfectly functional on the smaller vehicle. If you’re in the market for a shelter of this type, grab one while you can.

REI is here.