Visual Arts

Field Sketching Course at Tumamoc Hill

--HALF Tumamoc-art-science-course_2020_1-20 copy.jpg

“We have misfiled the significance of drawing because we see it as a professional skill instead of a personal capacity . . . This essential confusion has stunted our understanding of drawing and kept it from being seen as a tool for learning above all else.” (author and artist D.B. Dowd)

Drawing greatly enhances our enjoyment of and learning about the natural world—and it’s a skill that anyone can acquire with instruction and practice.

Join me and the Tumamoc Art & Science team this spring for our Drawing Skills for Field Notebooks, an 8-week course.

Take all 8 for a discount, or “a la carte” to take one or several for just $80 each. Sessions run from 9 am to noon every Saturday from March 7 through April 25.

During the course you will go behind the scenes of the Desert Laboratory on Tumamoc Hill and learn techniques for observing, drawing, and keeping a field notebook with artists Paul Mirocha, Bill Singleton, Barbara Terkanian.

Tumamoc classes are a unique blend of art plus science: sessions will include not only art instruction but also lectures and interactions with research ecologists and naturalists. There is a high student-to-instructor ratio.

The course is suitable for all ability levels: non-artists, artists, scientists, naturalists, and curious lay people—we tailor each class to help everyone learn both drawing skills and the ecology of Tumamoc's denizens and landscape.

$80 per session, or all 8 at a discount—$550. Register now:

Desertlaboratory.eventbrite.com

For more details on each session, visit the Tumamoc website:

Tumamoc.arizona.edu/art-and-science/course

Observation skills: Heaven as a color

"Study of a peacock's breast feather" by John Ruskin (1873)

"Study of a peacock's breast feather" by John Ruskin (1873)

I have to draw a peacock's breast-feather, and paint as much of it [as] I can, without having heaven to dip my brush in.

This "Study of a peacock's breast feather" (1873) is an exercise in understanding by close observation and drawing. In the process, Ruskin saw that the tips of each filament were composed of "glowing" tones and "rainbow iridescence."

John Ruskin was a British polymath, and well worth getting to know. As a writer, he commanded international respect. He was an art critic and an art patron, a skilled draughtsman and talented watercolourist, and a fierce critic of prevailing social and political norms.

He wrote about nature and architecture, craftsmanship, geology, botany, Greek myth, education—a dizzying variety of subjects. Driven by his deep faith in social justice, he established the Guild of St George in the 1870s to right some of the social wrongs of the day and make England a happier and more beautiful place in which to live and work. He gave the Guild a substantial art collection for the benefit and education of the working people of Sheffield, where it thrives to this day (Guild of St. George).

Of note, he championed four great themes throughout his life, all of which are worth re-visiting for us all today:

  • No wealth but life. Ruskin abhorred the bad business practices that made the rich richer yet condemned ordinary people to drudgery and poverty.

  • The rural economy. Ruskin argued that work should be creative, fulfilling and rewarding.

  • Not for present use alone. Ruskin was inspired by old buildings and believed we should make beautiful things that will last.

  • Go to nature. For Ruskin, the natural world was the primary source of beauty, inspiration, and education, and the foundation for artistic practice.

I highly recommend a pleasant afternoon curled up by the fire reading both Ruskin’s works and the Guild of St. George website, for a lighter taste of this great thinker’s works.

Early bird notice: Nature Journaling class February 21 - 23, 2020

L1000155.jpeg

Save the date—February 21–23, 2020—for my next nature journaling class. I’ll be offering Nature Journaling: Learn the art of seeing and recording the world around you at the beautiful botanical garden Tohono Chul Park in northwest Tucson.

Keeping a nature journal can both deepen your connections to the natural world and help you learn more about it. Neither science education nor art training is needed—you will develop the skills of a naturalist and a field sketch-artist along the way. 

“Your observations, questions, and reflections will enrich your experiences and develop gratitude, reverence, and the skills of a naturalist . . . If you train your mind to see deeply and with intentional curiosity . . . the world will open before you.”            - John Muir Laws, artist, naturalist, and author

In this class we will learn how to practice “intentional curiosity” as the core of nature journaling: to ask questions, to dig deeper, to focus our minds both intently and intentionally.  

Email me or use the contact button and I’ll put you on the notification list when registration opens.

Praise for past workshops:

My sincere thanks . . . for giving me the opportunity to learn nature journaling.  I had been considering nature journaling for many months but had not jumped in—not knowing how to approach the journaling or what supplies to use. I learned all that in your class and also had the opportunity to see how others are approaching the process.  Well, I “broke ice” in your class and put pen and paint to paper; what a wonderful feeling to finally have that door open. Since your class,  I have gathered some supplies, constructed a small kit and have started journaling. I will always be grateful for the gift you have given me.”

- Paul in Tucson

Watercolor Basic Kit for Beginners

Mini kit detail 2.jpg

In working with beginner nature journalers who want to add watercolor to their pages, I have noticed that whenever someone is struggling, if I talk with them about their supplies, they are almost invariably using inexpensive student-grade paints (either in pans or from tubes) and cheap brushes.

I’m a big fan of using good quality paints , brushes, and paper from the outset. The top reasons are:

  • Inexpensive or “student grade” paints are often boosted with filler (chalk) and they can sometimes be difficult to blend, nor do they flow or cover as well. Pure-pigment professional paints such as Daniel Smith’s Extra Fine Watercolors (there are many great brands: M. Graham, Winsor Newton, Schmincke) flow beautifully and have rich colors that blend well. Winsor Newton, Daniel Smith, and Holbein also make professional quality dry cake paints, available in half-pans (NOTE: Be aware that Winsor Newton "Cotman" products are student-grade. Look for the word "Professional" in the product description.)

  • I prefer tube paint that I dispense into half or full pans. It’s much more economical than buying pre-filled pans, but most of the top makers produce excellent pre-filled pans (see above). [A word of caution: sadly, avoid handmade paint makers on Etsy and similar unless you get a direct recommendation; I have bought from half a dozen, and all were poorly mixed or had a lot of chalk filler. Exception: Greenleaf & Blueberry paints are amazing, absolutely gorgeous. Email me if you know of other hand-makers who produce high quality.]

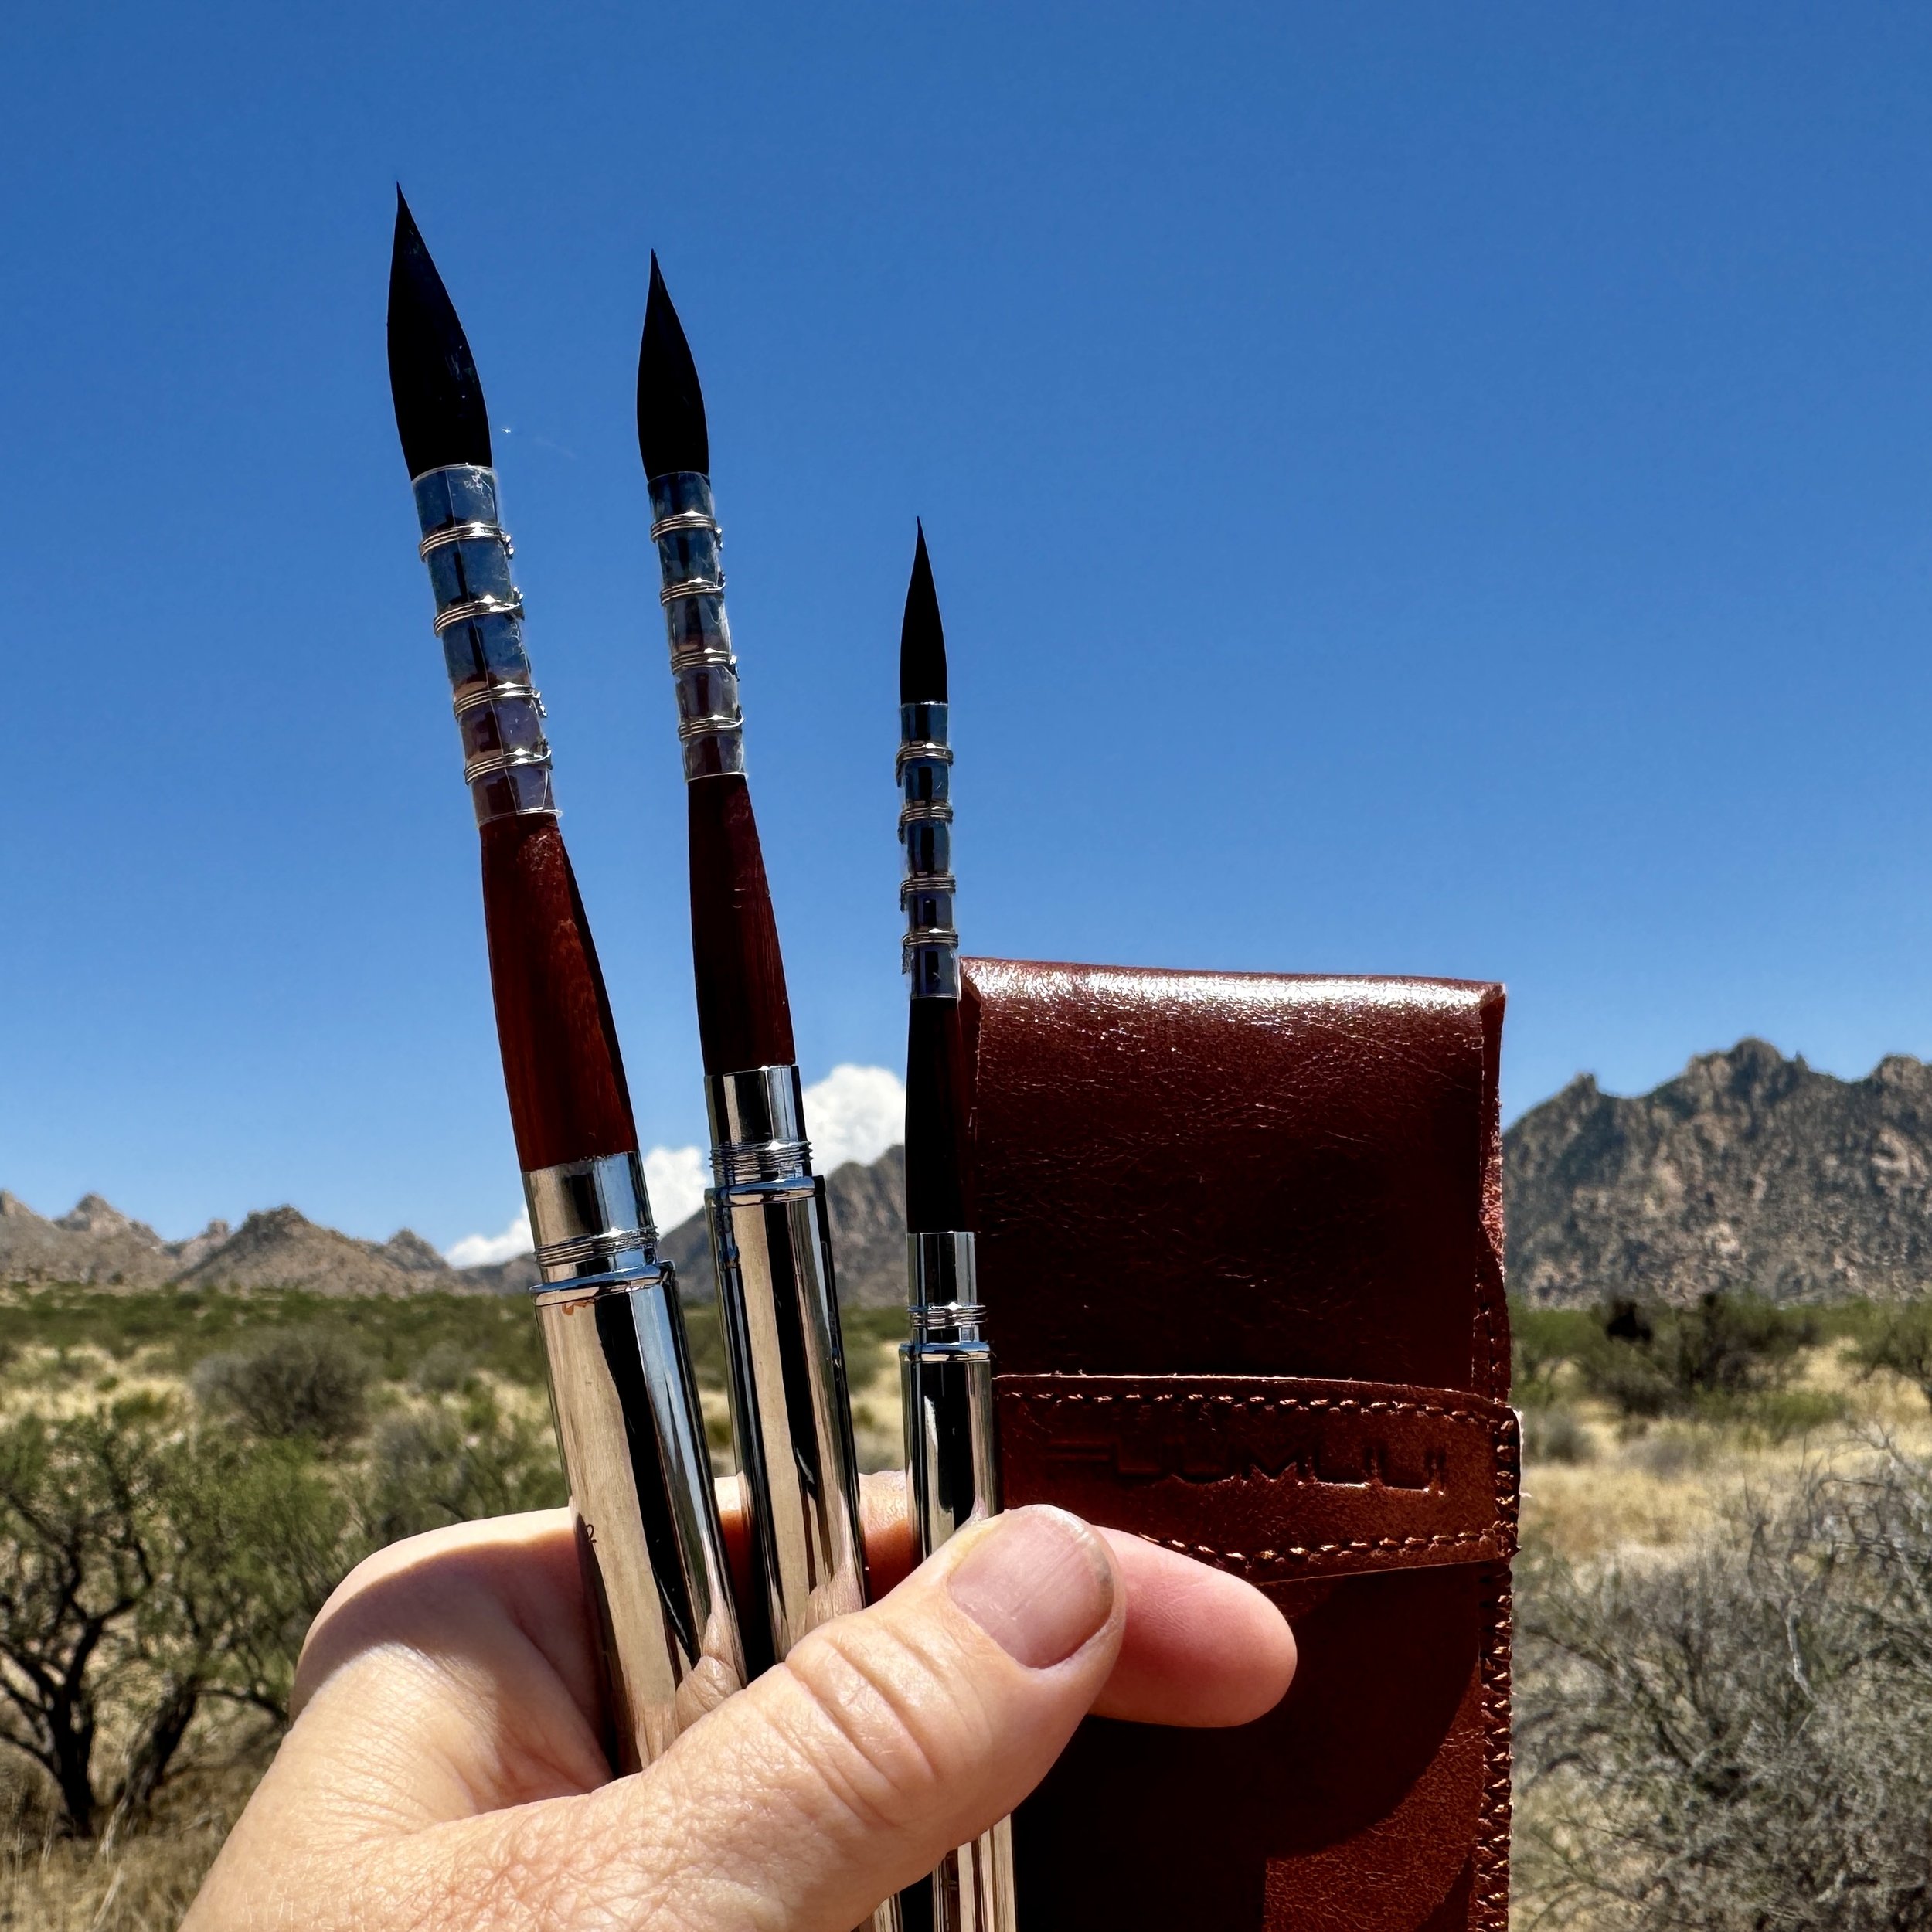
  • A good brush holds plenty of water, releases it with more control, and will have a nice, sharp tip.

    • You actually can paint anything in a nature journal with just one brush, a “round” style with a nice, sharp point. It can help to have one flat brush for a few things but it’s not necessary. I have a small flat travel brush but haven’t used it in over a year . . .

    • Look for a brush with natural bristles (squirrel is less expensive usually than sable) or a good combo such as those by Silver Brush Black Velvet; the #8 is only $20 and is a fantastic brush). You can cut the handle down for small field kits, if you like. My favorite is the Isabey squirrel mop travel brush (between $30 and $40).

    • In addition to a sharp tip, look for a good-sized “belly” for holding water.

    • Good brushes won’t shed hair onto your paper.

  • Good paper makes all the difference as it holds up to washes and is archival so it won’t yellow. Cheap paper will bleed through, saturate too quickly, and tear when wet. If it is really poorly made, it might have lignin, which will yellow and become brittle with age. Good paper isn’t necessarily expensive, either. For my journal, I buy 100% cotton (lignin- and acid-free), 90-pound, 9x6 watercolor paper from Bee Papers ($12 per 50 sheets). It also comes in 130-pound weight, which I find too thick for my journal, but would hold up to extensive water washes. However, I have not found the 90-pound to be an issue with washes. I add holes with a hole-punch.

Basic Watercolor.png

Beginners are also tempted to start with a bunch of colors. But I argue that keeping it simple is better and that learning to paint with a “triad” forces the beginner to learn about color relationships and value more quickly. With just five colors you can create any color you need, including blacks and grays.

A triad = cyan (blue), magenta (“red,” though red is not a primary because it is made from magenta+yellow); and yellow.

My current mini “stand up” color palette comprises:

  1. Old Holland Manganese Blue Genuine (a true cyan blue; I used to use Cobalt Blue, and it works just great as a cyan)

  2. Daniel Smith Quinacridone Rose Permanent (a true magenta, or “red”; it’s a gorgeous rich rose and can become a very stunning red with the tiniest bit of yellow; I used to use Alizarin Crimson, but you can’t get a magenta-y rose out of a red, but you CAN get a red out of a magenta!)

  3. Daniel Smith Aureolin Yellow (okay, I won’t go into full detail here, because this is aimed at beginners, but there are paints that are called “fugitive” because they can fade over time if exposed to light . . . and Aureolin is one of them; I still have a tube to go through, and I love it, and since my journals are not exposed to light I’m okay with that, but I’ll be looking to switch to a yellow such as Nickel Azo).

  4. Daniel Smith Burnt Sienna

  5. Daniel Smith Indanthrone Blue (I used to go without a dark blue, but for fast, rich blacks and fascinating grays, nothing beats Indanthrone Blue + Burnt Sienna).

  6. Clearwell Caves Purple Ochre (I’m having a love affair with this offbeat, rich, highly granular earth pigment from a 6,000-year-old ochre mine in England; it makes the most amazing rocks and earths, especially perfect for me now, working as Art and Science Coordinator at the Desert Laboratory on Tumamoc Hill, which is volcanic).

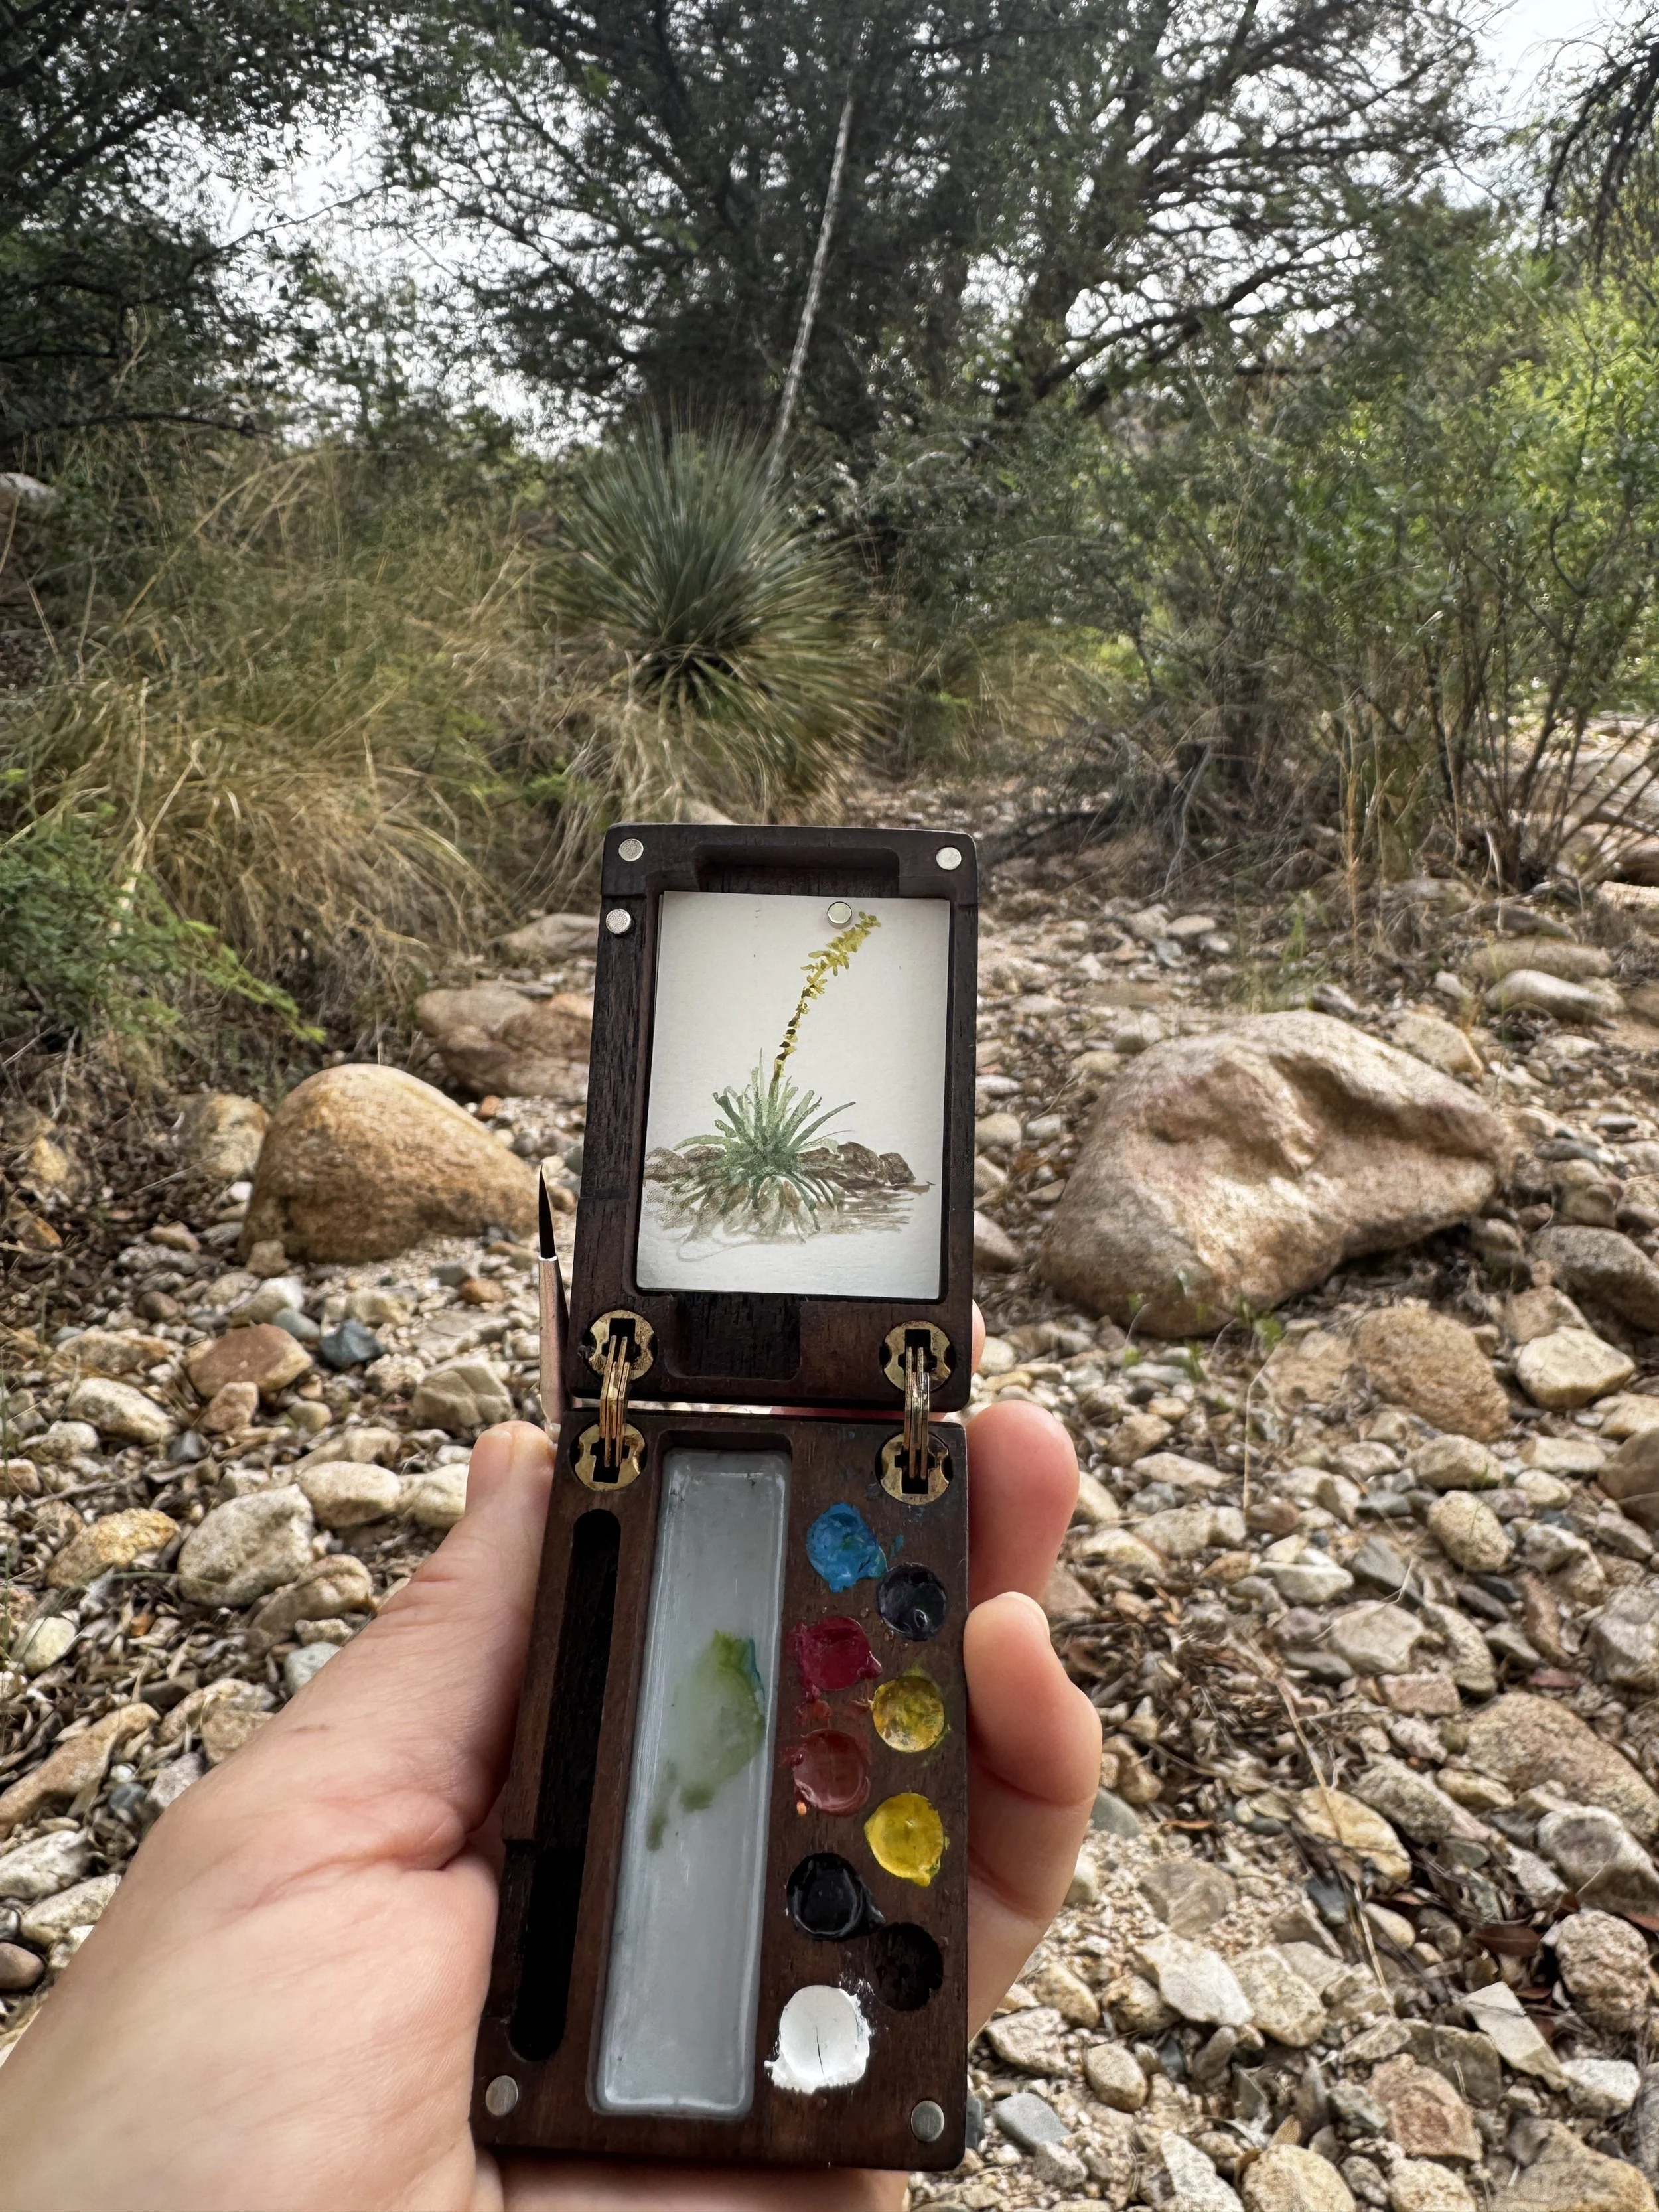
This was sketched with the paint from the palette listed above, while hiking up Tumamoc Hill; the rocks were painted with my burnt Sienna, indanthrone blue, and my wild-card favorite purple ochre from Clearwell Caves in England. Eventually, as you b…

This was sketched with the paint from the palette listed above, while hiking up Tumamoc Hill; the rocks were painted with my burnt Sienna, indanthrone blue, and my wild-card favorite purple ochre from Clearwell Caves in England. Eventually, as you become proficient with triad painting (cyan-magenta-yellow) you can add a few fun extras that suit your habitat.

Another benefit of mixing colors: you can create a puddle of variable green for example, which is sort of “marbled” (ie: not fully mixed) and when you use that to paint leaves it creates more natural variation and looks less “flat.” Painting something monotone is a beginner’s mistake, since rarely is something one pure color in nature.

I suggest starting with transparent colors because they blend beautifully into bright, clear colors and you don’t have to fuss with accidentally creating “mud” by blending too many opaque colors. I also tend to default (for rapid field sketching) to easily lifted colors, avoiding staining colors such as the pthalos.

Tip: watercolors come in different transparency levels, they come in different “sticking” levels, and are also rated for “granulation.”

  • Transparent watercolors do not blot out or cover other colors or lines already on the paper, and you can paint them over each other to create new colors (called “glazing”; you can paint a transparent blue over a yellow and it shows green, for example).

  • Non-staining watercolors can be “lifted” off the paper especially when wet and to some degree when dry and you re-wet them. If I blork out of an area into a spot I didn’t want paint, I can quickly swipe it off with a tissue or finger. (Staining paint like Pthalo Blue once it hits the paper is there forever and ever.)

  • Granulating paints are cool, they have a “texture” that is interesting. Ultramarine blue is one such color that is quite popular. I have tended away from it recently because I’m liking my current setup too much, but loads of people love it. Using granulating colors takes practice and so is not recommended for beginners. Also, different paint brands have different levels of granularity, and it takes some experimentation to find the level that suits you.

I hope these tips are helpful. A parting thought, as always, is:

KEEP IT SIMPLE in your kit, and focus on drawing and painting every single day. No amount of fancy brushes and expensive paint and colors will make you a better sketch artist. Only practice will do that!

Please email me via the Contact menu item above if you would like to join free nature journaling meet-ups in southern Arizona.

[Special thanks to reader and fellow nature journaler and artist Tom W. for input on this post.]

Field Sketching Kit 2: Gurney-style

Standup 1 m.jpg

Reader and fellow nature journaler / field sketcher Tom W. has made a really elegant field easel for stand-up sketching. I’m sharing his explanation below, along with images.

Hi, after seeing your great set up for sketching while standing, with no tripod, I realized I could adapt something I'd already made for myself, based on the light-weight sketch easel designed by James Gurney. Here is a link to the You Tube video that summarizes his  process for building the easel, which can be attached to a tripod via a quick release gizmo:  https://www.youtube.com/watch?v=Pm1cS37f05k

 As I remember, that video also contains a link to the more complete video he made, for purchase.

I've built that tripod sketch easel, and really like it . . . but also wanted something that would work both for sitting with a small sketchbook on my knees (like the 5X8 Pentalic that James uses) or standing, as you do (tripod-free), using a minimal palette and the leather covered journal you'd already inspired (and helped) me to assemble.

This is the outcome: the sketch easel is made of 1/4" hardwood plywood. The longer panel is 11" (I made it just long enough so that the bottom can be clipped to the back of the journal, for stability, and the top  can clear the top of the journal), and the smaller panel is about 3 and 7/8". Both are 5 and 3/4 inches wide. While not as light as Coroplast, it's still very light. 

Standup 2 m.jpg

The small silver circle in the middle of the small panel is one of eight or nine 3/8" neodymium magnets (hardware stores have them), and the hinge is  the same Southco Torque Position Control Hinge  (available from Amazon) that James Gurney recommends.  I've built this one so it stretches out flat; if standing, I can hold the journal and all in my left hand at a slight angle, draw and paint, and when done, can loosen the hinge set screw and fold the small section back. It works fine...there's enough room for a little Nomad 6 half-pan palette or even the either the slightly larger small Whiskey Painters or Cornelisson small palette box—as well as the 2 oz. Nalgene water cup (with magnets attached to the bottom) per James Gurney's design.  If sitting and using the rig instead with a 5 X 8 sketchbook, there's just enough room to clip that to the long panel—although if I'm sitting, I'd rather put the water beside me, on a small metal tray . . .

Standup 3 m.jpg

Thanks for the great ideas!!!!!

Feral watercolor project: Brown Mountain purple

IMG_9361.JPG

Update to adventures with Feral Watercolor: a few weeks ago I discovered a gorgeous purple outcrop of rock in the Tucson Mountains—Brown Mountain, to be specific.

IMG_9293.JPG

I processed a few pieces (my equipment and techniques are described here), and it turns out to be remarkably similar to the famous Clearwell Caves' purple ochre (4500-year-old British pigment-mining area).

Recently I was able to make it back out to paint the site in my journal, with paint made from pigment collected onsite. A first in the Feral Watercolor project.

Next up: magnetite-and-mica pigment from the Santa Catalina Mountains—and some studio paintings of places made from site-collected pigment.

Feral watercolor & place-based art

IMG_9211.jpg

I’ve been experimenting with making pigments from locally sourced minerals (and plant matter) for "extreme" place-based nature journaling and art. I call it "feral watercolor." 

Because the pigments come from the location being represented in the art, the colors can be strikingly true and the sense of place profound.

The pigment (and resin binder) below is from the Sierra El Rosario in Northern Mexico’s La Reserva Pinacate del Gran Desierto.

feral_watercolor.jpg
27625079_10211343205598767_7978329506524255290_o.jpg

I collected magnetite and ground it into powder, then for a binder I added resin from a plant growing in a canyon in the Sierra — Bursera microphylla — and Sonoran Desert honey as a humectant. I also experimented with adding a little oxgall, which seemed to help improve dispersal across the paper.

The result is a paint that perfectly mimics the stark, nearly black mountains that rise out of the sand dunes (see the painting, top) and that has a faint pink undertone from the iron-oxide sands mixed in with the magnetite. These are aeolian sands, literally wind-borne and deposited over millions of years from central Arizona’s red-rock country.

27629349_10211343288680844_1917554344233234927_o.jpg
27625067_10211353812183925_2467865213689970913_o.jpg

I have mineral soils from all over the world, and have quite a few projects planned—in addition to a workshop in the near future—email me if you are interested!

Adventures in making paint

36516131_10212385569417211_6933859090300928000_o.jpg

In the past year I began making my own watercolor paint from pigments—both purchased and wild-found.

I was very excited about this rare pigment from one of London’s oldest and finest colorists, L. Cornelissen. This is genuine Lapis Lazuli, true Ultramarine Blue in a painter’s palette.


36458664_10212385569697218_3921047670843506688_o.jpg

I used natural gum arabic as the binder, and the humectant is honey.

This is a WIP: I was not 100% happy with the flow or transparency—will have to mull another batch. Each takes about 2 hours so it’s quite a commitment!

36543200_10212385570377235_5202367235649175552_o.jpg
36542669_10212385570097228_4387621298331713536_o.jpg

Next up: grinding found ochres from Australia’s Great Victoria Desert into fine enough powder I can make paint.

20286801_10209989534877845_2417951419505398791_o.jpg

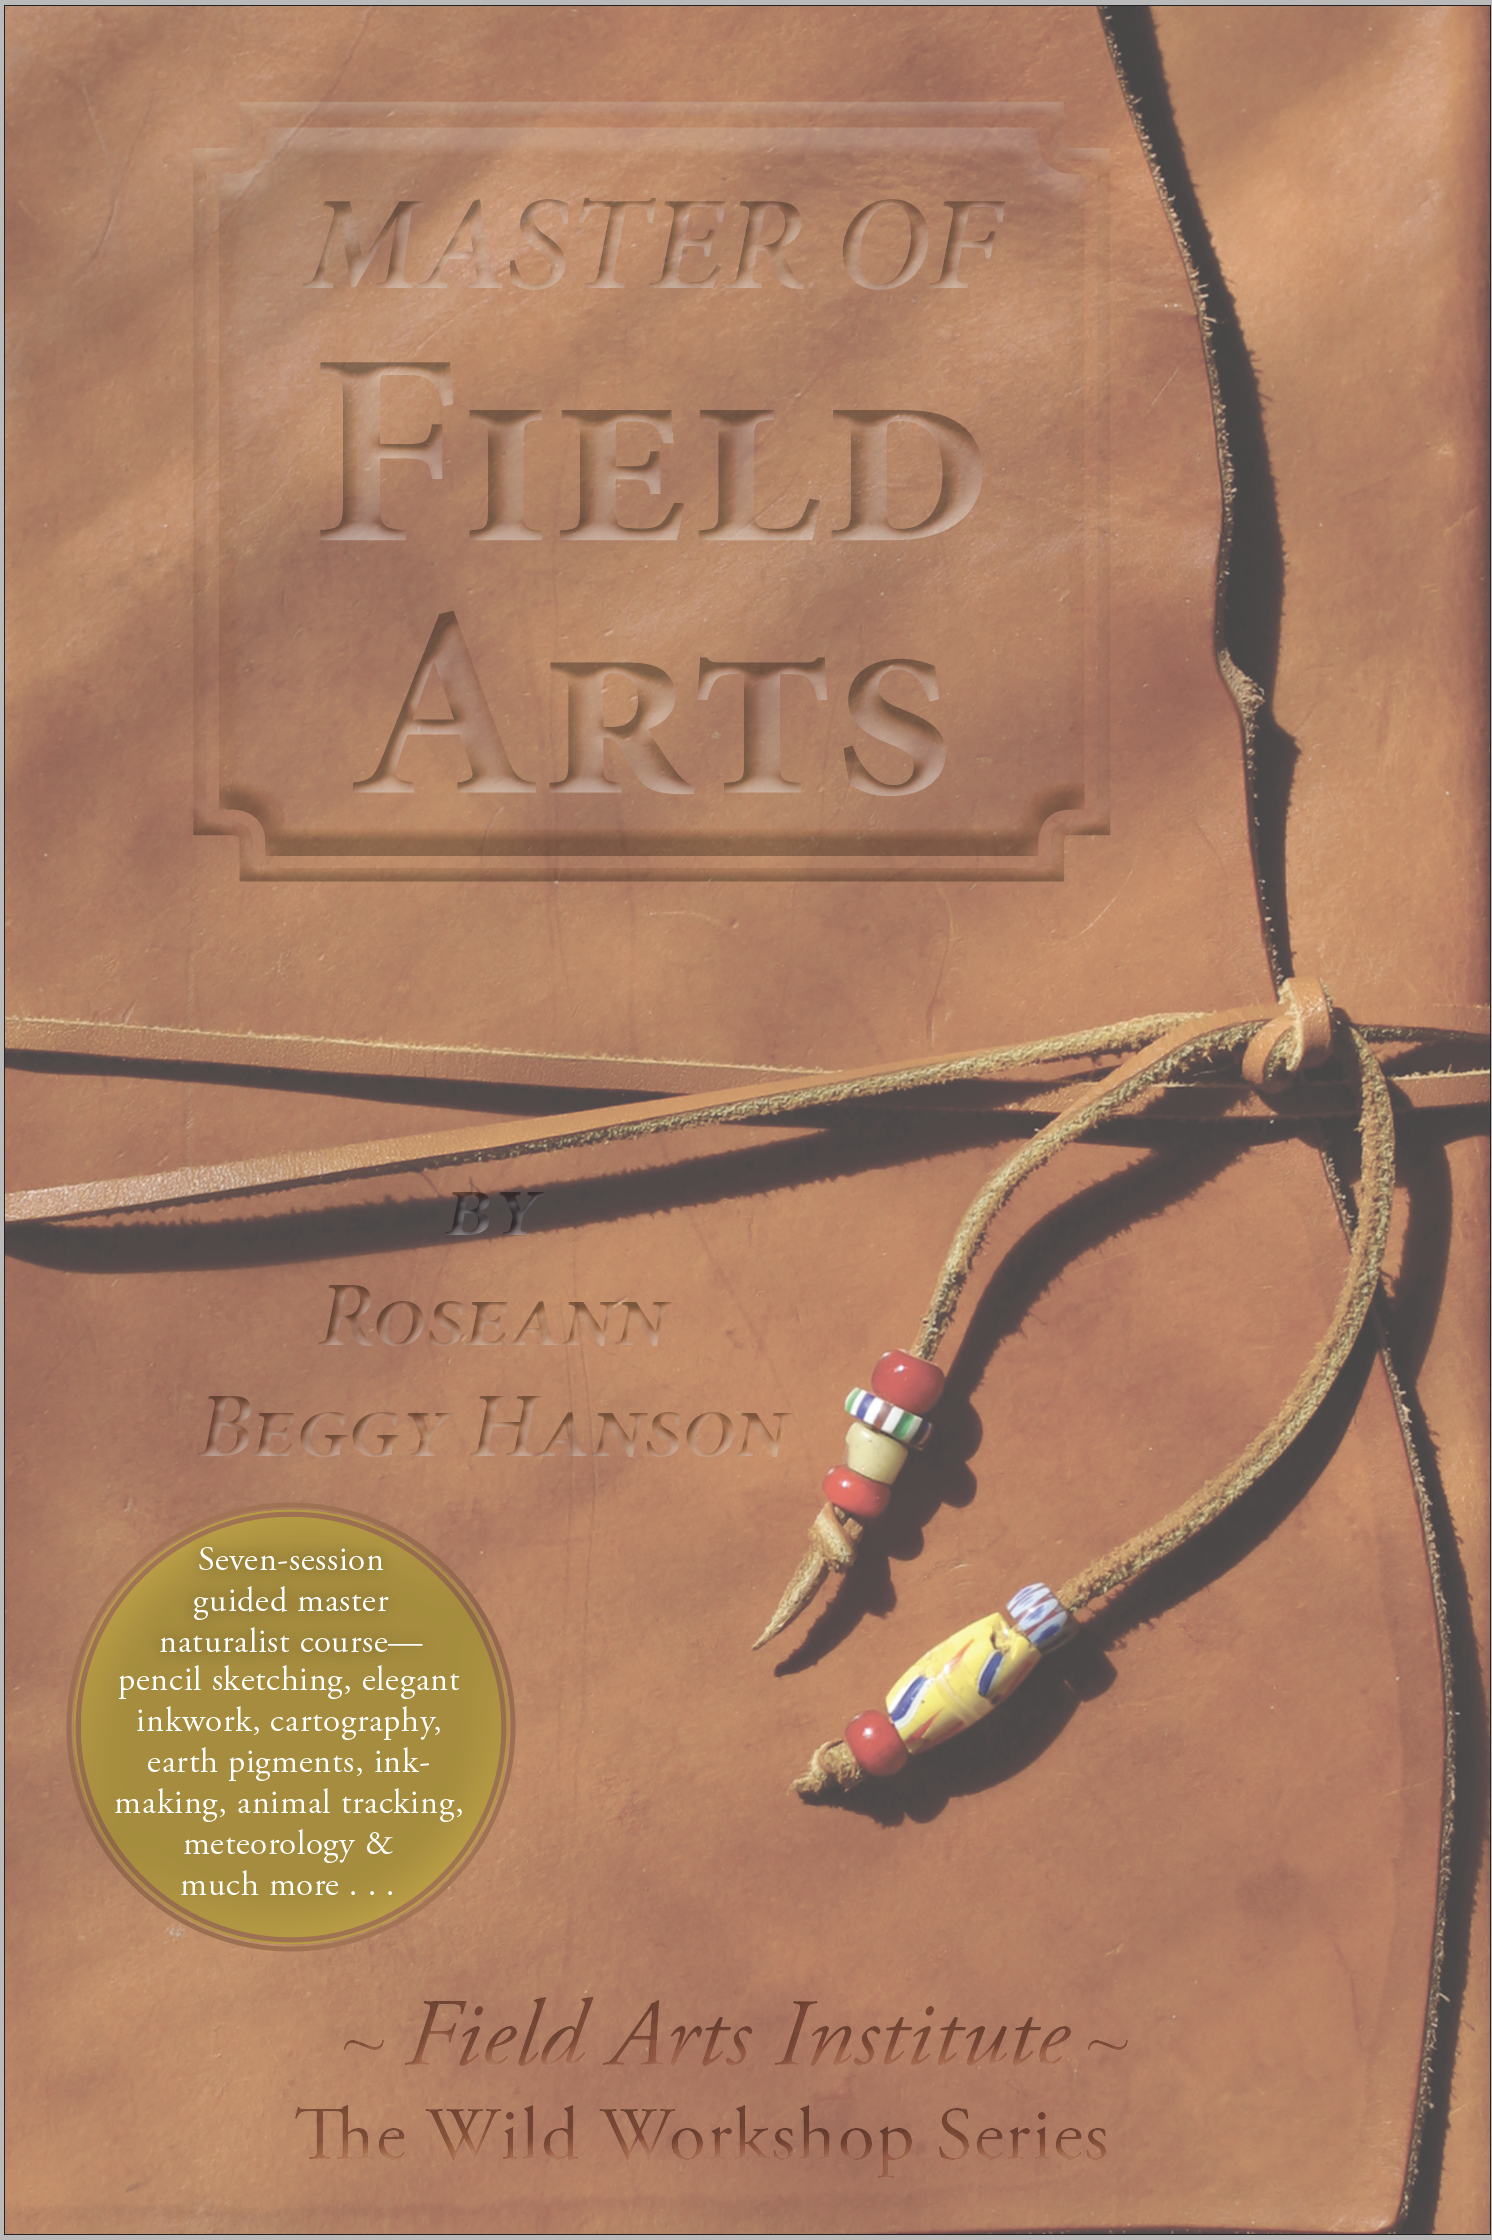
Simple Leather Journal — 15 years on

1000w.jpeg

My faithful companion now for 15 years, over five continents, tens of thousands of miles. Nothing fancy: It's a one-piece unstructured cover cut from simple vegetable-tanned cowhide, which was simply finished with olive oil. I incorporated the natural edge of the hide into the front cover. (Find a book about the size you want, cover it with plastic, get the leather wet, and shape it to the book and let dry; when the leather is wet, you can also score the cover with decorations—I added my initials.) As you can see, after 15 years of use it gets a nice patina but holds up well; it's been on five continents with me—tens of thousands of miles!

I use Bee Paper 90-pound 9x6 sheets, which is inexpensive but good 100% cotton paper that is archival and holds up well to watercolor washes.

A couple of cheap leather bootlaces act as the sheet binder and the keeper (decorated with African trade beads).

When I fill up a journal, I unbind it and transfer the pages to inexpensive three-ring binders (last photo; I plan to cover these in nice leather eventually—I have 40 years' worth!). 

Advantages: inexpensive, customizable (can add fancy papers, insert memorabilia, maps, etc.), lays flat, durable. Disadvantages: double-page spread is not contiguous (but it works fine for journaling), it's self-made so it's not as easy as buying a new notebook off the shelf, threading the leather cord into the holes is a pain, and sometimes the flexible cover makes it hard to draw (but I found a plastic board to put behind it when I need).

[Related post: Field Sketching Kit — for stand-up sketching]

EDC Field Notebook

1000w copy.jpeg

Sometimes the world aligns in wonderful ways. 

Just before Overland Expo 2016 WEST, I was looking to replace my longtime EDC notebook (Every Day Carry). Since 2006, I've used a Moleskine Cahier notebook encased in a leather cover that I had designed myself and was stitched by Jonathan.

But over the years it became too small, and also I had lost track of so many notebooks — I had no system for managing them. 

I found the Midori notebooks (now called Traveler's Notebooks) and was looking at the Bullet Journal system for tracking multiple EDC journals (

http://bulletjournal.com

) over time, using indexes and notes-journals as well as task-journals. 

I loved how the Midori notebooks and covers were so versatile: you can combine multiple journals with a clever elastic band system.

But I found the Midori sizing to be not quite right—they offer either passport-sized (too small) or much-larger sized journals (8.2 x 5.5) in leather covers. I waffled. 

To feed my journal lust while postponing the decision about the actual journal, I ordered a new fountain pen from GouletPens.com, a lovely brown-iridescent swirled pen handmade by Brian Hall in Ohio (

EdisonPen.com

), along with some Midori accessories—pockets, a pen clip, and ink.

Then, in Asheville this week while planning the upcoming new EAST show with our wonderful core staff, assistant director Alison DeLapp presented the whole team with Field Notes (

http://fieldnotesbrand.com

) journals encased in custom leather covers made by one of our favorite instructors, Andrew Pain of MinimalMotorcyclist.com. 

Based on the 5 1/2 x 3 1/2 size of the Field Notes (and Moleskine Cahier), it was perfect. And, it had a custom stamping on the cover: our tagline, "The World Is Waiting."

En route home from Asheville, I discovered it perfectly held two Field Notes insets plus my passport and my iPhone 6S in a Lifeproof case. 

Once home, I collected my new Midori accessories and pen, and put them together into what I think is going to be the perfect EDC field notebook:


Another addition I made was a center insert of watercolor paper (90-pound cold-press) I cut myself and added, about 10 pages total. With my Expeditionary Art watercolor set

https://expeditionaryart.com/shop/art-toolkit/  and a little mini-field-palette I made from a folded coroplast board with a water-well cut to size for an old Bausch-and-Lomb contact cleaning reservoir (which has a water-tight gasket), I have a perfect mini-field-sketching kit right in my EDC. The little bulldog clip that holds the watercolor set acts as the perfect brush holder for my No. 3 Escoda sable traveler's brush.


Ultralight plein air painting kit


Finally got a chance to field test my ultralight plein air painting kit — love it. I saw a similar setup for sale at an art website for $200 and weighs 10 pounds (and does not include a chair). Being a cheap (and small of frame) Celt, I decided I could do that for under $45 and a whole lot lighter! The tripod, a terribly inexpensive aluminum Sunpak 2001UT ($15!) is just 2.3 pounds and 19.7 inches long folded up. The little chair is just over a pound ($18). I glued strong magnets (a couple bucks) to the base plate of the tripod and a 30-cent 3" steel washer to a piece of Coroplast. Even in a modest breeze it holds tight. Two pieces of the Coroplast ($8) clipped together with bulldog clips hold a paper assortment. This fits in my shoulder bag with my paints, brushes, and other supplies. The tripod and chair strap on top.


Learning watercolor


In September I took the leap and decided to get serious about learning to sketch and paint with watercolor and ink washes—with a plan to become good enough to use my own art in future book and conservation projects.

I started with books by Cathy Johnson and Clare Walker Leslie, two of the best nature illustrators and teacher-authors. But I need to see things demonstrated, just reading about watercolor was not enough. So I discovered both Craftsy.com and Artclick.tv. Both have excellent, affordable tutorials you can buy individually, or in the case of Artclick.tv, subscribe monthly for unlimited access.

I discovered I love color theory, and particularly love painting in triads, especially Daniel Smith watercolors (made in Washington). Right now favoring old-fashioned tint-like colors and pen-and-ink. And I rediscovered how much I love my old Montblanc, a gift 30 years ago from Jonathan. The Montblanc is charged with Platinum Carbon waterproof ink, and a Vintage Parker 75 has a soft, soluble black. Also experimenting with brush pens, with J.Herbin Lie de Thé, a sepia color.


Daniel Smith's Primatek Genuine mineral paints are particularly gorgeous; this hummingbird's gorget is Rhodonite Genuine and Amethyst Genuine, which sparkles in the light.


New video prepared for cultural conservation


On November 7 - 8, 2013, the South Rift Association of Land Owners (SORALO) hosted the first annual Maasai Cultural Festival at the historic Olegorsaille site in southern Kenya. Hundreds of Maa-speaking people, dignitaries, and politicians from around Kenya attended, shared ideas for how to ensure their cultural future, and to commit to a common festival every year to celebrate, conserve, and share their unique culture. We provided donated photography and videography for the project through our charity, ConserVentures.

Maasai shield book completed

We have finalized the print and digital versions of a 112-page book detailing the work of the October 2012 shield-building workshop in southern Kenya. This book is the final visual product we have created for the Maasai community that initiated the cultural conservation program. We are printing 125 copies and are delivering them to the Maasai in November 2013. Please see our notification on the ConserVentures website for more images and ordering information. ConserVentures.org/done

Production finished on new Overland Expo video


Overland Expo 2014 — What do you dream? from ConserVentures on Vimeo.

We're really pleased with the results of our new promotional video for Overland Expo. We developed the storyline idea over a wonderful dinner at Bluefin in Tucson. Roseann did the production on Final Cut Pro on our new iMac, and the music is from a talented composer, Dan Phillipson.

Much of the film footage was shot by Jonathan, including the aerials in Arizona. The drone and GoPro combination worked beautifully to capture the storyline at Grand Canyon. You can follow some of our practice footage below.

We'll be taking the drone and a new GoPro Hero 3 Black Edition to East Africa in November to get some footage of wildlife and landscape for a new video project. Stay tuned.


Ravenrock fly-by from ConserVentures on Vimeo.

We've been wanting to do some aerial footage to augment our video capabilities, and decided to buy a Phantom quadcopter, which carries a GoPro HD video camera. Given my total lack of video-game experience, I had to start from scratch with the remote-control console, and accomplished several spectacular upside-down landings. But I'm improving, and got a nice fly-by clip of our place.

New video: Maasai shield project


Blood & Leather: Re-creating the Maasai war shield in 2012 from ConserVentures on Vimeo.


This video documents the first making of authentic Maasai war shields in 50 years (there is also a Maa language voiceover version here, vimeo.com/70596349). In October 2012 Jonathan and I volunteered as photographers and videographers, producing the video for the community; funding was provided by the generous donors of our charity, ConserVentures

The project sprang from within the Okiramatian community of southern Kenya, and is a global collaboration. The Maasai people of the region, through SORALO (South Rift Association of Land Owners), are building a natural and cultural heritage conservation program with funding and assistance from individuals, businesses, and non-governmental organizations in Kenya, North America, and Europe. The shield workshop featured in this video is one of several cultural preservation projects in this Maasai renaissance. By recording the knowledge of the elders, the goal is to inspire the next generations to retain and rekindle pride through cultural knowledge.
We are also producing a 115-page book and posters to return to the community for their November 2013 Maasai Cultural Heritage Festival. Just now finalizing the materials, after having to re-do the videos when we had trouble securing use rights for the original music we had wanted to use. But we love the new version—a big "thank you" goes out to Steve Amis and Marc Johnston, who donated the use of their gorgeous music from the documentary "Through Maasailand,"and to the Environmental Club and Maasai Music Project, of Cincinnati's Westlake Schools, a kid-to-kid collaboration featuring youth from the Olkiramatian community where the shield project took place.