kit

Watercolor Basic Kit for Beginners

Mini kit detail 2.jpg

In working with beginner nature journalers who want to add watercolor to their pages, I have noticed that whenever someone is struggling, if I talk with them about their supplies, they are almost invariably using inexpensive student-grade paints (either in pans or from tubes) and cheap brushes.

I’m a big fan of using good quality paints , brushes, and paper from the outset. The top reasons are:

  • Inexpensive or “student grade” paints are often boosted with filler (chalk) and they can sometimes be difficult to blend, nor do they flow or cover as well. Pure-pigment professional paints such as Daniel Smith’s Extra Fine Watercolors (there are many great brands: M. Graham, Winsor Newton, Schmincke) flow beautifully and have rich colors that blend well. Winsor Newton, Daniel Smith, and Holbein also make professional quality dry cake paints, available in half-pans (NOTE: Be aware that Winsor Newton "Cotman" products are student-grade. Look for the word "Professional" in the product description.)

  • I prefer tube paint that I dispense into half or full pans. It’s much more economical than buying pre-filled pans, but most of the top makers produce excellent pre-filled pans (see above). [A word of caution: sadly, avoid handmade paint makers on Etsy and similar unless you get a direct recommendation; I have bought from half a dozen, and all were poorly mixed or had a lot of chalk filler. Exception: Greenleaf & Blueberry paints are amazing, absolutely gorgeous. Email me if you know of other hand-makers who produce high quality.]

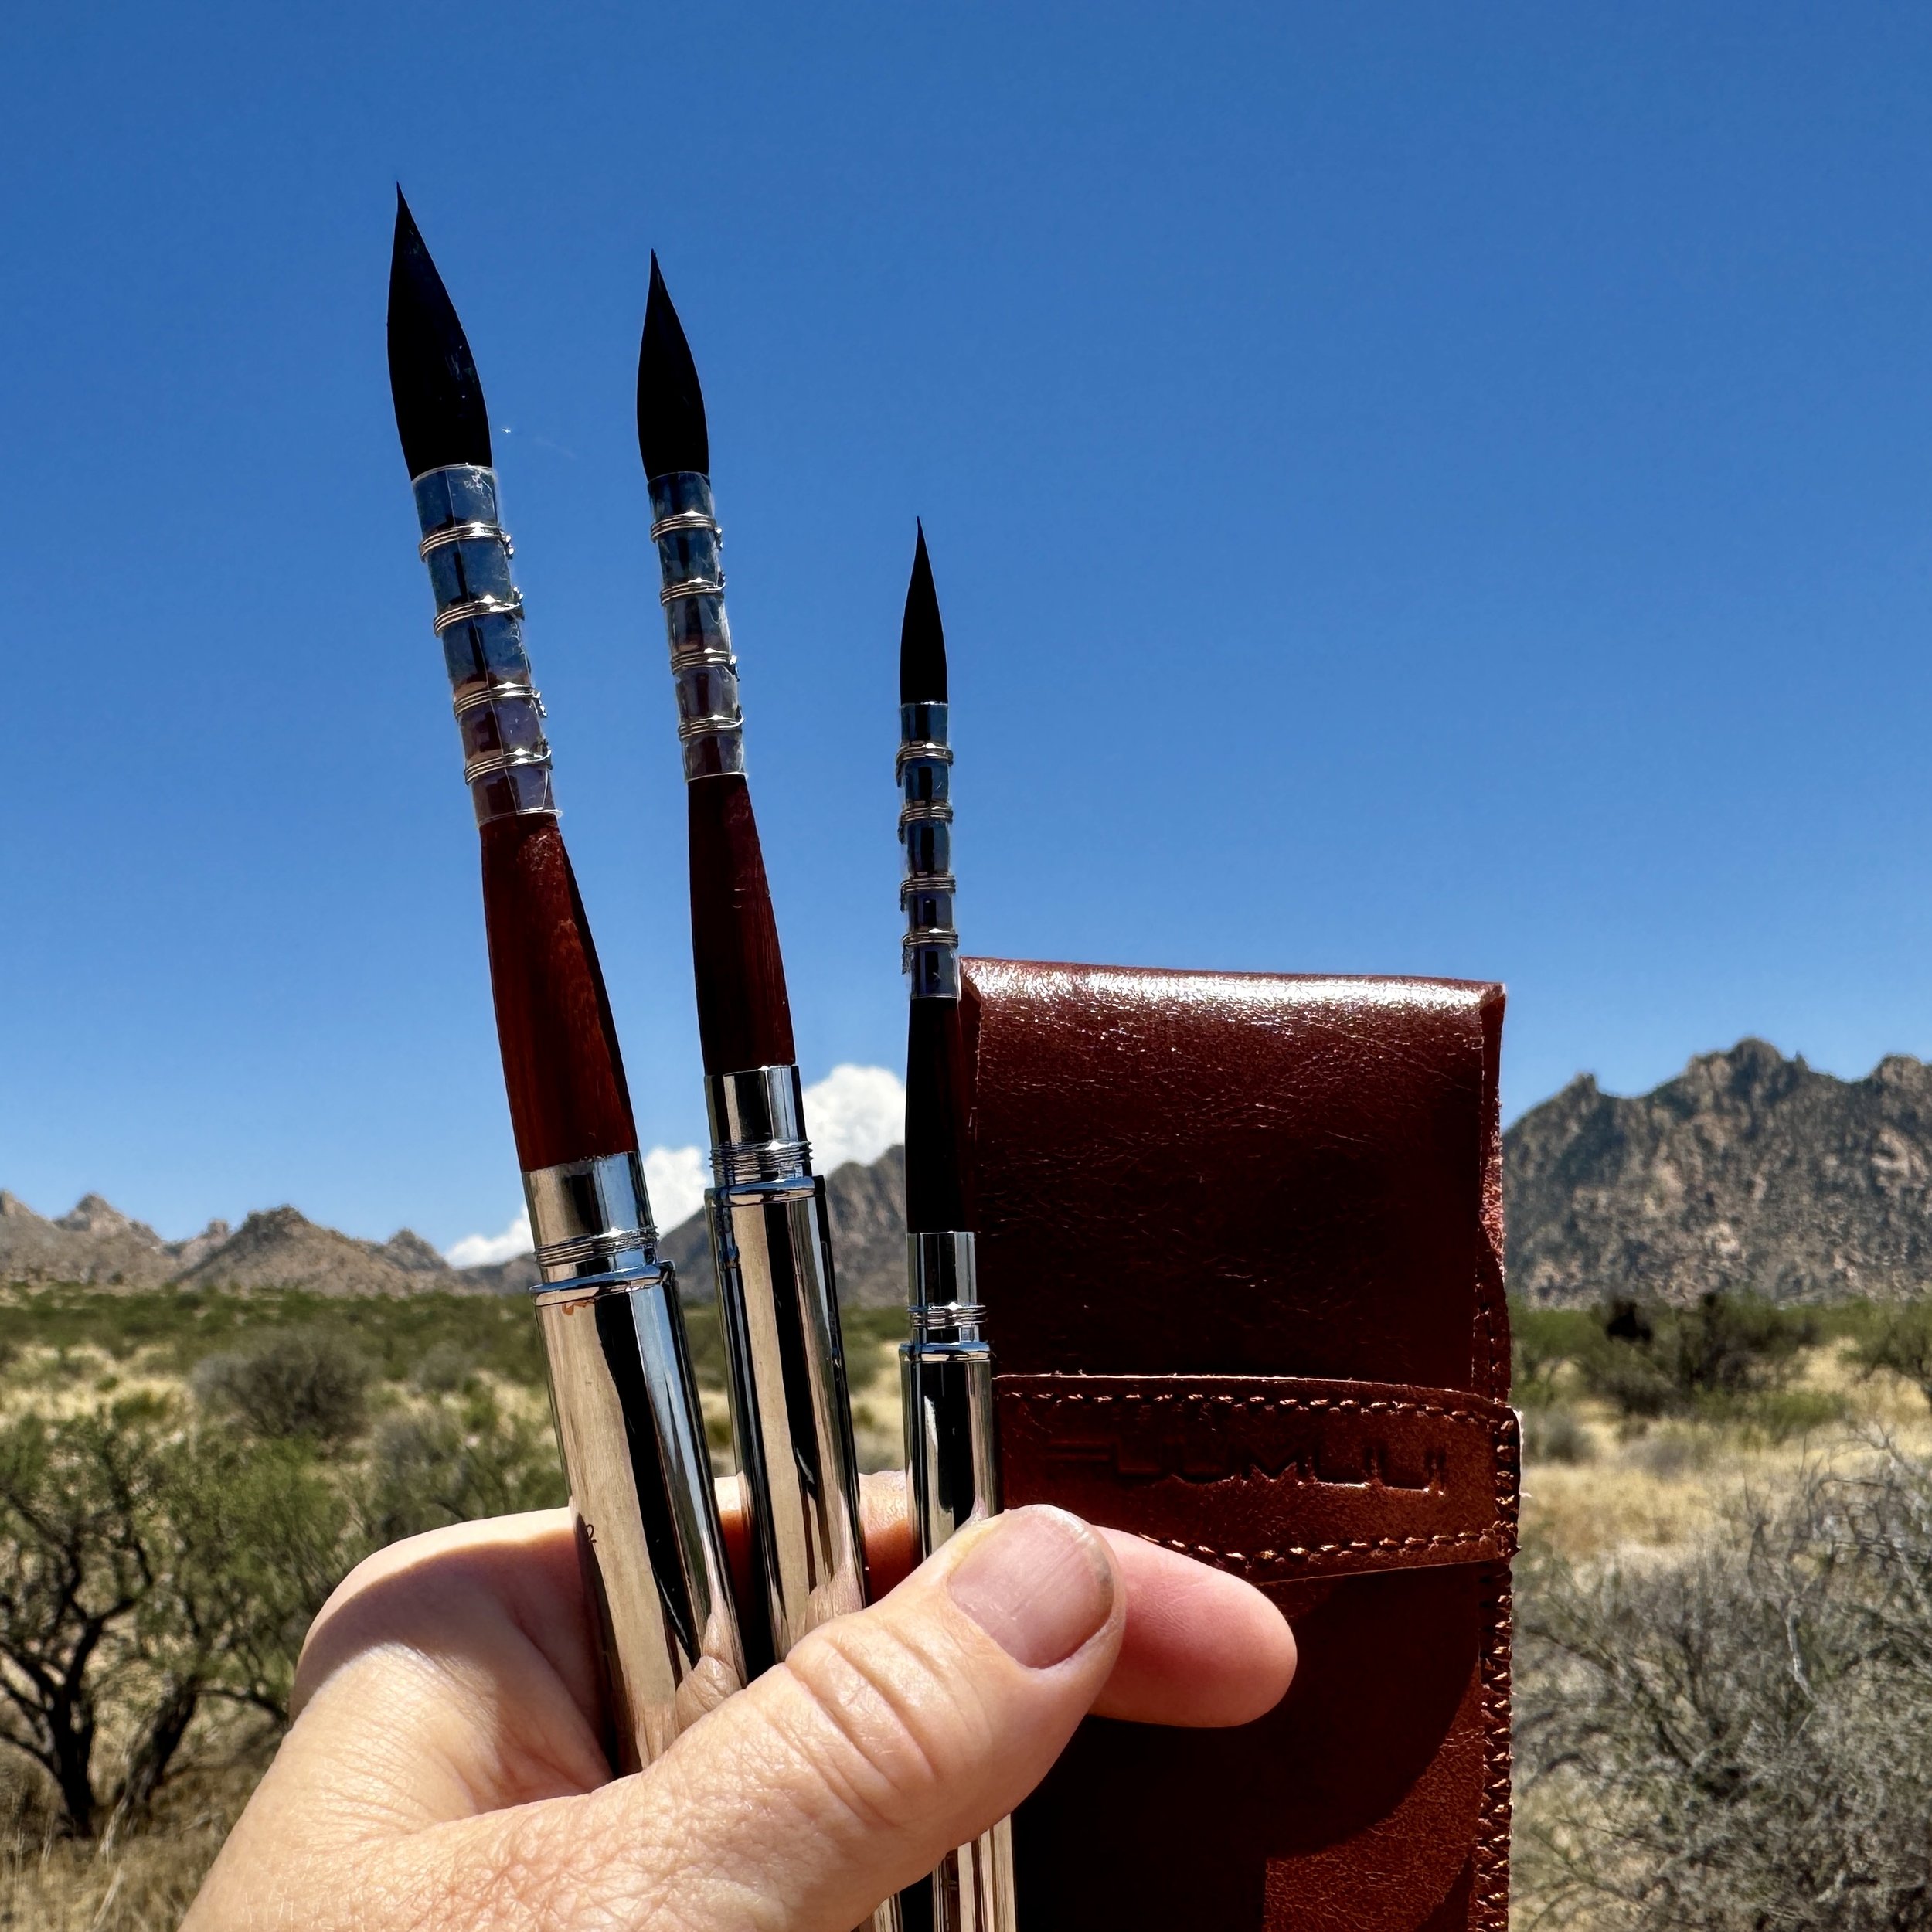
  • A good brush holds plenty of water, releases it with more control, and will have a nice, sharp tip.

    • You actually can paint anything in a nature journal with just one brush, a “round” style with a nice, sharp point. It can help to have one flat brush for a few things but it’s not necessary. I have a small flat travel brush but haven’t used it in over a year . . .

    • Look for a brush with natural bristles (squirrel is less expensive usually than sable) or a good combo such as those by Silver Brush Black Velvet; the #8 is only $20 and is a fantastic brush). You can cut the handle down for small field kits, if you like. My favorite is the Isabey squirrel mop travel brush (between $30 and $40).

    • In addition to a sharp tip, look for a good-sized “belly” for holding water.

    • Good brushes won’t shed hair onto your paper.

  • Good paper makes all the difference as it holds up to washes and is archival so it won’t yellow. Cheap paper will bleed through, saturate too quickly, and tear when wet. If it is really poorly made, it might have lignin, which will yellow and become brittle with age. Good paper isn’t necessarily expensive, either. For my journal, I buy 100% cotton (lignin- and acid-free), 90-pound, 9x6 watercolor paper from Bee Papers ($12 per 50 sheets). It also comes in 130-pound weight, which I find too thick for my journal, but would hold up to extensive water washes. However, I have not found the 90-pound to be an issue with washes. I add holes with a hole-punch.

Basic Watercolor.png

Beginners are also tempted to start with a bunch of colors. But I argue that keeping it simple is better and that learning to paint with a “triad” forces the beginner to learn about color relationships and value more quickly. With just five colors you can create any color you need, including blacks and grays.

A triad = cyan (blue), magenta (“red,” though red is not a primary because it is made from magenta+yellow); and yellow.

My current mini “stand up” color palette comprises:

  1. Old Holland Manganese Blue Genuine (a true cyan blue; I used to use Cobalt Blue, and it works just great as a cyan)

  2. Daniel Smith Quinacridone Rose Permanent (a true magenta, or “red”; it’s a gorgeous rich rose and can become a very stunning red with the tiniest bit of yellow; I used to use Alizarin Crimson, but you can’t get a magenta-y rose out of a red, but you CAN get a red out of a magenta!)

  3. Daniel Smith Aureolin Yellow (okay, I won’t go into full detail here, because this is aimed at beginners, but there are paints that are called “fugitive” because they can fade over time if exposed to light . . . and Aureolin is one of them; I still have a tube to go through, and I love it, and since my journals are not exposed to light I’m okay with that, but I’ll be looking to switch to a yellow such as Nickel Azo).

  4. Daniel Smith Burnt Sienna

  5. Daniel Smith Indanthrone Blue (I used to go without a dark blue, but for fast, rich blacks and fascinating grays, nothing beats Indanthrone Blue + Burnt Sienna).

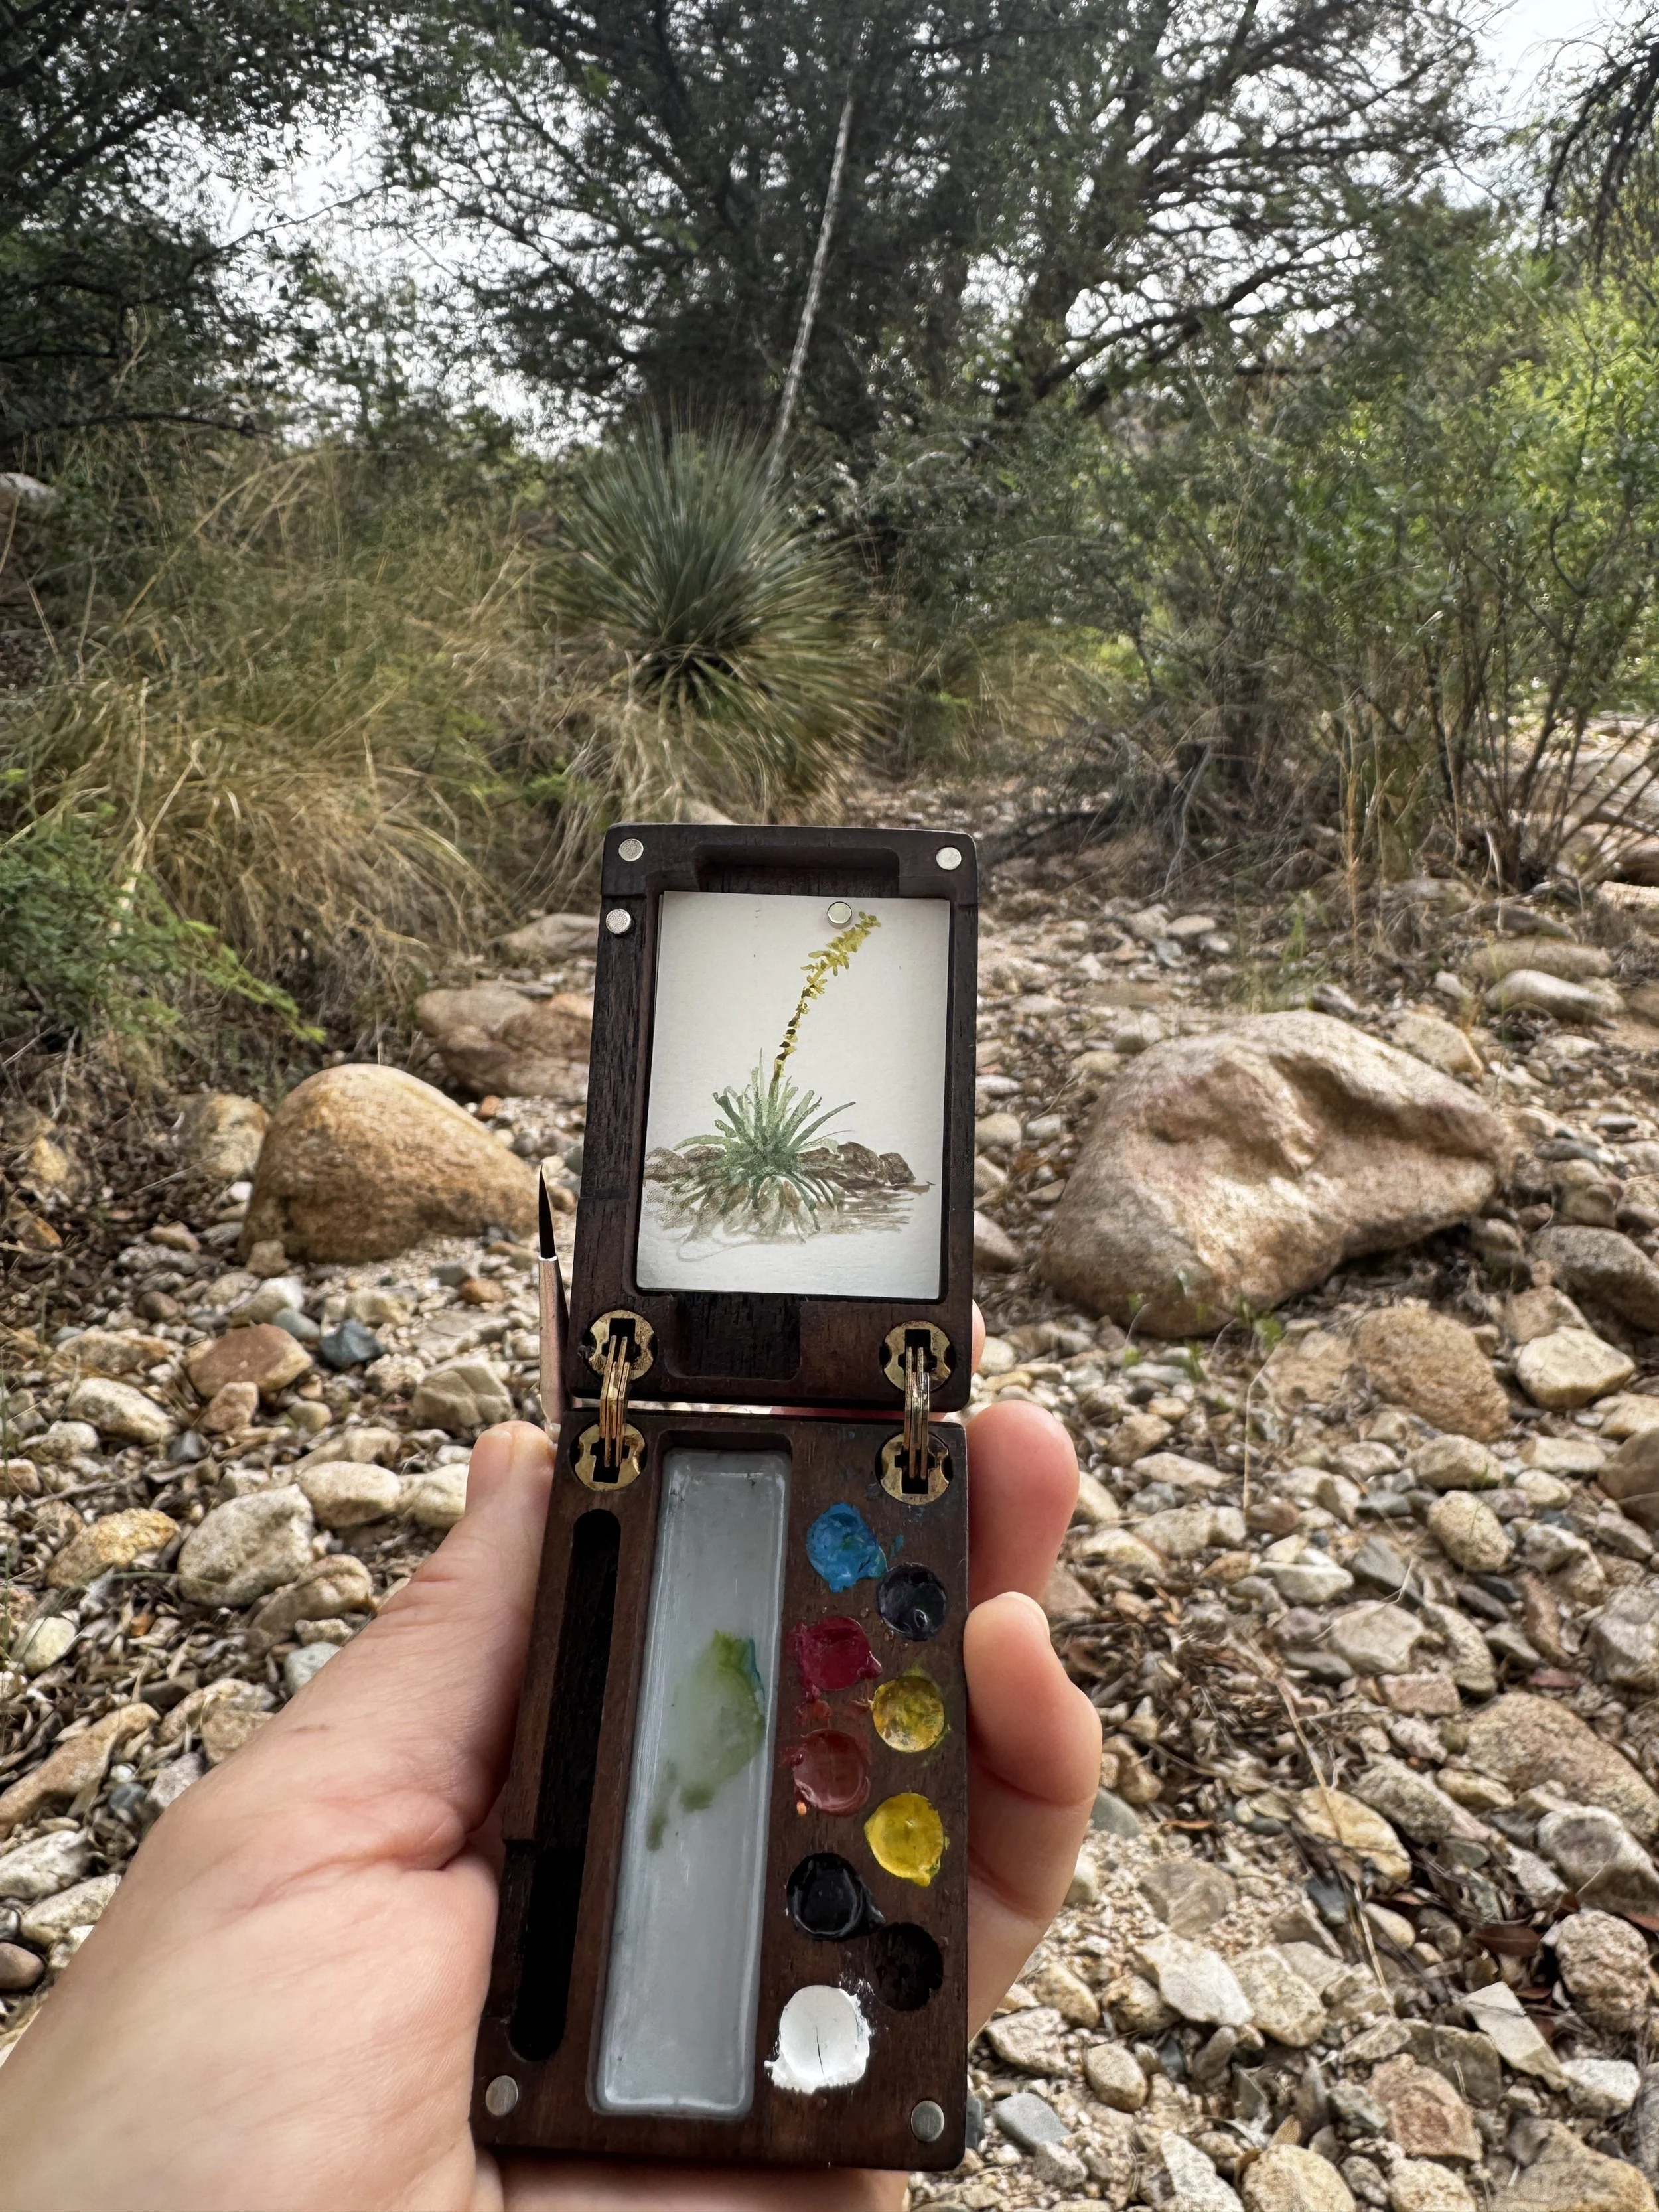
  6. Clearwell Caves Purple Ochre (I’m having a love affair with this offbeat, rich, highly granular earth pigment from a 6,000-year-old ochre mine in England; it makes the most amazing rocks and earths, especially perfect for me now, working as Art and Science Coordinator at the Desert Laboratory on Tumamoc Hill, which is volcanic).

This was sketched with the paint from the palette listed above, while hiking up Tumamoc Hill; the rocks were painted with my burnt Sienna, indanthrone blue, and my wild-card favorite purple ochre from Clearwell Caves in England. Eventually, as you b…

This was sketched with the paint from the palette listed above, while hiking up Tumamoc Hill; the rocks were painted with my burnt Sienna, indanthrone blue, and my wild-card favorite purple ochre from Clearwell Caves in England. Eventually, as you become proficient with triad painting (cyan-magenta-yellow) you can add a few fun extras that suit your habitat.

Another benefit of mixing colors: you can create a puddle of variable green for example, which is sort of “marbled” (ie: not fully mixed) and when you use that to paint leaves it creates more natural variation and looks less “flat.” Painting something monotone is a beginner’s mistake, since rarely is something one pure color in nature.

I suggest starting with transparent colors because they blend beautifully into bright, clear colors and you don’t have to fuss with accidentally creating “mud” by blending too many opaque colors. I also tend to default (for rapid field sketching) to easily lifted colors, avoiding staining colors such as the pthalos.

Tip: watercolors come in different transparency levels, they come in different “sticking” levels, and are also rated for “granulation.”

  • Transparent watercolors do not blot out or cover other colors or lines already on the paper, and you can paint them over each other to create new colors (called “glazing”; you can paint a transparent blue over a yellow and it shows green, for example).

  • Non-staining watercolors can be “lifted” off the paper especially when wet and to some degree when dry and you re-wet them. If I blork out of an area into a spot I didn’t want paint, I can quickly swipe it off with a tissue or finger. (Staining paint like Pthalo Blue once it hits the paper is there forever and ever.)

  • Granulating paints are cool, they have a “texture” that is interesting. Ultramarine blue is one such color that is quite popular. I have tended away from it recently because I’m liking my current setup too much, but loads of people love it. Using granulating colors takes practice and so is not recommended for beginners. Also, different paint brands have different levels of granularity, and it takes some experimentation to find the level that suits you.

I hope these tips are helpful. A parting thought, as always, is:

KEEP IT SIMPLE in your kit, and focus on drawing and painting every single day. No amount of fancy brushes and expensive paint and colors will make you a better sketch artist. Only practice will do that!

Please email me via the Contact menu item above if you would like to join free nature journaling meet-ups in southern Arizona.

[Special thanks to reader and fellow nature journaler and artist Tom W. for input on this post.]

Field Sketching Kit 2: Gurney-style

Standup 1 m.jpg

Reader and fellow nature journaler / field sketcher Tom W. has made a really elegant field easel for stand-up sketching. I’m sharing his explanation below, along with images.

Hi, after seeing your great set up for sketching while standing, with no tripod, I realized I could adapt something I'd already made for myself, based on the light-weight sketch easel designed by James Gurney. Here is a link to the You Tube video that summarizes his  process for building the easel, which can be attached to a tripod via a quick release gizmo:  https://www.youtube.com/watch?v=Pm1cS37f05k

 As I remember, that video also contains a link to the more complete video he made, for purchase.

I've built that tripod sketch easel, and really like it . . . but also wanted something that would work both for sitting with a small sketchbook on my knees (like the 5X8 Pentalic that James uses) or standing, as you do (tripod-free), using a minimal palette and the leather covered journal you'd already inspired (and helped) me to assemble.

This is the outcome: the sketch easel is made of 1/4" hardwood plywood. The longer panel is 11" (I made it just long enough so that the bottom can be clipped to the back of the journal, for stability, and the top  can clear the top of the journal), and the smaller panel is about 3 and 7/8". Both are 5 and 3/4 inches wide. While not as light as Coroplast, it's still very light. 

Standup 2 m.jpg

The small silver circle in the middle of the small panel is one of eight or nine 3/8" neodymium magnets (hardware stores have them), and the hinge is  the same Southco Torque Position Control Hinge  (available from Amazon) that James Gurney recommends.  I've built this one so it stretches out flat; if standing, I can hold the journal and all in my left hand at a slight angle, draw and paint, and when done, can loosen the hinge set screw and fold the small section back. It works fine...there's enough room for a little Nomad 6 half-pan palette or even the either the slightly larger small Whiskey Painters or Cornelisson small palette box—as well as the 2 oz. Nalgene water cup (with magnets attached to the bottom) per James Gurney's design.  If sitting and using the rig instead with a 5 X 8 sketchbook, there's just enough room to clip that to the long panel—although if I'm sitting, I'd rather put the water beside me, on a small metal tray . . .

Standup 3 m.jpg

Thanks for the great ideas!!!!!

Field Sketching Kit

IMG_7220+copy.jpg

Fellow nature journalers and plein air painters frequently ask about my “stand-up” field sketching kit. The evolution of my kit has been driven by:

  • Light weight (not getting any younger!);

  • Low volume (everything fits in my shoulder satchel); and most importantly,

  • Quick access—this is the key for me, since when I’m wandering around with the intent to take notes and sketch, if I have to get everything out every time I see something interesting, I’m likely to be lazy and skip it.

So my kit comprises the following:

  • Leather journal (see this post here for a description of this simple handmade journal and its paper and archival system);

  • A simple ultralight mini-easel cut from a coroplast sheet (this is corrugated signage plastic, available at office stores or Amazon) to fit inside the back of my journal.

    • I added flat tape-style magnets to hold the paint tin and the lid of my water bottle (glue a steel washer to the lid), to keep it from getting lost.

    • Cut a hole to hold the water bottle; make sure the fit is snug.

    • Water bottle is a container from a contact-lens-cleaning kit that uses peroxide solution. Pull or cut out the lens holder framework.

  • The paints are professional-grade watercolor from tubes, squeezed into full or half-pans. They fit into a mini mint tin and include three transparent primary colors (magenta, manganese blue genuine, and aureolin yellow) and a tint (shadow violet). I covered the lid of the tin with waterproof white stick-on label (Avery) and made separate wells with white caulking. [Update: I have since removed the shadow violet, switched to all half-pan sizes, and added a purple ochre, indanthrone blue, and burnt sienna, the latter two useful for more interesting and deeper blacks and grays; and the two earth pigments for ready-to-go dirt and rock colors—useful for my new work at Tumamoc Hill, which is very volcanic—see final image below.]

  • A lovely Isabey squirrel travel brush, which has a nice pointy tip and a decent-sized belly, so you can actually do washes even on a 9x6 page.

This setup has been working very well for me for a year now, and has increased my sketching time considerably, which of course also has meant an improvement in sketching skills.

If any readers have any of their mini / ultralight kits to share, please send them along!

My notebook and mini paint kit in its bag. The coroplast sheet shows the flat magnet tape that holds the paint tin and lid of the water bottle (I glued a steel washer to the lid). A spring clip holds my paint brush and secures a microfiber cloth. Th…

My notebook and mini paint kit in its bag. The coroplast sheet shows the flat magnet tape that holds the paint tin and lid of the water bottle (I glued a steel washer to the lid). A spring clip holds my paint brush and secures a microfiber cloth. The coroplast “easel” lives in the back of the journal.

Mini kit detail 3.jpg
Mini kit detail 2.jpg
Mini kit detail 1.jpg
Journal spread done with the mini kit while walking up to the Desert Laboratory on Tumamoc Hill, Tucson, Arizona. The indanthrone blue + burnt sienna + purple ochre create the interest rock colors and textures quickly.

Journal spread done with the mini kit while walking up to the Desert Laboratory on Tumamoc Hill, Tucson, Arizona. The indanthrone blue + burnt sienna + purple ochre create the interest rock colors and textures quickly.

Simple Leather Journal — 15 years on

1000w.jpeg

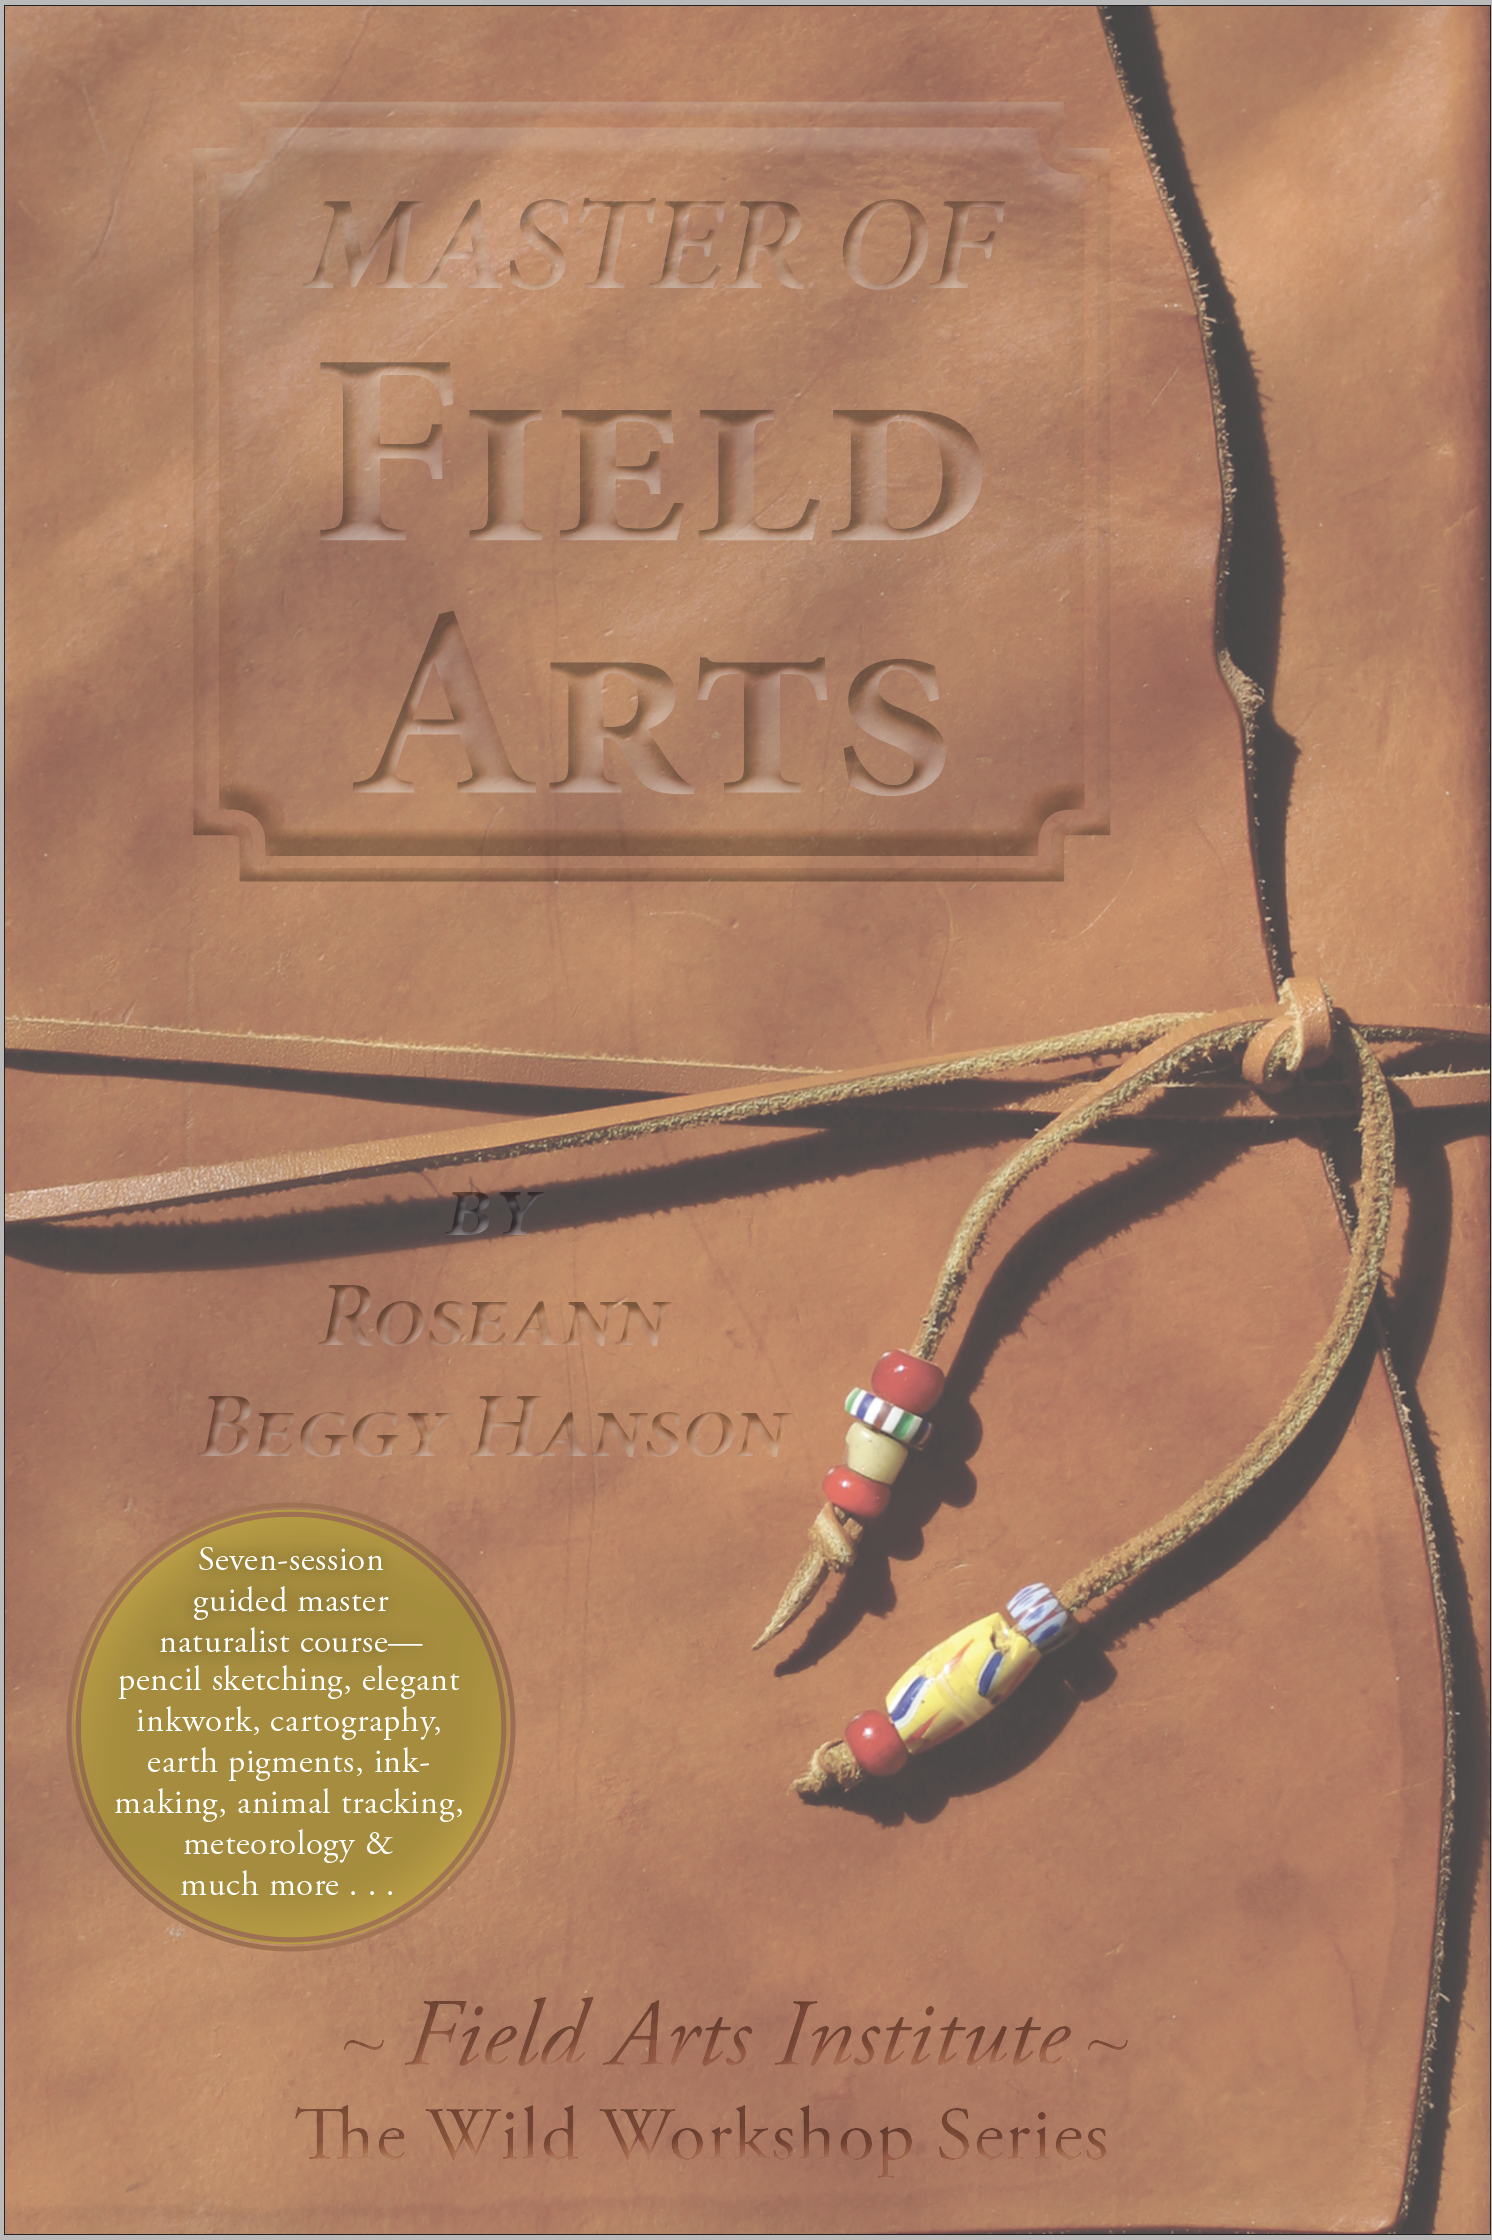
My faithful companion now for 15 years, over five continents, tens of thousands of miles. Nothing fancy: It's a one-piece unstructured cover cut from simple vegetable-tanned cowhide, which was simply finished with olive oil. I incorporated the natural edge of the hide into the front cover. (Find a book about the size you want, cover it with plastic, get the leather wet, and shape it to the book and let dry; when the leather is wet, you can also score the cover with decorations—I added my initials.) As you can see, after 15 years of use it gets a nice patina but holds up well; it's been on five continents with me—tens of thousands of miles!

I use Bee Paper 90-pound 9x6 sheets, which is inexpensive but good 100% cotton paper that is archival and holds up well to watercolor washes.

A couple of cheap leather bootlaces act as the sheet binder and the keeper (decorated with African trade beads).

When I fill up a journal, I unbind it and transfer the pages to inexpensive three-ring binders (last photo; I plan to cover these in nice leather eventually—I have 40 years' worth!). 

Advantages: inexpensive, customizable (can add fancy papers, insert memorabilia, maps, etc.), lays flat, durable. Disadvantages: double-page spread is not contiguous (but it works fine for journaling), it's self-made so it's not as easy as buying a new notebook off the shelf, threading the leather cord into the holes is a pain, and sometimes the flexible cover makes it hard to draw (but I found a plastic board to put behind it when I need).

[Related post: Field Sketching Kit — for stand-up sketching]

EDC Field Notebook

1000w copy.jpeg

Sometimes the world aligns in wonderful ways. 

Just before Overland Expo 2016 WEST, I was looking to replace my longtime EDC notebook (Every Day Carry). Since 2006, I've used a Moleskine Cahier notebook encased in a leather cover that I had designed myself and was stitched by Jonathan.

But over the years it became too small, and also I had lost track of so many notebooks — I had no system for managing them. 

I found the Midori notebooks (now called Traveler's Notebooks) and was looking at the Bullet Journal system for tracking multiple EDC journals (

http://bulletjournal.com

) over time, using indexes and notes-journals as well as task-journals. 

I loved how the Midori notebooks and covers were so versatile: you can combine multiple journals with a clever elastic band system.

But I found the Midori sizing to be not quite right—they offer either passport-sized (too small) or much-larger sized journals (8.2 x 5.5) in leather covers. I waffled. 

To feed my journal lust while postponing the decision about the actual journal, I ordered a new fountain pen from GouletPens.com, a lovely brown-iridescent swirled pen handmade by Brian Hall in Ohio (

EdisonPen.com

), along with some Midori accessories—pockets, a pen clip, and ink.

Then, in Asheville this week while planning the upcoming new EAST show with our wonderful core staff, assistant director Alison DeLapp presented the whole team with Field Notes (

http://fieldnotesbrand.com

) journals encased in custom leather covers made by one of our favorite instructors, Andrew Pain of MinimalMotorcyclist.com. 

Based on the 5 1/2 x 3 1/2 size of the Field Notes (and Moleskine Cahier), it was perfect. And, it had a custom stamping on the cover: our tagline, "The World Is Waiting."

En route home from Asheville, I discovered it perfectly held two Field Notes insets plus my passport and my iPhone 6S in a Lifeproof case. 

Once home, I collected my new Midori accessories and pen, and put them together into what I think is going to be the perfect EDC field notebook:


Another addition I made was a center insert of watercolor paper (90-pound cold-press) I cut myself and added, about 10 pages total. With my Expeditionary Art watercolor set

https://expeditionaryart.com/shop/art-toolkit/  and a little mini-field-palette I made from a folded coroplast board with a water-well cut to size for an old Bausch-and-Lomb contact cleaning reservoir (which has a water-tight gasket), I have a perfect mini-field-sketching kit right in my EDC. The little bulldog clip that holds the watercolor set acts as the perfect brush holder for my No. 3 Escoda sable traveler's brush.