visualize

Seeing the Unseen: Cut-a-way Views

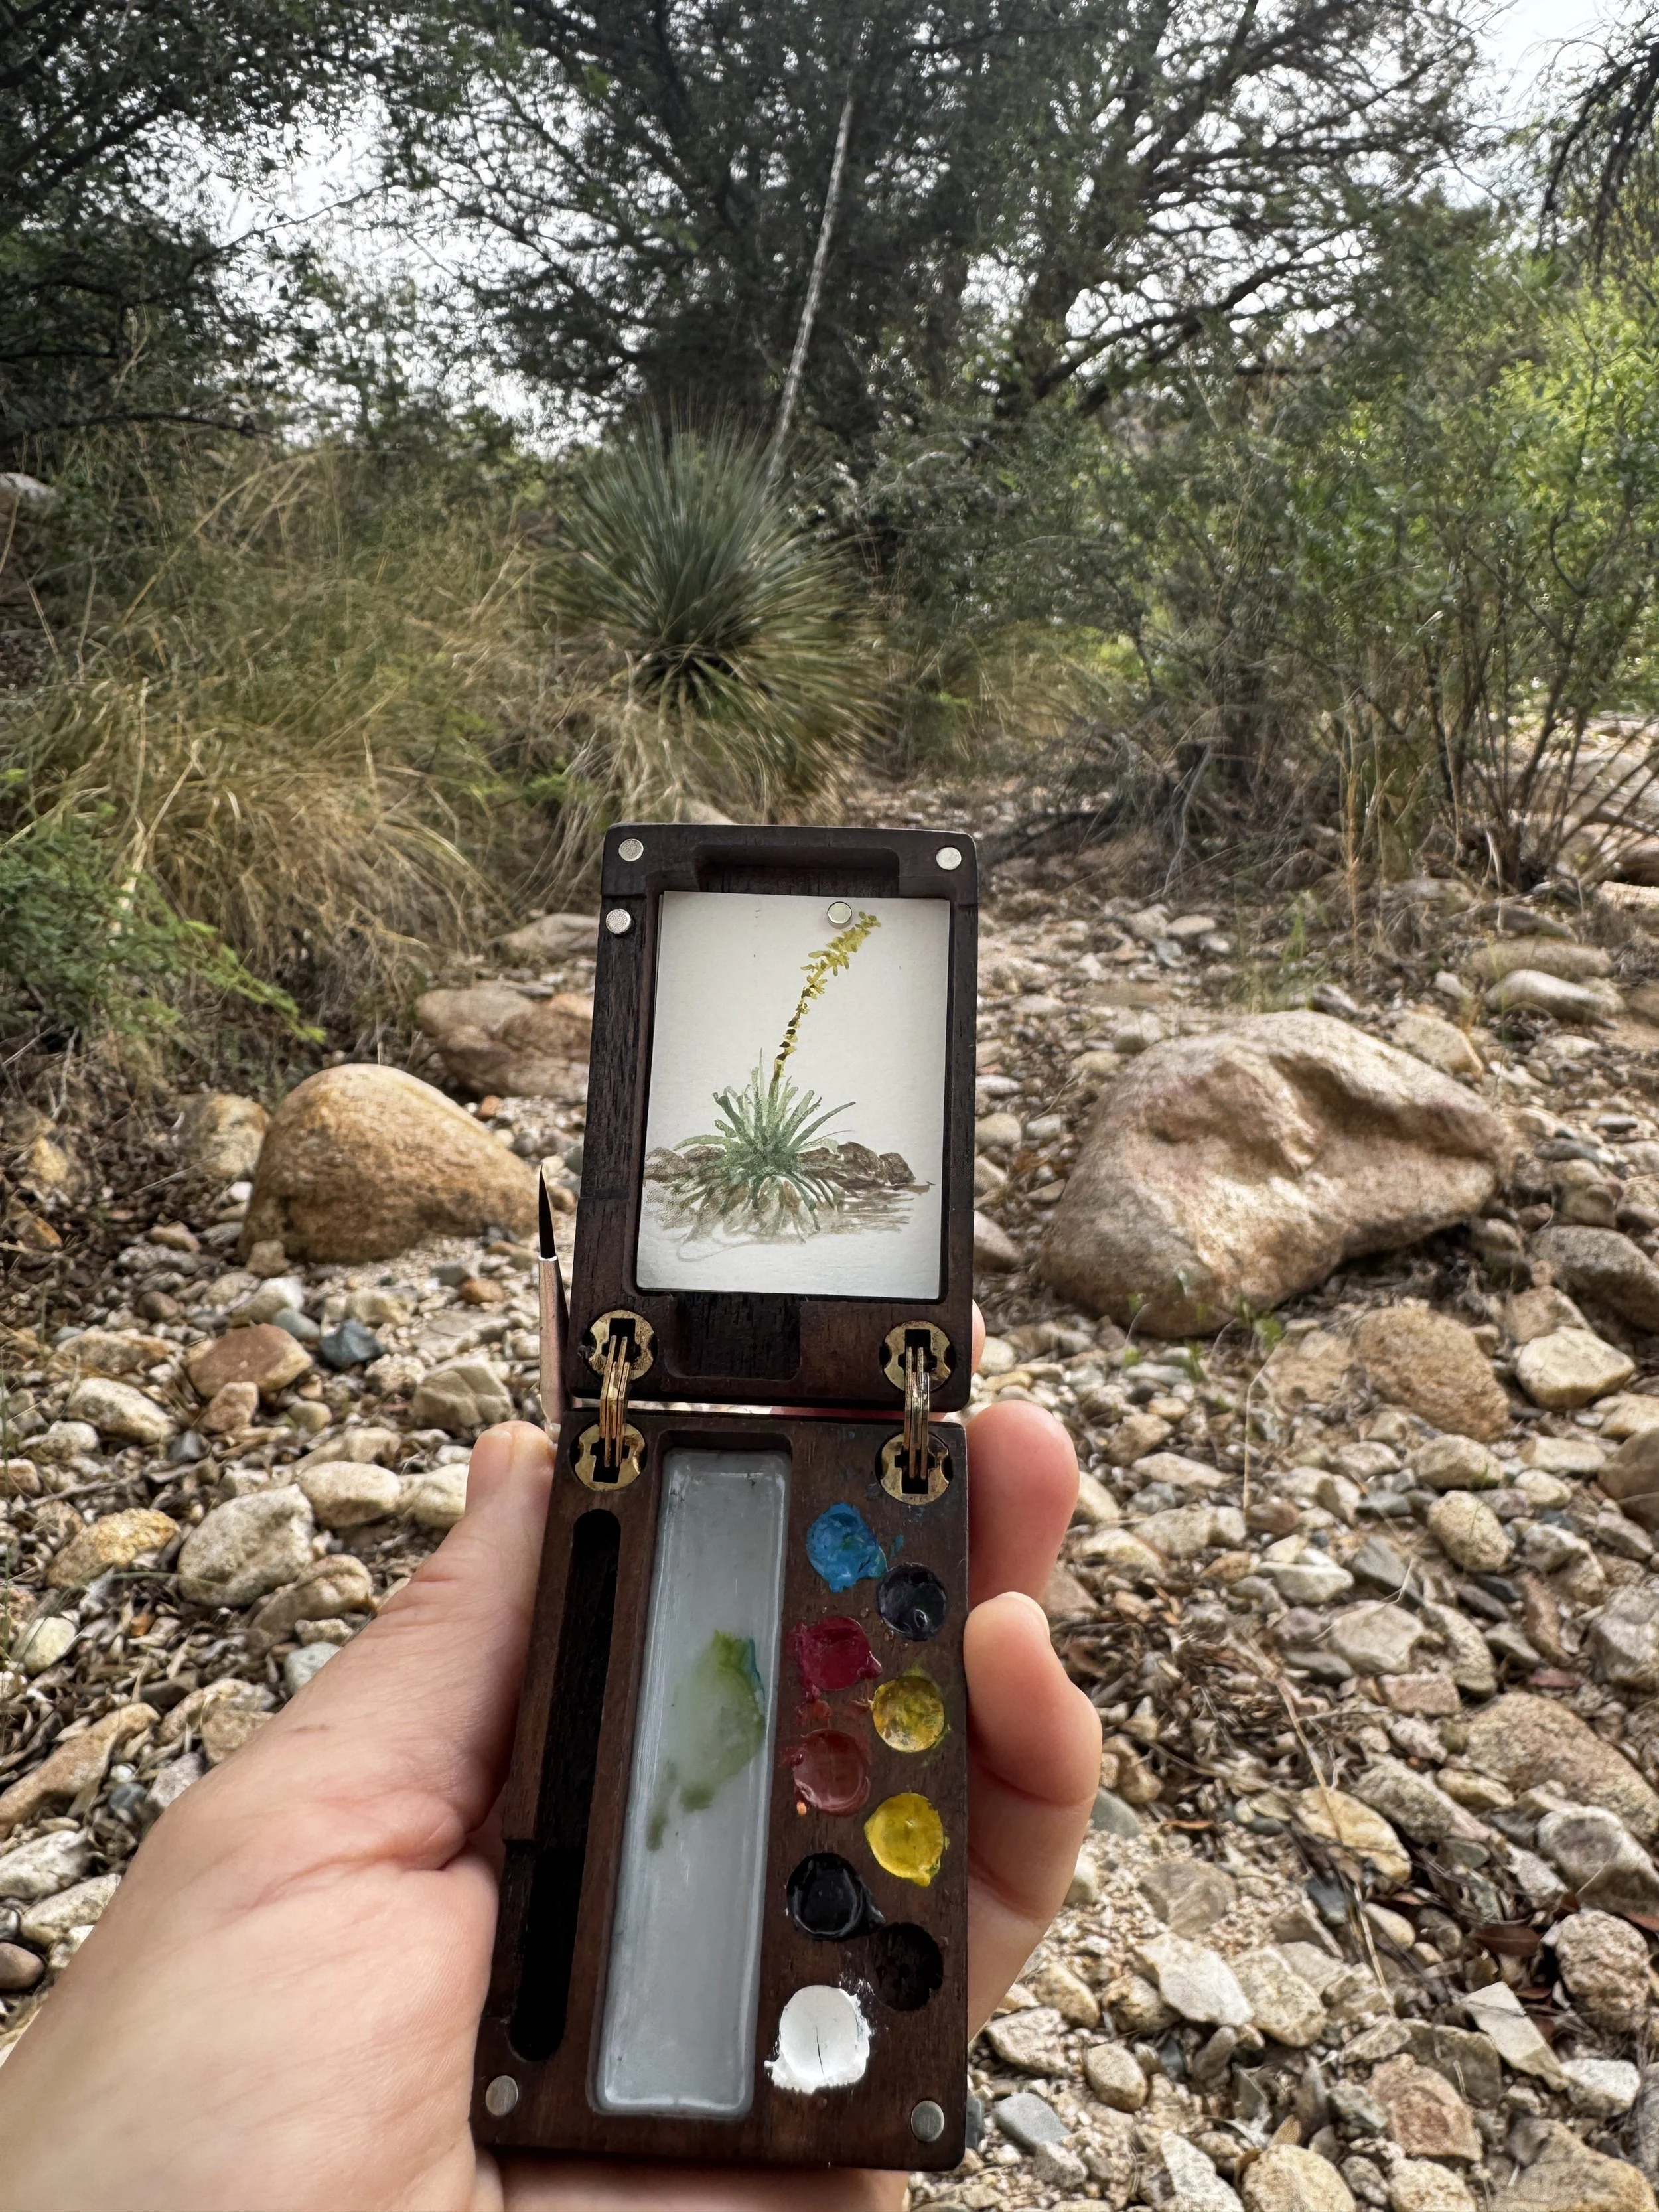
During our recent Sonoran Desert Field Arts Bootcamp in Aravaipa Canyon, I watched artist Patricia Larenas draw a beautiful landscapito in her journal and turn it into an interactive feature by overlaying a door that the viewer opens to reveal the landscape.

Magic! I immediately thought of many other ways to incorporate cut-a-way panels: day sky / night sky; tree trunk / woodpecker hole-nest; creek or ocean surface / underwater life; gopher or ant mount / underground chambers; snow surface / animal tunnels or stream . . . it’s really endless, the only limit your imagination.

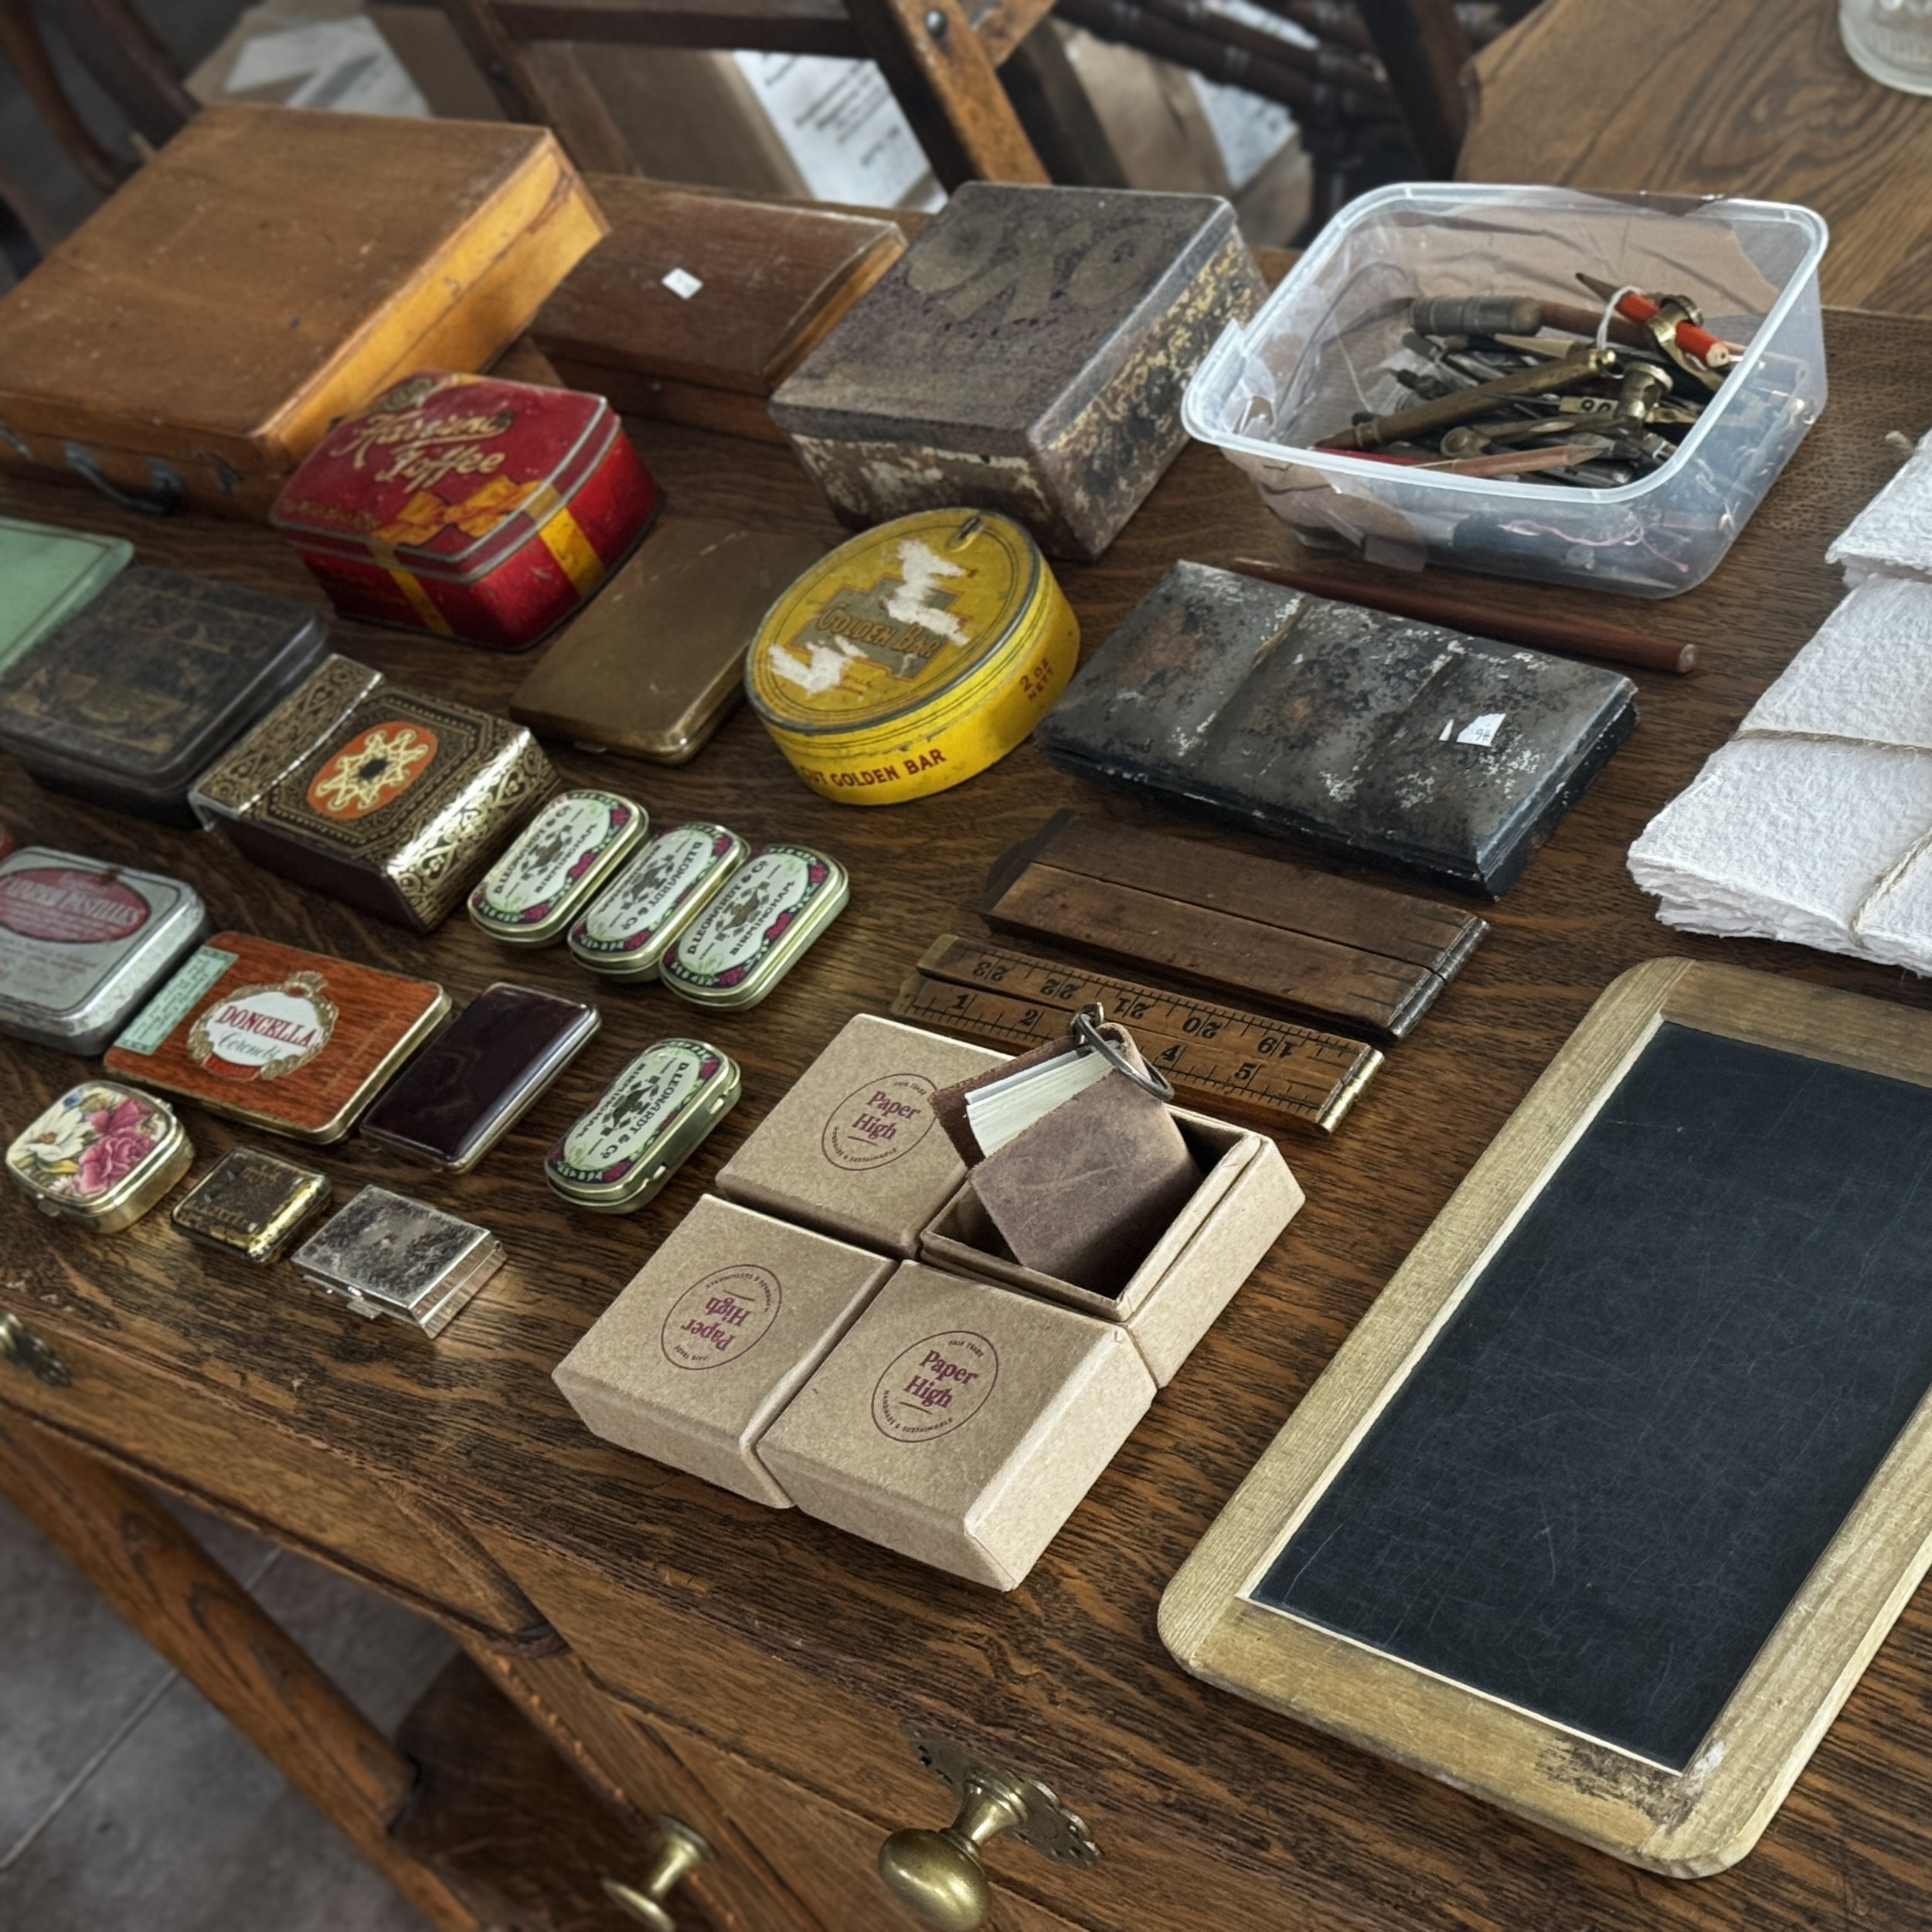
The technique and tools are pretty simple, too. In my field bag I keep a plastic-handled scalpel with cover (or search for “bread lame tool”), a small vial of PVA glue (= Elmer’s glue), and a small glue-spreading brush (from the bookmaking arts).

Create your “top” or “visible” view first, keeping in mind any space you need to leave for what you envision for the “underside” or “unseen” view, which you complete on the next page. Eyeball marker points to align the scenes up and pencil them in so you stay within scale and match features.

When finished with both drawings, lightly sketch with pencil the door/s you want to open, and also mark the hinges (the uncut part) so you don’t get over-enthusiastic and cut through them.

Once you triple-check the door placement and cut lines, place a piece of thin cardboard (such as from a cereal box; I keep a 9x6 piece in the back of my journal) between the pages, and use the scalpel to cut your door/s.

Finally, spread a thin layer of PVA glue on the back of the first page and carefully press to the second page, aligning the corners and smoothing everything flat. Let dry. Then I cover the cut-a-way part with a sheet of paper and lightly spritz the back side of the doors with water, close them, and then place my Perspex Palette on top of that, and a weight on top of the palette and let dry. This helps ensure the door lays flat again.

I would love to see your results if you try creating cut-a-ways for the “unseen” views!

Turn on the sound for soothing creek burbling and bird calls.

Visualizing landscapes in 3D, part 2

07+IMG_2711.jpg
IMG_2759+copy.jpg

Because we can't reach our studios and workspaces at the University of Arizona’s Desert Laboratory on Tumamoc Hill, I've been working on multiple ways of visualizing and mapping landscapes (see TumamocSketchbook.com for a 3D cube visualization of Tumamoc, and a previous Field Arts post here on creating a 3D cube of Cave Creek Canyon).

This time I worked on an aerial view, from the north and several thousand feet above Tumamoc Hill but also trying to show the topography and sense of its place on the Earth. Then, looking directly overhead, I used an old-school "hachure" method to show gradients between contours, and handmade walnut ink that is water soluble, to make the shading (I’ll do a future tutorial on my method for creating an accurate hachure-style map). It’s interesting to compare the two viewscapes side-by-side.

I worked from an aerial photograph of Tumamoc Hill, looking south.

I worked from an aerial photograph of Tumamoc Hill, looking south.

Using a mechanical pencil, I sketched the hill and just a few other landscape features, leaving out the city and hills in the background, to maximize the 3D map effect (sterling silver vintage Parker mechanical pencil with HB graphite).

Using a mechanical pencil, I sketched the hill and just a few other landscape features, leaving out the city and hills in the background, to maximize the 3D map effect (sterling silver vintage Parker mechanical pencil with HB graphite).

When I was happy with the proportions and simple marks to show shapes, I inked over the pencil with waterproof ink (Platinum Carbon Black, an archival quality pigment ink, in a refillable cartridge in my vintage Mont Blanc fountain pen).

When I was happy with the proportions and simple marks to show shapes, I inked over the pencil with waterproof ink (Platinum Carbon Black, an archival quality pigment ink, in a refillable cartridge in my vintage Mont Blanc fountain pen).

After I erased the pencil lines, I laid a piece of waxed paper over the drawing (wax-side down) and used a dull pencil to trace just the roadway going from the base up to the top—I wanted to reserve a pale margin over the roadway during the final wa…

After I erased the pencil lines, I laid a piece of waxed paper over the drawing (wax-side down) and used a dull pencil to trace just the roadway going from the base up to the top—I wanted to reserve a pale margin over the roadway during the final watercolor washes, below.

Using a damp brush, I first applied yellow ochre and then, when it was mostly dry, a light brushing of red ochre (from (Greenleaf & Blueberry). Note that my brush strokes are in the direction of the slopes, and that I didn’t extend beyond the ba…

Using a damp brush, I first applied yellow ochre and then, when it was mostly dry, a light brushing of red ochre (from (Greenleaf & Blueberry). Note that my brush strokes are in the direction of the slopes, and that I didn’t extend beyond the base of the hill. The drier brush let me feather the color nicely.

Finally, using dry brush technique and my own Tucson Mountains purple ochre and a dark green blended from yellow ochre and Mayan blue (Greenleaf & Blueberry), I added shading and the suggestion of plants.

Finally, using dry brush technique and my own Tucson Mountains purple ochre and a dark green blended from yellow ochre and Mayan blue (Greenleaf & Blueberry), I added shading and the suggestion of plants.

How to render 3D block maps

IMG_2652.JPG

Cartography is one of the oldest field arts—many ancient petroglyphs might actually be maps (there are several at Twyfelfontein in Namibia).

Here is a step-by-step pictorial on how to render a cool 3D map. I did this one from a photo after a visit to Cave Creek in southeastern Arizona's Chiricahua Mountains. The biggest challenge is pulling the "box" out of the 2D image and envisioning the "cut away" part in a way that works in a 3D cube. Thanks to John Muir Laws for the tutorial in his excellent Laws Guide to Nature Drawing and Journaling.

Study your photo or live landscape and decide where you want to pull out your 3D box. I wanted to be sure to depict the creek, especially the whimsical spillage off the box (idea stolen from Jack Laws). Getting the landscape right in the box is the …

Study your photo or live landscape and decide where you want to pull out your 3D box. I wanted to be sure to depict the creek, especially the whimsical spillage off the box (idea stolen from Jack Laws). Getting the landscape right in the box is the hardest part, and you will probably have to do 4 or 5 tries before it feels right. That's how many it took me on this one! I used this photo for inspiration; from the Friends of Cave Creek Canyon (FOCCC) on Facebook, by Steve Wolfe.

After studying your photo (or live landscape) and deciding where to pull out your 3D box, use pencil to draw a rectangle on your page. with all the corners and "bottom" included.

After studying your photo (or live landscape) and deciding where to pull out your 3D box, use pencil to draw a rectangle on your page. with all the corners and "bottom" included.

Using pencil still, sketch in the upper corners and limits of the landscape within the box. You can see I drew the right-most upper corner too high and fixed it later. Then I added the general creek location and the background.

Using pencil still, sketch in the upper corners and limits of the landscape within the box. You can see I drew the right-most upper corner too high and fixed it later. Then I added the general creek location and the background.

When I was happy with the placement of the landscape elements, I drew over the main parts in pen.

When I was happy with the placement of the landscape elements, I drew over the main parts in pen.

After the pen dries, erase the pencil lines that marked the structure of the box. Then go back with pencil and add details; I roughed in the rock spires, the slopes, where I wanted to make the darker patches of vegetation, and a few symbols for habi…

After the pen dries, erase the pencil lines that marked the structure of the box. Then go back with pencil and add details; I roughed in the rock spires, the slopes, where I wanted to make the darker patches of vegetation, and a few symbols for habitat types. When happy, I finalized in loose pen sketching, keeping the marks fairly light.

The final step was adding the watercolor, making sure to make the farthest mountains darker and warmer blue in tone so they feel like they are receding (instead of making them green or cooler blue). Don't go crazy on the details for something this size and this simple.

I decided to add the clouds and hawk as a fun whimsy.