The call came from our commercial mail service. “Hi Jonathan. You have a really big box here, and it’s heavy!” I knew it could only be one thing: the new ARB Elements fridge I’d been assigned to review for OutdoorX4 magazine.
Even back home and excised from its substantial packing, the Elements fridge is an impressive piece of equipment at 70 pounds, 32 inches long, 19 inches wide, and 17 high. It’s strikingly handsome as well in its cladding of 304 stainless steel and black trim. You might or might not go for the huge embossed ARB logo on each side, but the formed panel increases rigidity so it’s not purely cosmetic.
More important is the substantial redesign—a complete re-envisioning, actually—that ARB undertook three years ago when conceptual work reportedly started on this fridge. In an increasingly crowded and sophisticated market, a simple tweaking of the previous model, introduced in 2008, wasn’t going to cut it. So the Elements (available for now only in a large 60-liter version) incorporates a bunch of innovative features.
First, as the name implies, is the weatherproofing. You can leave this fridge strapped down in the bed of your pickup all year (preferably using the available tamperproof bolts). Precipitation won’t hurt it, and the black ASA (acrylic-styrene-acrylonitrile) trim is similar in strength to ABS resin but significantly more resistant to UV degradation. The hinges are stainless-steel castings; the twin aluminum latches are a huge improvement over the previous generation’s single plastic catch, which always felt fragile. (However, one disadvantage compared to the old fridge is that there is no easy way to quickly strap this one down without purchasing the optional tie-down kit or mounting base. The carry handles are comfortable but provide no way to loop anything over them.)

The three icon buttons lower left control the electronic combination lock
There’s a slot to secure a padlock, but a far more stylish way to prevent your friends pilfering your Samuel Smith’s ale is the electronic lock incorporated into the (weatherproof) control panel. Program in your own code using the three icon buttons, or leave it disabled as you wish. With the lid locked closed, the recessed temperature buttons cannot be accessed, so your stymied and jealous friends can’t secretly warm up the beer. The lock projects a pin into a fitting in the lid, and would clearly not withstand a crowbar, so if serious antitheft capability is needed (i.e. steaks, lobster, Veuve Clicquot, etc.) I’d default to a shackled lock.

Open the lid and the first thing you’ll notice is the clever single hydraulic strut, which magically holds the lid open at any position you wish. An LED lights up the all-white interior, which is massive if you’re used to the standard 40-liter-size fridge. There’s a big bottom compartment and a high shelf, which can be blocked off as a produce shelf by turning the basket around so its high side is toward the shelf. Turned the other way, the basket allows long items to be laid horizontally. One feature that might be an issue for some vehicles: There is no way to convert the lid to side-opening.

Mechanically, the Elements uses an industry-standard Nidec/Secop (formerly Danfoss) BD35F compressor, with a three-stage low-voltage cutoff. Of the two standard 12V fridge compressors—this and the Sawafuji swing-motor compressor—the Secop tends to run more quietly at the expense of a more complex mechanism. The Secop can also be run at different speeds to optimize power use. Both compressors have proven reliable over the years, and both will operate at significant angles, unlike the cheap absorption-type fridges still found in some RVs and campers. ARB enhanced the performance and efficiency of the Elements by incorporating a full-height evaporator; this should keep temperatures more uniform throughout the fridge. Those temperatures can be dialed down to 0º Fahrenheit (-18ºC) if you choose, even in 90º (35ºC) weather. The walls on the Elements are noticeably thicker than those on my old ARB fridge, which will also help keep power consumption down.
Options for the Elements include a remote temperature monitor, various bases, and a tie-down kit. If you buy the latter, a word of caution: The slots on the metal buckles of mine were razor sharp and would have severed a strap in short order; I had to file them smooth.
I was a bit surprised that ARB’s initial release of the Elements was in the larger, 60-liter model rather than the more common 40-45-liter size, but perhaps the decision was driven by their own sales figures of the previous version. I’m certain other sizes will follow, and I’m curious if the company will eventually add a model with separate fridge and freezer compartments.
Overall, I think ARB has built a fridge that is several genuine steps forward and will carry on the sterling reputation of the company.
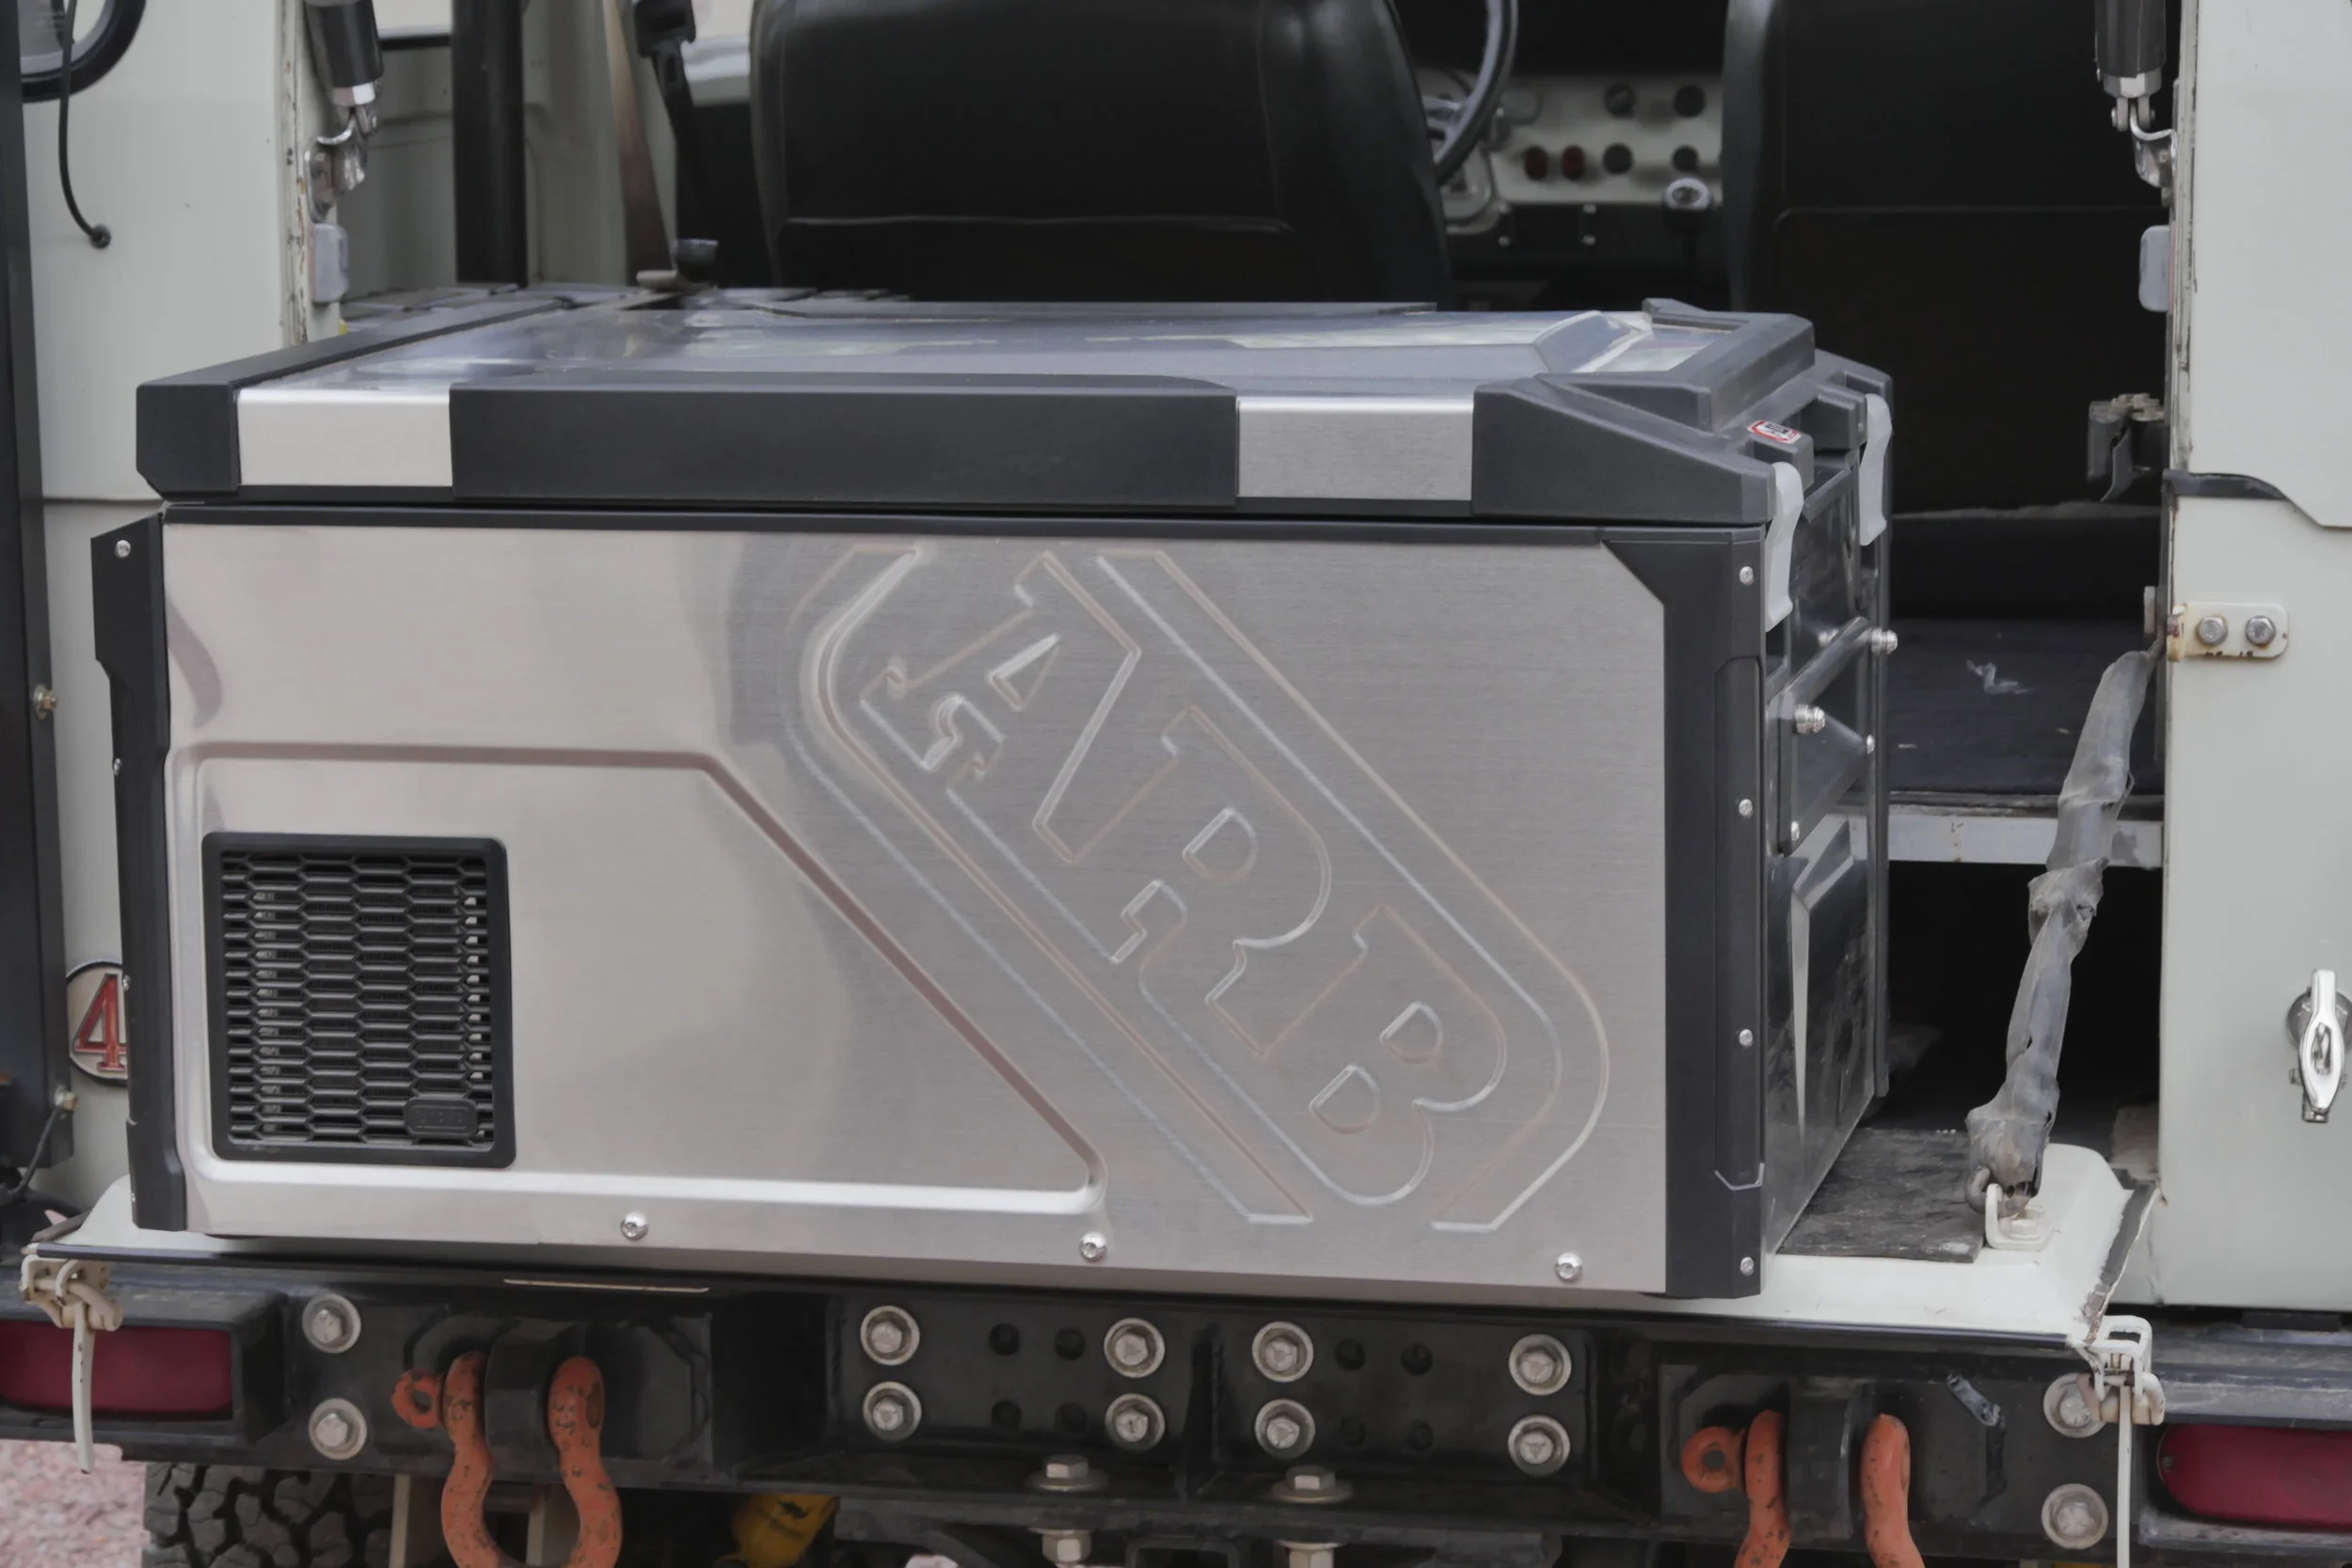
Measure first! The Elements barely fit in the back of my FJ40
ARB USA is here. Retail on the Elements fridge, for some strange reason known only to the marketing department, is $1444.49