For want of an M8 x 30mm bolt . . .

P1000720 copy.jpg

It still amazes me how well I can prepare for a long, remote journey, yet still find myself unprepared.

Over the course of four trips to Australia in the Land Cruiser Troopy we bought there, I slowly accumulated a pretty decent selection of tools, highlighted by a superb Bahco S106 combination kit (see here), which includes full 1/4 and 1/2-inch socket sets, wrenches, plus numerous drive fittings. An additional set of 1/2-inch deep sockets, a screwdriver selection, an electrical tester, and various pliers rounds out the kit. 

Our recent trip was without doubt the hardest on both our Troopy and that belonging to Graham Jackson and Connie Rodman, as we covered 2,600 kilometers of dirt tracks between Coober Pedy to Perth, some of them heavily corrugated. And as on earlier trips, substandard work done by a mechanic in Sydney (not the Expedition Centre which did all the camper conversions, but a repair shop nearby) began to manifest itself. A new radiator installed on Graham’s vehicle, bought long distance before we arrived—and guaranteed by the mechanic to be “as good as Toyota”—began leaking halfway through the journey. Radiator stop-leak controlled but did not completely plug it. Next, I found the transfer case lever in our vehicle would engage four wheel drive but flopped back and forth rather than engage low range. The nut on that section of linkage had fallen off. (The transmission had been removed to repair a leak before a previous trip.)

A bit farther on, Roseann and I started noticing a rattle that seemed to be coming from the exhaust, as if some gravel had become caught on top of a heat shield. But soon we could hear an obvious exhaust leak. Underneath the vehicle I inspected the “performance” exhaust system the mechanic had installed. A joint near the middle was completely loose. It had been connected with two bolts and nuts—no flat washers, no lock washers, no jam or nylock nut, no Loctite. One bolt and nut was completely gone; the other I easily removed with my fingers, to find most of the thread stripped.

IMG_8178.JPG

And that was a problem, because while I had plenty of tools with which to install or remove virtually any nut or bolt on the truck, I had not gotten around to the item on my pre-trip list that read BUY SPARE BOLTS AND NUTS.

Sigh . . .

This time I got lucky. We had some leftover washers from a RAM mount, plus several bolts I had bought to secure it, and against all odds they just happened to be a suitable size and length. We were soon back on the road with a quiet exhaust (and Graham had found an extra M8 nut with which to fix the low-range linkage). 

Needless to say, when we got to Perth I made my first task a trip to the local Bunnings to get a start on rectifying the situation before we loaded the Land Cruisers into a container for Africa.

One suggestion: I usually buy mostly high-tensile spare bolts (Grade 8 in SAE or 8.8 or 10.9 in metric), figuring that it won't hurt to replace a missing standard bolt with a high-tensile spare, and I can be assured of having the proper strength fastener for a critical component.

P1000722 copy.jpg

The Hiplok Z Lok

IMG_7842.jpg

Securing one’s possessions while on a trip is an annoying but critical concern. Inside the vehicle we lock down our large, important items—Pelican cases, etc.—with bicycle-style cables and padlocks stout enough to resist all but a really determined criminal with bolt-cutters and time. 

But there are many other smaller items, and other circumstances, where one needs minimal protection from a snatch-and-run thief, involving minimal hassle and weight. Some time ago I read about the Z Lok from Hiplok, and my bicycling friend Geoff in Sydney just gave me one.

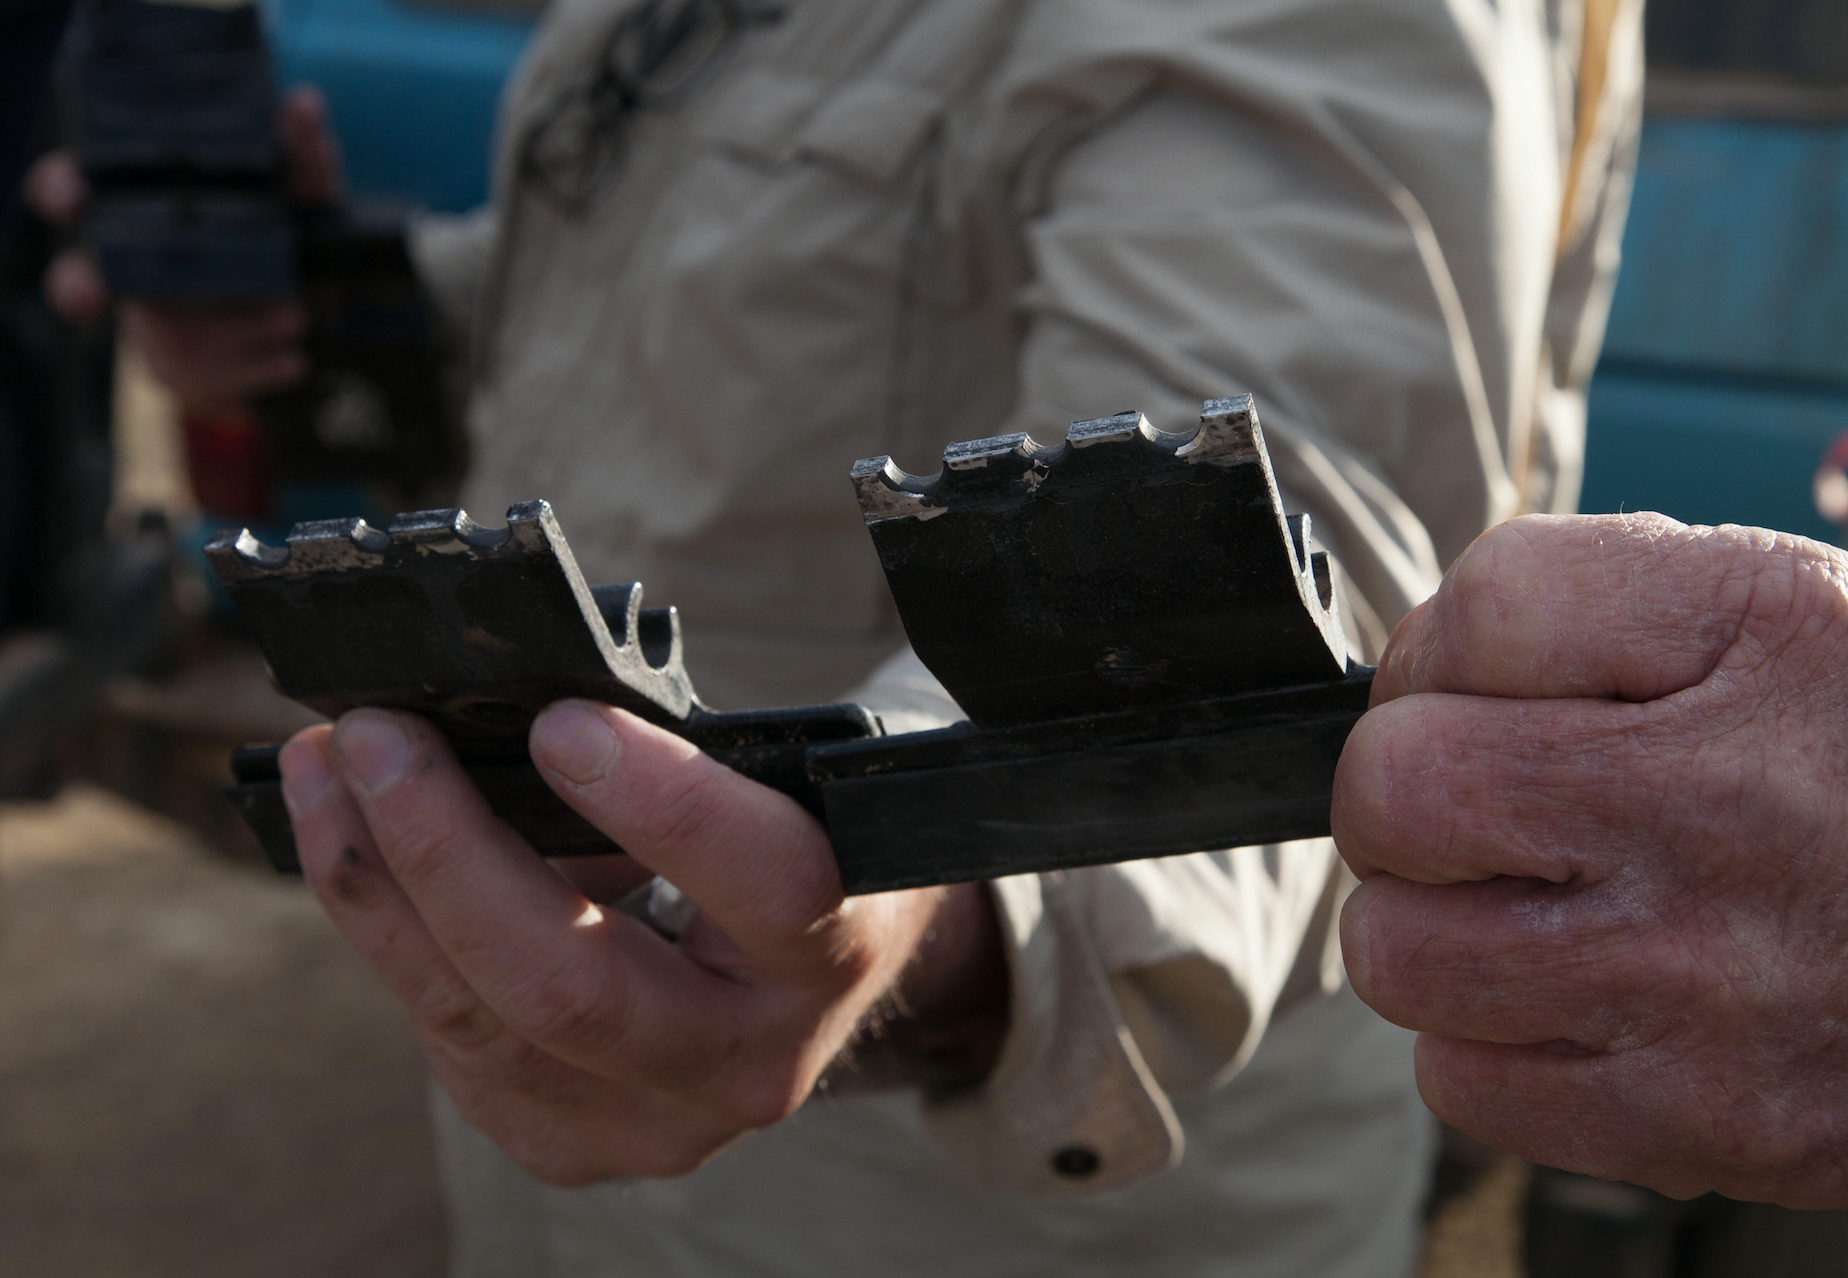
The Z Lok is essentially a glorified ziptie, but much stouter, cored with a strip of steel—and, saliently, reusable. A simple forked key disengages the double steel teeth that secure the tie inside a steel-reinforced head. It’s strong enough to resist a really strong yank, and would be nearly impossible to cut with a knife (although not with a good pair of side cutters).

While any thief could buy one and carry the forked key around looking for an opportunity, that’s an unlikely scenario. The Z Lok would be excellent for many situations—locking my camera case to the table while I’m having lunch at an outdoor café; securing my bicycle helmet to the bike—even quickly locking the bike itself if I just wanted to duck inside a coffee shop for a takeaway.

At around 12 bucks on Amazon, or $20 for a pair, I can think of a zillion uses for these things.

Don't be the beta tester

Roof rack brackets broken straight through the adjustment holes

Roof rack brackets broken straight through the adjustment holes

A few years ago my wife and I helped lead a self-drive trip along the U.S. portion of the Continental Divide, the great mountain range that divides North America’s watershed. In addition to our 2012 Tacoma and Four Wheel Camper and the other trip leader’s Ford Raptor, there were a dozen vehicles along, ranging from a pristine late 80s Ford Bronco to a couple of Sportsmobiles, FJ Cruisers, and Jeep Wranglers. Another Raptor and Tacoma, and a recently restored FJ60 Land Cruiser completed the convoy.

Several of the participants had done a lot of last-minute modifications to their vehicle to prepare for the trip, and the FJ60 was fresh off a major rebuild, with some untested components of its own.

It soon began to show.

Climbing through New Mexico, one of the FJ Cruisers pulled off to the side of the trail, and the owner climbed out and began inspecting the custom tire carrier on the back. We stopped and I went over, to find that welds on the carrier were beginning to split, allowing the rack and tire to bang back and forth. We used some ratchet straps to secure the carrier and belay any further cracking—which if left unchecked would have eventually allowed the entire assembly to fall off.

By the Colorado border other issues were surfacing. 

A custom auxiliary battery tray on another vehicle began to rattle itself loose. A four-wheel-drive Chevy Van had developed narcolepsy, and would simply stop running for an hour or two, then magically wake up. 

A rough trail over a high pass into Wyoming really started to shake things apart. The fenders on a cargo trailer towed by one of the support vehicles—which had been running an easier, parallel course to ours—simply fell off. Another auxiliary battery tray came loose, along with a shock absorber mount.  

The FJ60 had a lightweight aluminum roof rack installed, mounted with an Autohome roof tent and a side awning. When the rack started making noise, we inspected it, and found one of the aluminum gutter mounts cracked almost all the way through. That was secured—more or less—with duct tape, and we continued. Then another one cracked, and another. Soon all six mounts were near failing. An inspection showed that, incredibly, the manufacturer—a well-respected South African company—had drilled three adjusting holes in each one right across the area where the most strength was needed. Failure on this part was never a possibility—it was an inevitability.

Screen Shot 2018-07-24 at 11.04.44 AM.png

There was no way to adequately repair the mounts in the field, so at the next rendezvous with the support trucks we took off the entire rack, tent and all, and strapped it on top of the massive welded steel construction rack on the support truck. For the rest of the trip the two guys driving the Land Cruiser had a penthouse suite on an F450.

That Continental Divide trip was an extreme example, but I’ve run into this syndrome time after time after time: A vehicle owner has a much-anticipated trip coming up, and work schedules and budgets dictate a rush of last-minute modifications—many of which are not even really needed, just desired. And out in the real world of washboard trails and rocky hillclimbs it is discovered too late that some of those modifications were under-engineered. In the worst of cases the issues can spell the end of the trip; at best they delay progress and inconvenience traveling companions.

If you have a major trip planned, and a list of things you really want or need to do to your vehicle   for that trip, do them enough in advance so you can thoroughly test their quality on shorter excursions. It’s much better to do without an accessory than to find out it is more of a hindrance than an asset. And don’t assume just because something is sold by a famous company that it actually has been proven by them before they sell it to you. Let them do their beta testing on someone else.

Screen Shot 2018-07-24 at 11.05.03 AM.png

Smittybilt "Recovery Strap"

IMG_3896 copy.jpg

Before last year’s Overland Expo West, as we were juggling trucks and trailers and various four-wheel-drive vehicles to make sure we had all the transport and training equipment we’d need in Flagstaff, Roseann mentioned that we should have a basic recovery kit—a Microstart and a recovery strap—in every vehicle. Of course our main travel vehicles already had full kits to go with the winches on them, so I went online and found some inexpensive (Chinese-made) but brand-name “recovery straps” from Smittybilt. I tossed one in each of the spare trucks. 

This morning, for the first time, I took one out of its cellophane wrapper, and was incredulous at what I found.

Nowhere on either the paper label or on the strap itself does it indicate whether this is a kinetic recovery strap or a non-kinetic tow strap. The only mention of materials is the note that it has “ballistic nylon reinforced ends,” which of course says nothing about the composition of the strap itself. Elastic nylon or non-elastic polyester? The paper label claims the two-inch-wide strap is rated to 20,000 pounds. Nowhere on the strap itself does it indicate this, or whether that rating is a working load limit or a minimum breaking strength. The sole scant indication of intended use comes all the way down the list of characteristics on the label, a line that says simply, “low stretch.” Does that mean minimal stretch, as one needs for a tow strap, or low stretch as in it will stretch if used kinetically, but not a lot?

IMG_3893.jpg

My conclusion is that the Smittybilt “Recovery Strap” is actually a non-kinetic tow strap. But the lack of solid information, especially regarding the composition of the strap, and its advertisement as a “recovery” product, could effortlessly lead a consumer to employ this in a kinetic situation, with potentially disastrous consequences.

IMG_3895.jpg

This is a bad, bad effort on Smittybilt’s part. 

If you’re shopping for a tow strap or a recovery strap, make sure what you buy lists clearly its:

  • Precise intended use—towing or kinetic recovery

  • Materials—stretchy nylon or non-stretchy polyester

  • Working load limit (WLL) or minimum breaking strength (MBS)

And make sure all this information is on a durable label on the product itself.

Don't risk "Gargo damage." And note that "Strenght" could be reduced . . .

Don't risk "Gargo damage." And note that "Strenght" could be reduced . . .

A bad, a really bad, winch mount

Truck in Eagar 1.jpg

As I’m sure many of you do, I like to look at how others have set up their vehicles. I’m always impressed by clean and functional work. 

Sometimes I’m impressed by the opposite.

This truck was parked at a hotel in Eagar, Arizona, last winter when I was there hunting. It sported one of the dodgiest looking winch mounts I’ve seen in years. If this thing doesn’t wind up starring in a YouTube video someday featuring large bits of metal taking murderous trajectories across the landscape, I’ll be stunned.

Truck in Eagar 3.jpg

I couldn’t even actually tell how all the bits of the “mount” had been welded together to gain a tennuous foothold on the chassis, but one weld at the back appeared to have pulled free. The winch itself was bolted to a plate welded to a male receiver hitch insert. I’m not sure if the droop was the result of forces incurred while (wince) actually using this thing, or if it just wound up at that angle after all the welding was finished. The steel cable was pulled under the winch and hooked on the back of the plate. Lettering on it read, “HI-TEST.”  Yeah, I’ll bet.

Since it was mounted in front, I don’t think I can hope this thing is only used for pulling ATVs up on trailers. I just hope the owner’s survival instincts are better than his fabrication skills.

I don’t make fun of the owner/fabricator whose only sin is being an overenthusiastic beginner. But potentially life-threatening jobs such as this need to be called out.

Truck in Eagar 2.jpg

Bespoke sand ladders

Nick's ladders 1.jpg

I didn't get a chance to inspect closely—or try—these compact aluminum sand ladders that my friend and 7P/Overland Expo trainer Nick Taylor had welded up and brought to the show, but I like the concept. It's no secret that I'm a fan of Maxtrax (on the left), but in certain situations a rigid aluminum (sorry Nick, aluminium) ladder has advantages, especially for bridging. 

This pair is amazingly compact, and Nick had them made slightly different in size so they nest.

Nick's ladders 2.jpg

Given their abbreviated length, getting out of anything but a short bogging would require repeated deployment, but most boggings (except those in mud) can be overcome with a very short extra bit of traction or flotation. And these would be excellent for bridging a small ditch or climbing a ledge. 

I'm thinking about finding an alumin(i)um welder in Tucson and having a pair of my own made.

Nick's ladders 3.jpg

A new fuel can

SureCan 1.jpg

Carrying extra fuel, whether for the vehicle or an accessory such a a generator or chainsaw, always requires balancing different requirements. First and most critical is absolutely leakproof storage. Next comes ease of handling, and the speed with which the fuel can be dispensed. Then there must be a way to secure the container so that it will not shift even in the event of a traffic accident or rollover on a trail.

The gold standard as far as I'm concerned—despite its origins in 1937—is still the classic steel NATO-style (ex-Wehrmacht) jerry can, with the original cammed lid. I've found them to be absolutely leakproof, even when stored on their sides in full summer sun. The clamp-on spout incorporates a breather that makes dispensing a very fast process—convenient now but essential when your Kubelwagen was about to be strafed by a Spitfire. Even without the spout attached, dispensing fuel into a funnel is easy thanks to a built-in lip. I have a pair of NATO cans on my FJ40 that I bought at least 15 years ago—and they were surplus then. I've replaced the cap gaskets once; they still function perfectly.

When the U.S. reverse-engineered the Wehrmacht can in WWII to produce the so-called Blitz can, we sadly cut corners. Rather than perimeter-welding the seam, we used a crimped bottom and side seam, and replaced the brilliant cammed lid with a screw-on lid that was too large in diameter, making it virtually impossible to tighten enough to prevent seepage. I've never owned a Blitz can that didn't seep at the crimped base and leak at the lid. Pouring fuel from a Blitz can without a spout is an exercise in annoyance as there is no lip whatsoever and fuel cascades down the can and all over one's boots.

Likewise, my experience with the current plastic U.S. Scepter can has been disappointing, for the same reason: The large-diameter screw-on lid does not develop sufficient clamping force. As proof look at the several styles of double-handed wrenches available to augment one's own muscle power when installing or removing the lid. Not needed with the NATO can's cammed lid.

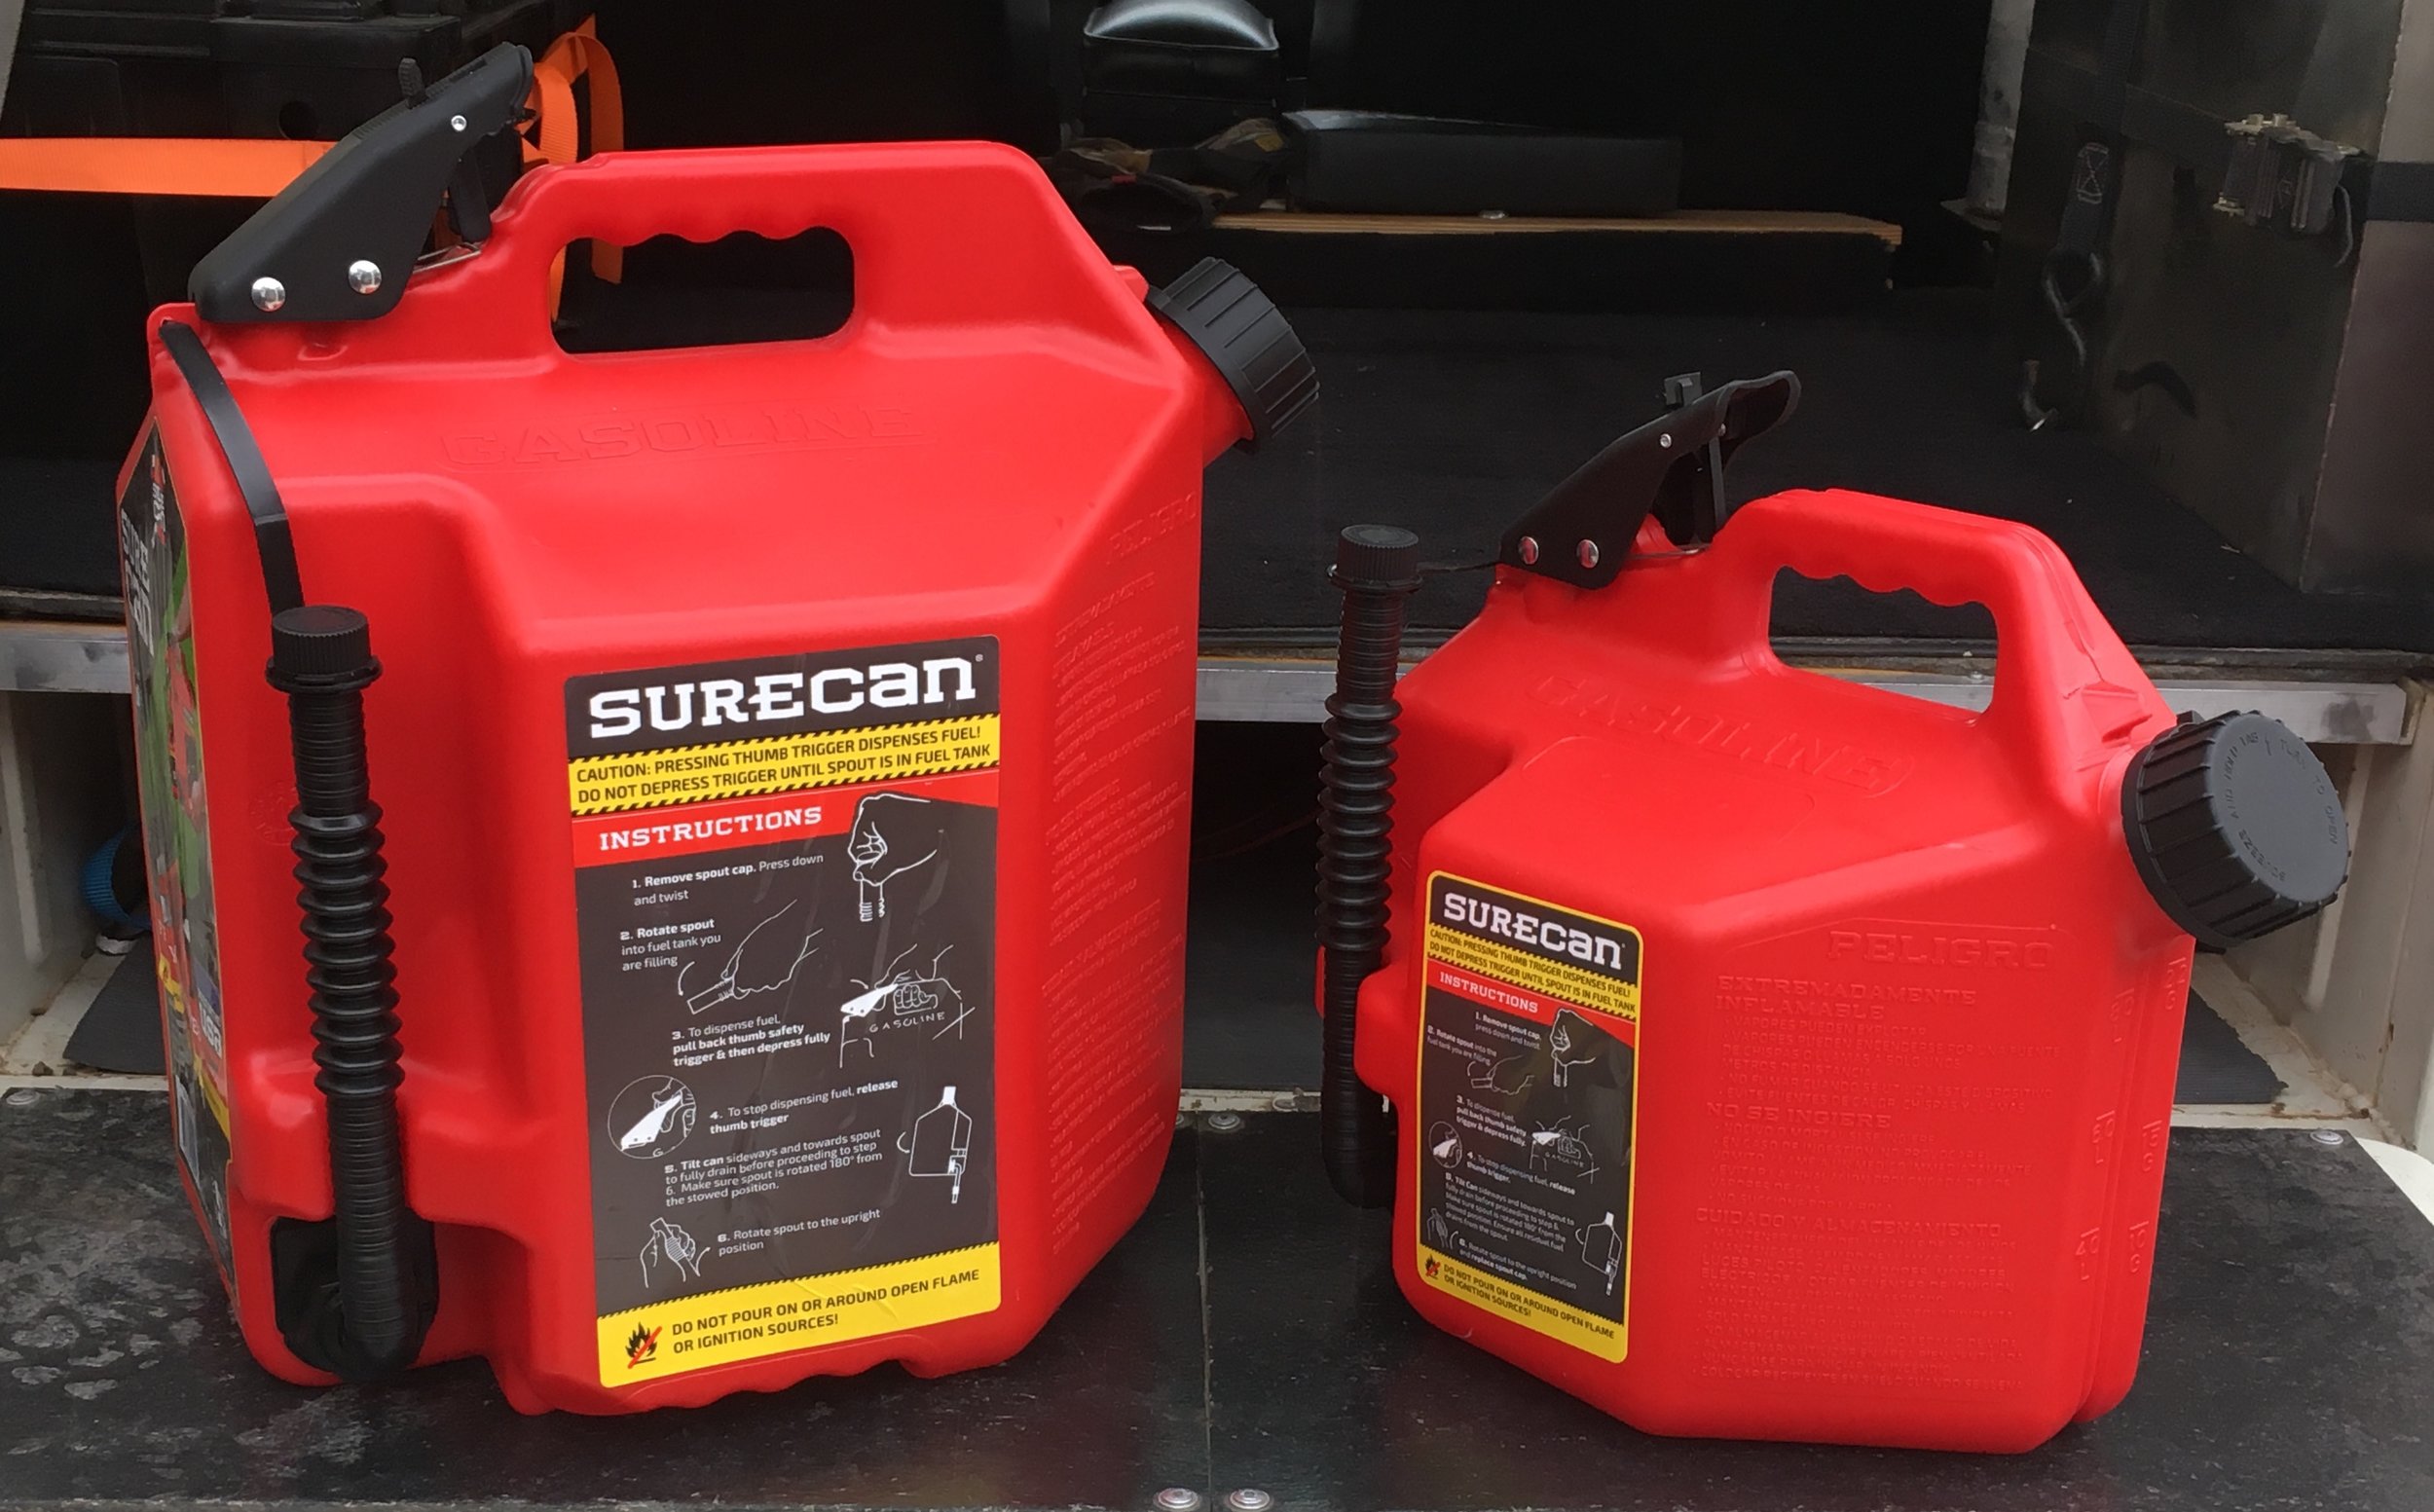
Of course, to dispense fuel from any of the above three styles of fuel container, you must tip them. And that brings us to the two new containers—one 2.2 gallon, one five-gallon—just sent to me from SureCan.

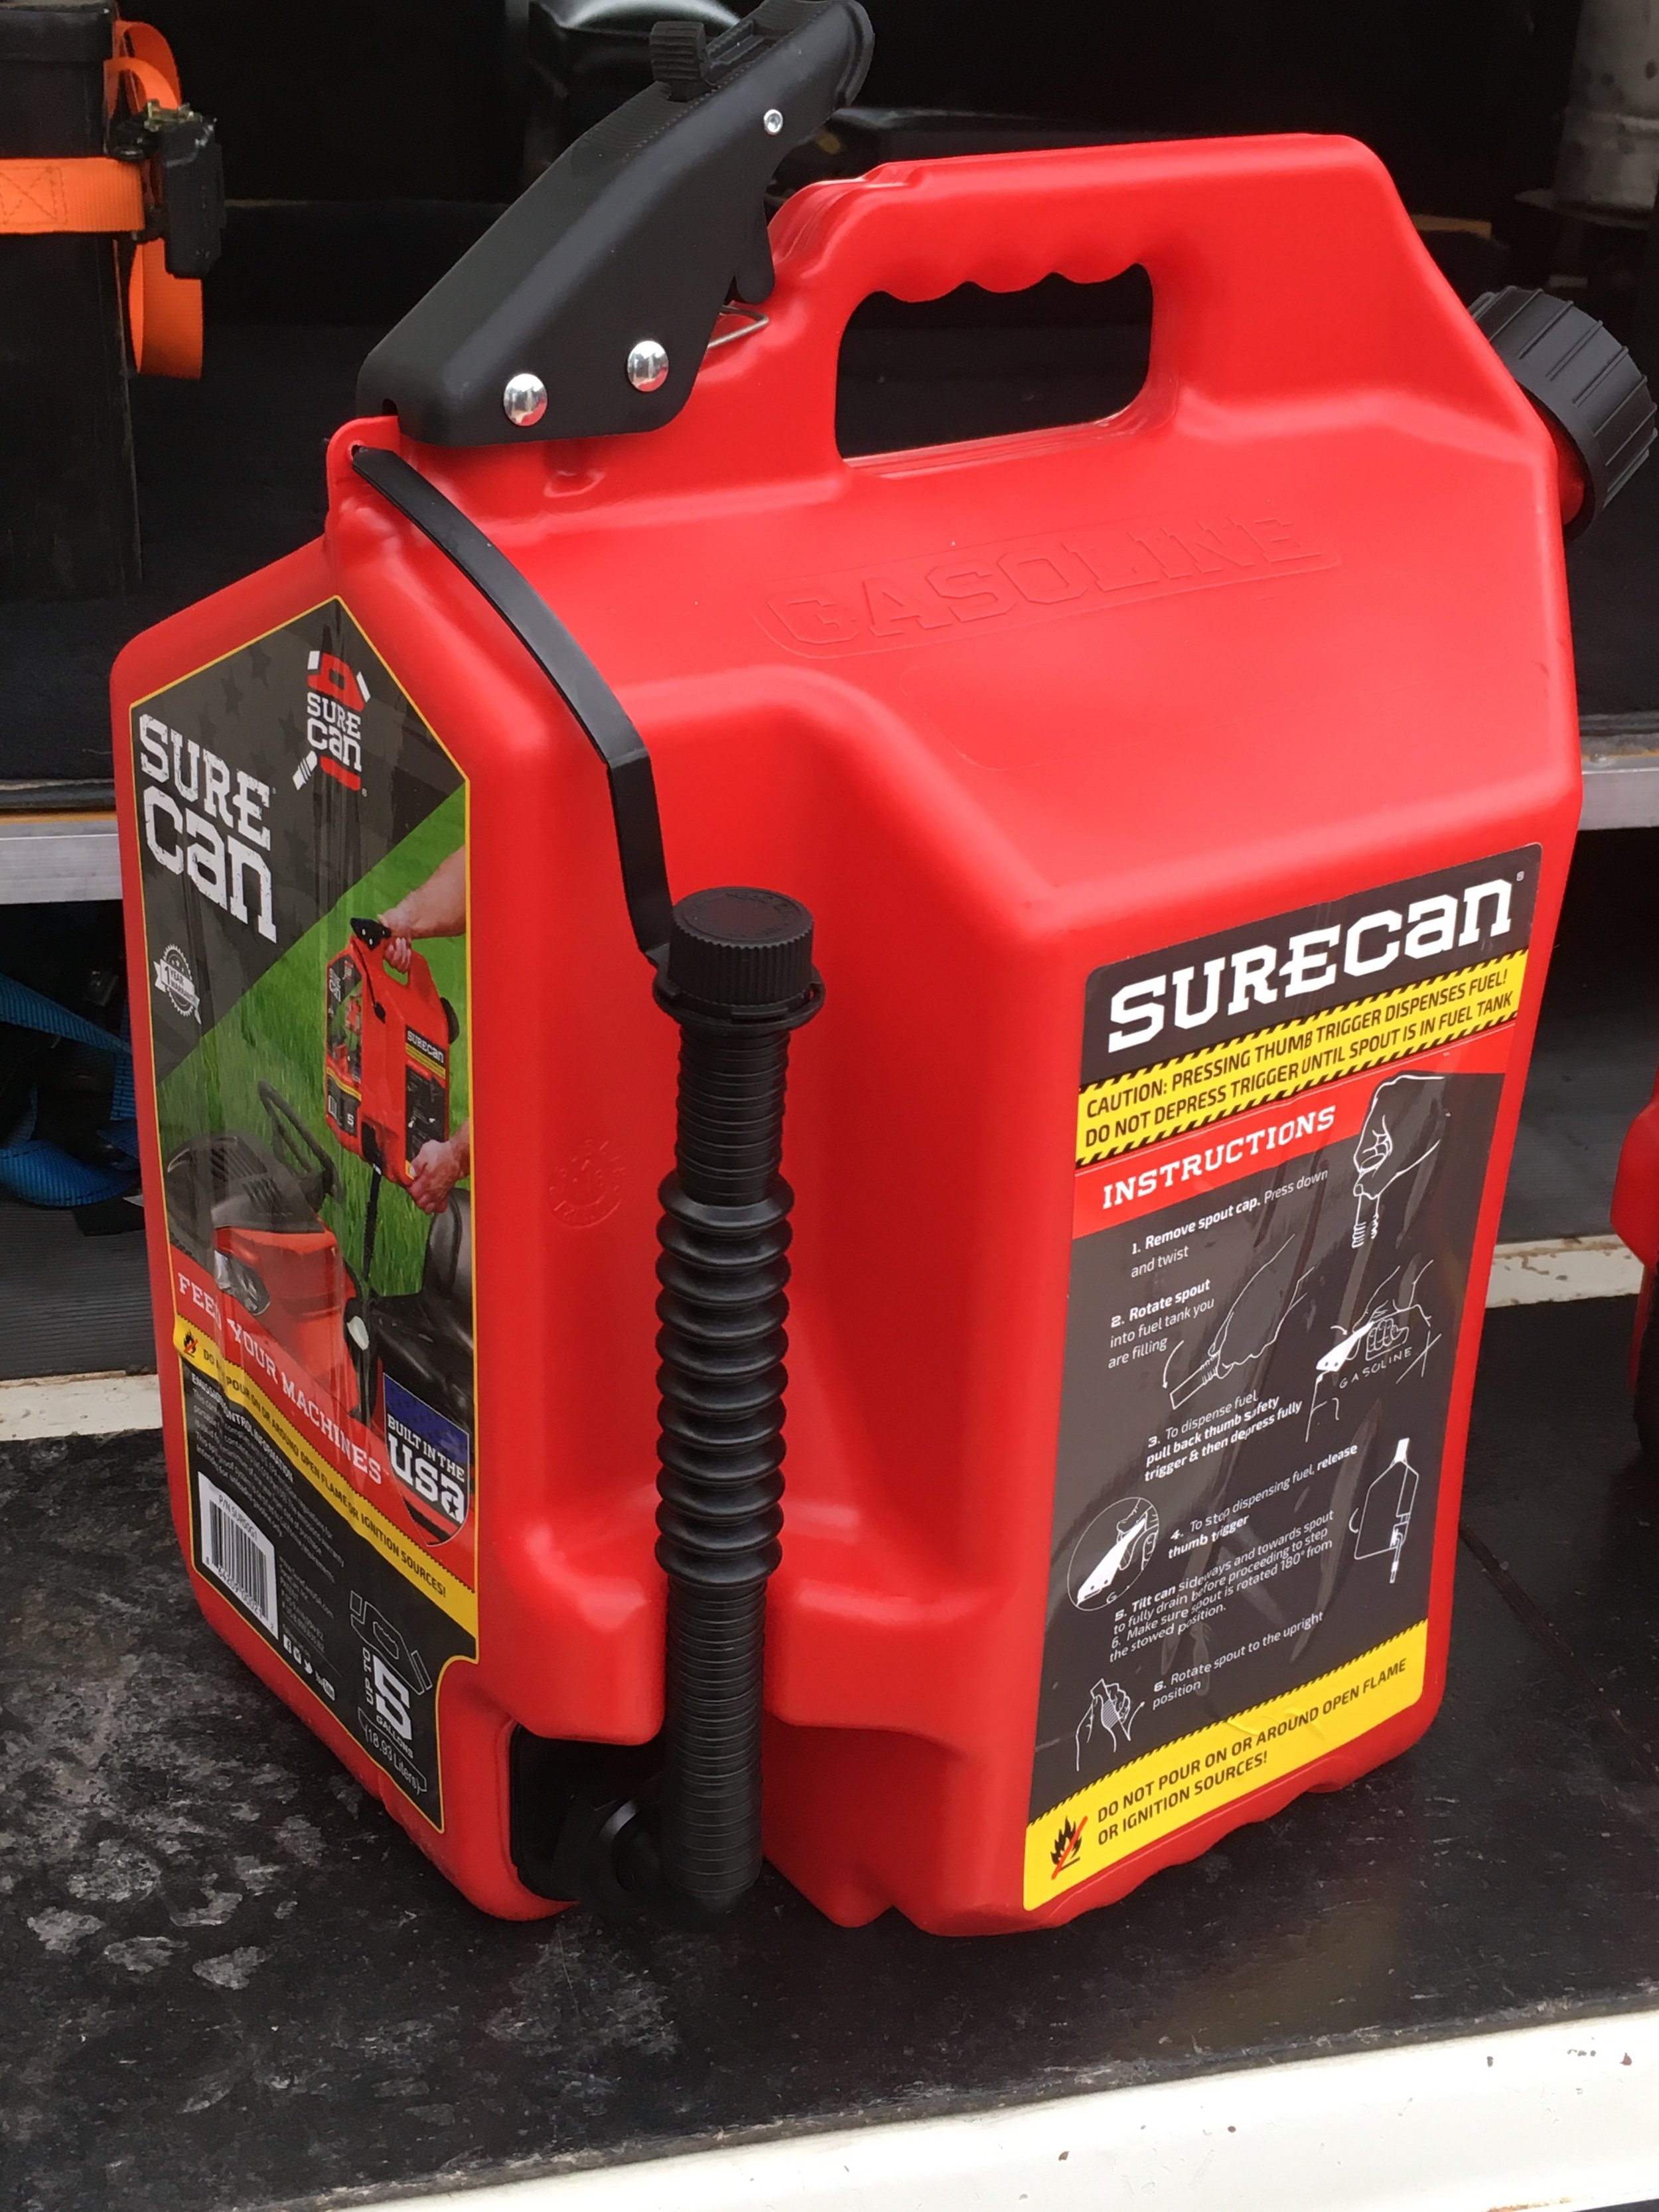
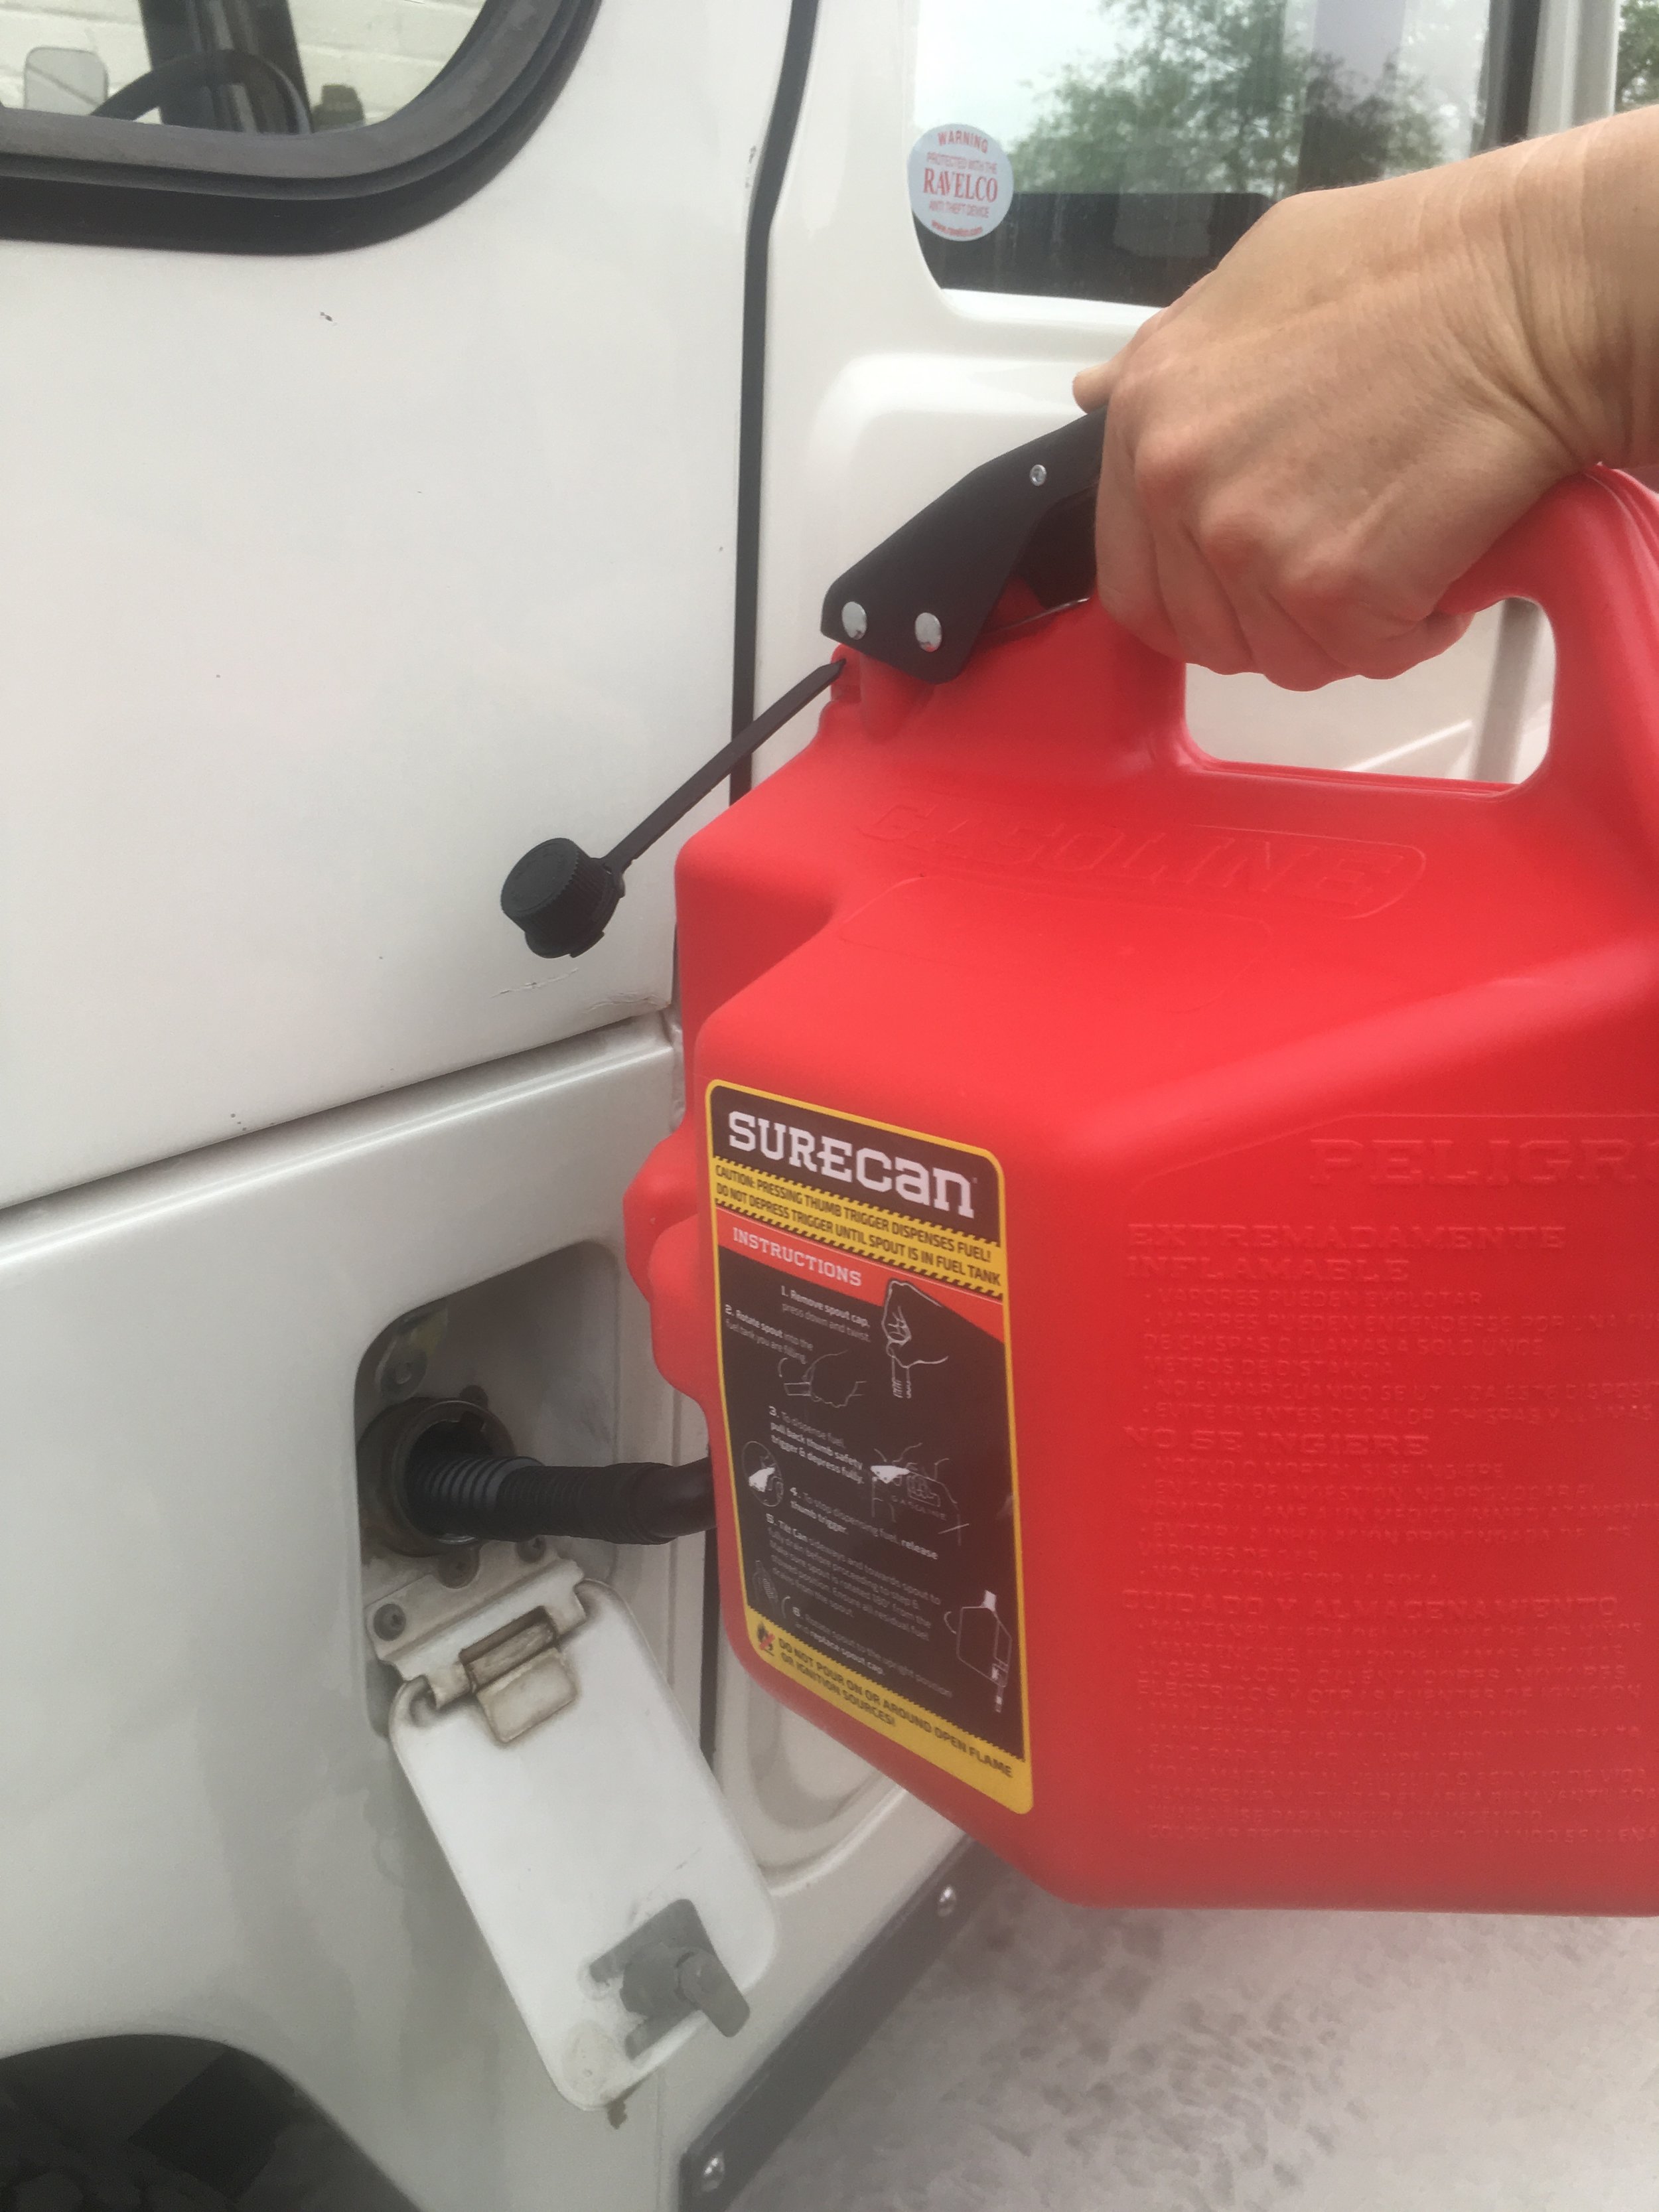
The SureCan incorporates a clever system that makes dispensing fuel something you could do while wearing your dress Afrika Korps uniform. Unscrew the cap from the built-in spout, then rotate the spout downward and insert it into whatever needs fuel. Press the safety catch on the top lever, squeeze the lever, and voila—fuel dispenses at a very rapid pace thanks to a breather mechanism built in to the valve assembly. Let go the lever and the fuel stops, right now. Tip the can sideways a bit to get the last few drops out of the spout, tip it back up to its locked position and secure the cap, and you're finished. 

SureCan 2.jpg

I used the SureCan to fill our generator when I needed to do some welding, and the process was absurdly easy and fast. Dispensing into a vehicle was more difficult, as you need to raise the can above the level of the filler. However, it was still easier than lifting and tipping a standard container.

I don't yet know if the SureCan will function well as an expeditionary fuel container. While it's easy to strap down securely through the handle, it does not fit into a standard can carrier on a rear rack. Also—and this is the big question—I don't yet know if the can will remain tight and leakproof when filled and carried where it will be exposed to high temperatures, full sun, and rough roads. The mechanism is much more complex than a simple lid, and there are more openings, including at the lever and the joint where the spout connects to the can, where leakage or outgassing might occur. I'll report back after trying it.

What I will say is that the SureCan has become my go-to container for around-the-ranch use for filling generators, chainsaws, and the like. A lot of new products seem too clever for their own good, but the SureCan is just clever enough to work. 

SureCan 3.jpg

SureCan is here.

Cosmetics versus function . . . and safety

Screen Shot 2018-06-10 at 11.46.14 AM.png

This morning I was scanning the excellent Silodrome site, and found this BJ40 restored by Legacy Overland, one of the ever-growing crop of companies exploiting the skyrocketing values of classic 4x4s such as the Land Cruiser and Series Land Rovers.

Legacy is headquartered in Greenwich, Connecticut. They don't specify where their restorations are done, but from various photos it appears to me to be in some Latin American country, which would make sense given that competitors such as The FJ Company do theirs there, taking advantage of cheap and plentiful labor. However, I have no hard evidence of this, and in any case it's not the location of the workshop that matters, but the quality.

To that: This BJ40 is done up in fine style, with a matt black finish, nicely stitched leather upholstery (emblazoned with the company's crest), lots of shiny new bits, and a beautiful engine compartment showing off the four-cylinder diesel powerplant. It also boasts a few actual trail modifications, such as the Hi-Lift jack, BFG Mud-Terrains, and what appears to be Old Man Emu suspension.

However. Closer inspection reveals a couple of disturbing details. 

The front bumper is equipped with shackle mounts and D-rings for recovery. Generally speaking, D-rings are considered inferior to bow shackles for recovery, as the former are only suitable for straight-line pulls. More importantly here, blowing up one photo revealed the D-ring to be stamped with a working load limit (WLL) of one ton, or 2,000 pounds. This is drastically underspecced for a vehicle weighing close to twice that.

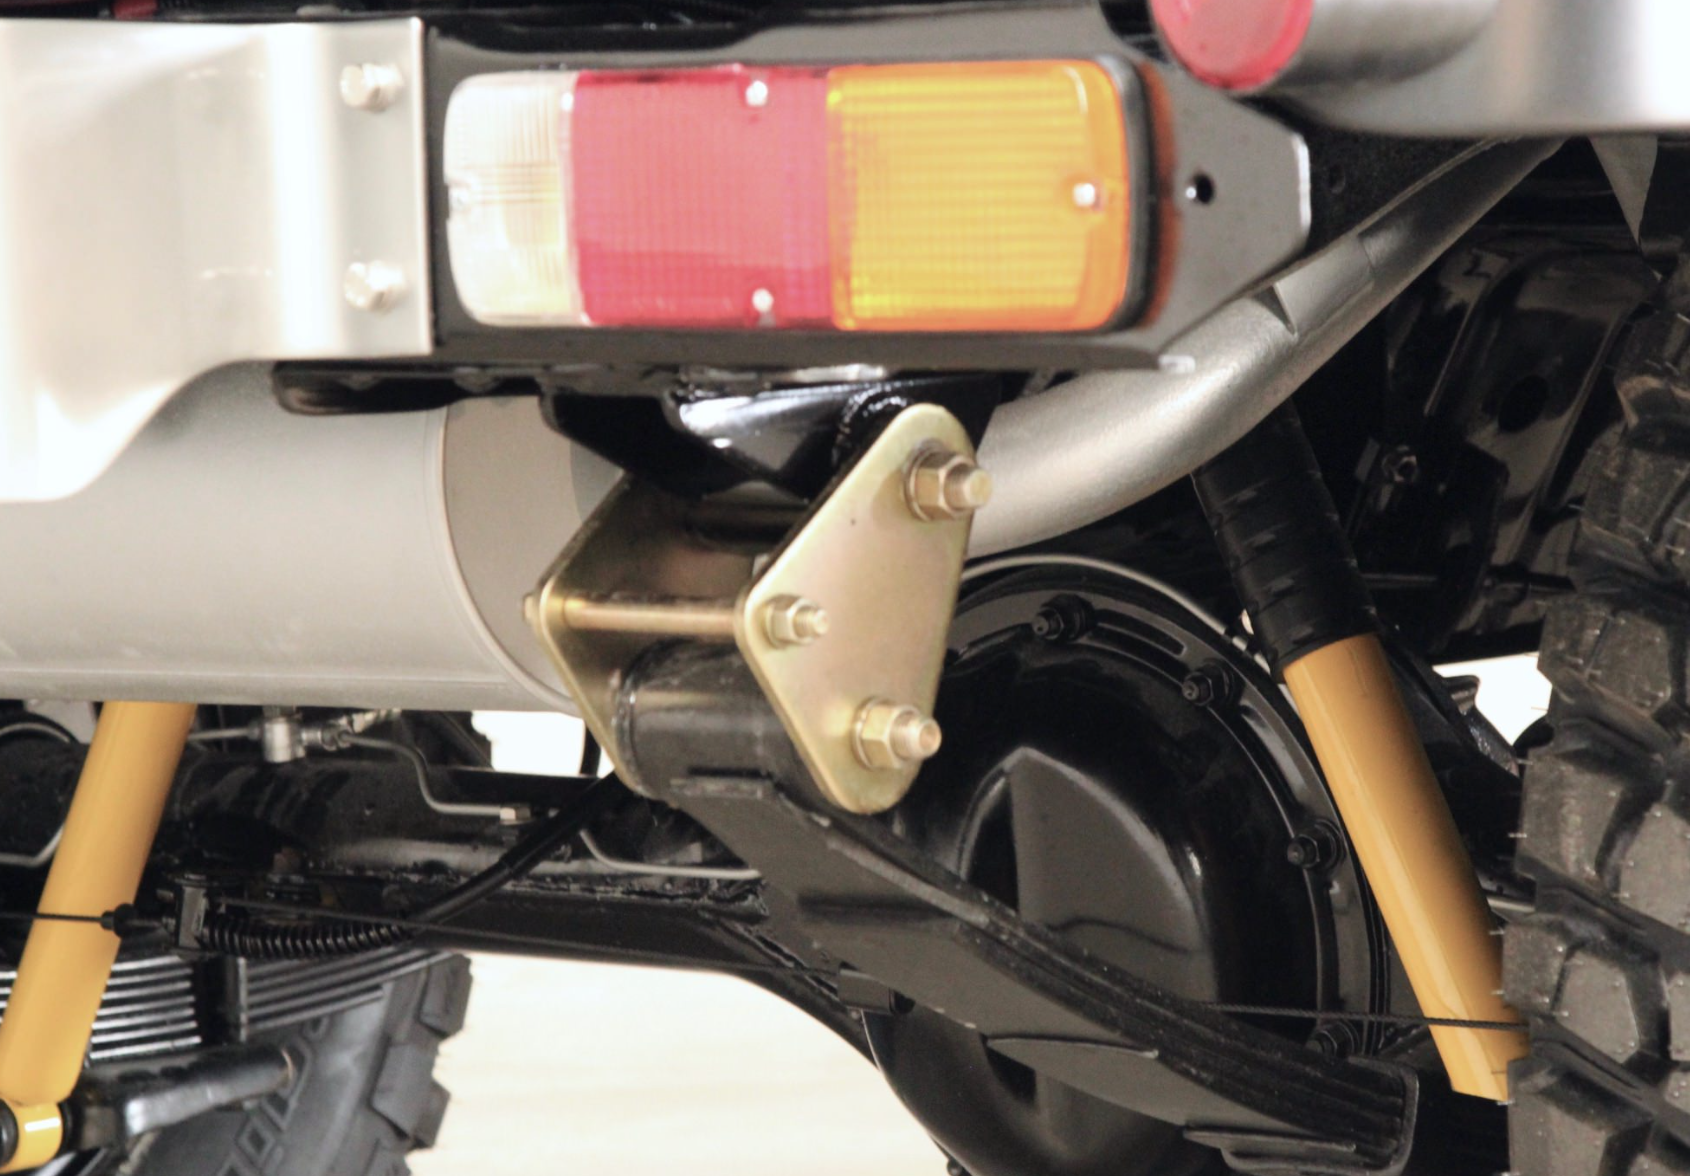
Undersized recovery points are alarming, as some poor rookie buyer might quite logically assume they are adequate for their intended (or implied) task. But take a close look at the suspension, and you'll note that all four anti-inversion shackles are installed backwards and upside down. That's more than alarming, as it calls into question every aspect of the assembly of this truck. If something as simple—and visible—as shackles are installed backwards, what horrors might be hidden in the engine or transmission? Roseann and I have been on the receiving end of such horrors, and fixing them when the company at fault has washed its hands of the situation and tacitly invited you to sue them can get very expensive.

Screen Shot 2018-06-10 at 12.00.51 PM.png

Of course the drivetrain of this Land Cruiser might very well be impeccably assembled, and the shackles and recovery points isolated issues. Then again, looking at another of the underside photos I'm wondering what the visible yellow nylon strap is holding up . . .

It's easy to put a cosmetic gloss on a classic vehicle and sell it for a lot of money (this one went for $87,360). But engineering a reliable and safe restoration takes much more skill. If you are contemplating a professionally refurbished classic 4x4 vehicle, do your homework on the company, and perform a very, very close inspection.

Update: On the advice of a commenter, I sent the company an email notifying them of the problems with this vehicle, and suggesting strongly that they contact the new owner and have them rectified.

I heard nothing back.